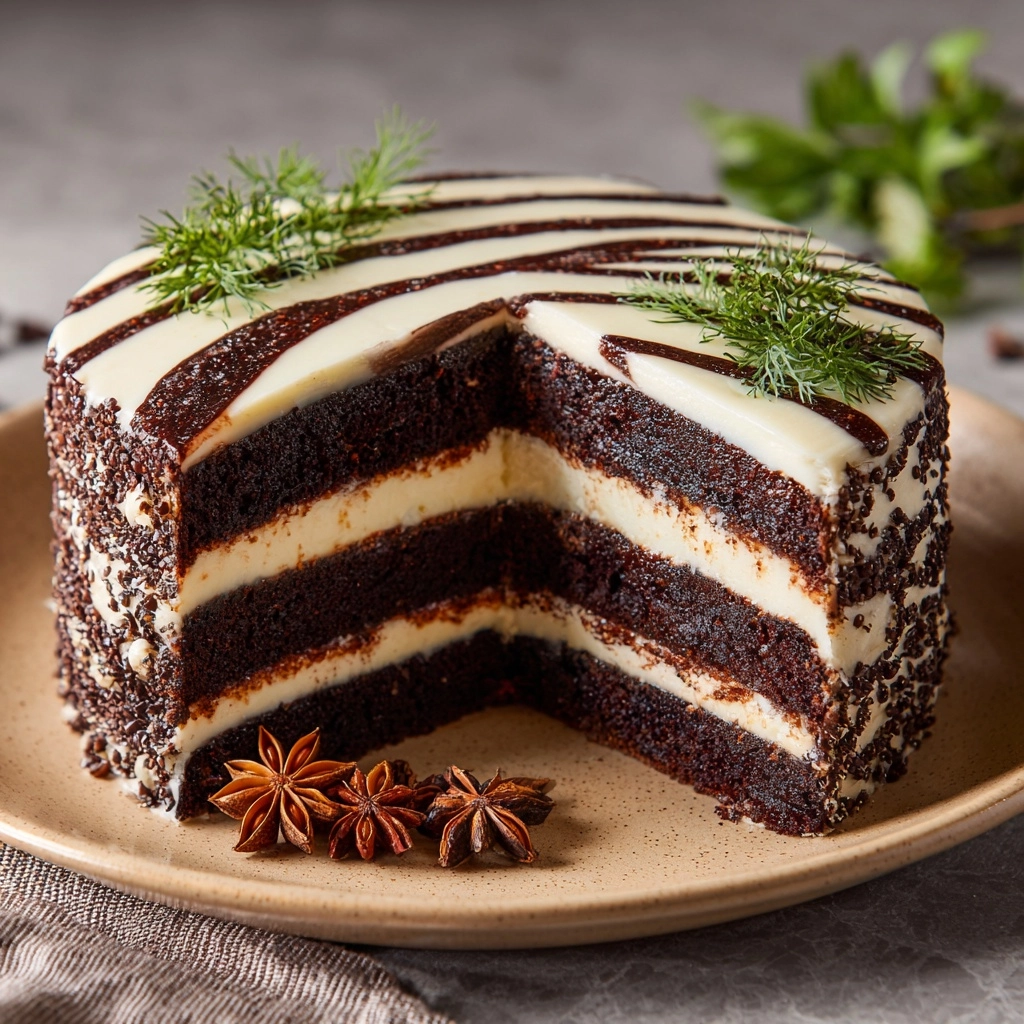
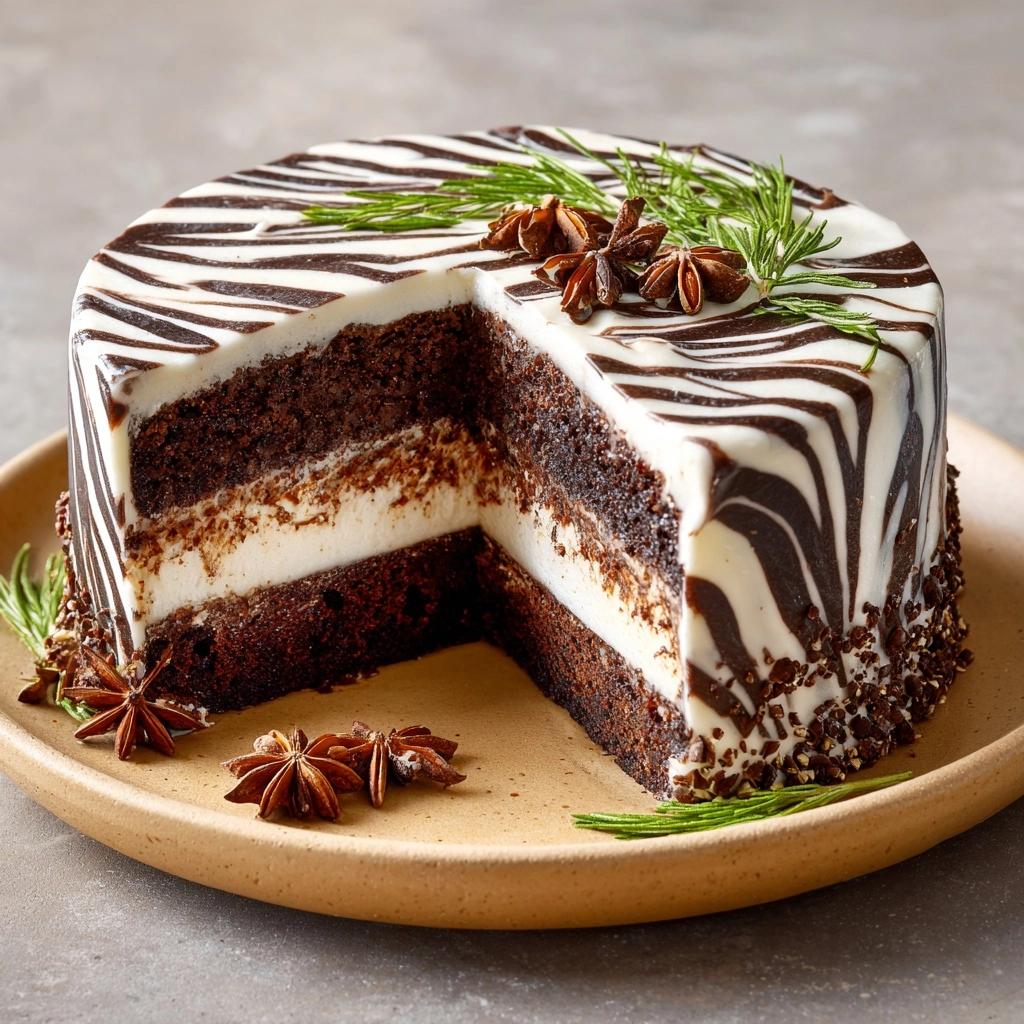
Get ready to wow your friends and family with this mesmerizing Zebra Cake! Each slice is a playful tapestry of chocolate and vanilla stripes, making it as much a showstopper for the eyes as it is a treat for the taste buds. Moist and tender, with just the right balance of cocoa richness and vanilla warmth, this classic European dessert transforms simple pantry staples into an unforgettable centerpiece. If you’ve ever wondered how to make those signature bold, swirling stripes, you’re about to discover just how easy (and fun) it can be!
Ingredients You’ll Need
The beauty of Zebra Cake is that you don’t need any fancy ingredients—just everyday baking essentials come together to create something truly striking. Each component plays an important role in achieving that perfect crumb, flavor, and the cake’s iconic pattern.
- All-purpose flour: Provides the structure for the cake, ensuring it’s sturdy enough to hold those beautiful layers.
- Baking powder: Supplies the lift, making the cake light and fluffy rather than dense.
- Salt: Just a pinch brings out all the other flavors, making the cake taste more vibrant.
- Granulated sugar: Sweetens both the vanilla and cocoa batters and helps achieve a tender crumb.
- Large eggs: Bind everything together while also adding moisture and richness.
- Whole milk: Adds extra moisture and a hint of creaminess to both batters.
- Vegetable oil: Keeps the cake incredibly soft and moist—even days after baking.
- Vanilla extract: Lends a fragrant, nostalgic warmth that balances the chocolate.
- Unsweetened cocoa powder: Deepens the chocolate color and creates the striking dark stripes.
How to Make Zebra Cake
Step 1: Prep Your Pan and Oven
Start by preheating your oven to 350°F (175°C). Grease a 9-inch round cake pan thoroughly—either with a baking spray or a little extra oil and a dusting of flour. This helps your Zebra Cake pop right out after baking, keeping those stripes sharp.
Step 2: Whisk Dry Ingredients
Grab a large mixing bowl and whisk together the flour, baking powder, and salt. Doing this ensures even distribution, so you won’t accidentally bite into a pocket of baking powder or salt.
Step 3: Beat Sugar and Eggs
In a separate bowl, beat together the granulated sugar and eggs. Let the mixer run until the mixture turns pale and fluffy—this step makes the cake light and airy, rather than heavy.
Step 4: Add Wet Ingredients
Pour in the milk, vegetable oil, and vanilla extract and mix it all up until you have a smooth, well-combined batter. The oil gives this cake its signature moistness, while the vanilla rounds off the flavor with irresistible coziness.
Step 5: Combine Wet and Dry Mixtures
Gently fold the wet ingredients into your dry mixture. Stir just until you have a smooth, lump-free batter—you don’t want to over-mix, as that can make your Zebra Cake tough.
Step 6: Divide and Flavor the Batter
Now for the magic: split the batter evenly between two bowls. In one, stir in the cocoa powder until you have a luscious chocolate batter. The contrast between this and the vanilla batter is what creates those dramatic stripes!
Step 7: Create the Zebra Pattern
Spoon 2 tablespoons of the plain (vanilla) batter into the center of the prepared cake pan. Next, add 2 tablespoons of the chocolate batter right on top. Keep alternating spoonfuls directly into the center of the previous batter; you’ll see rings start to spread out in a hypnotic bullseye. Continue until all of both batters are in the pan.
Step 8: Bake and Cool
Pop the cake in the oven and bake for 35 to 40 minutes, or until a toothpick inserted in the center comes out clean. Let your masterpiece cool in the pan for 10 minutes, then gently transfer it to a wire rack to finish cooling completely. Once cooled, dust the top with powdered sugar or drizzle with a simple glaze for extra flair.
How to Serve Zebra Cake

Garnishes
A light dusting of powdered sugar is a classic finish, highlighting the cake’s stunning stripes. For a bit of extra pizzazz, drizzle a simple vanilla or chocolate glaze over the top, or scatter on fresh berries for color and tang. Candied orange peel or a few toasted hazelnuts can also add a delightful crunch and complexity.
Side Dishes
Zebra Cake pairs beautifully with a dollop of whipped cream or a scoop of vanilla ice cream. If you’re serving it at a festive gathering, a platter of sliced fresh fruit, like strawberries or kiwi, enhances the dessert’s visual appeal and brings a refreshing balance.
Creative Ways to Present
Transform everyday slices into a centerpiece by stacking them in a spiral on a cake stand. Or, cut the Zebra Cake into wedges and fan them out on a platter to display the vivid stripes. For a party twist, use cookie cutters to create fun shapes and serve as cake “bites.”
Make Ahead and Storage
Storing Leftovers
Leftover Zebra Cake stays wonderfully moist for days. Simply cover the cooled cake with plastic wrap or store it in an airtight container at room temperature for up to three days. The flavors actually meld and deepen as the cake sits!
Freezing
This cake freezes incredibly well. Once fully cooled, wrap individual slices (or the whole cake) tightly in plastic wrap and then foil. Freeze for up to two months. Thaw overnight in the fridge or at room temperature before serving.
Reheating
For that fresh-from-the-oven taste, microwave individual slices for just 10–15 seconds. Be careful not to overheat, as the cake is moist and delicate. If you’re reheating a larger portion, warm in a low oven (300°F/150°C) for a few minutes, just until the cake is pleasantly soft.
FAQs
How do I get perfectly even stripes in my Zebra Cake?
The trick is to use the same amount of each batter every time—stick to 2 tablespoons per addition, adding each new layer right in the center of the last. Watching the batters spread out in concentric circles is almost as fun as eating the finished cake!
Can I substitute the vegetable oil with butter?
You can use melted butter, but the texture will be a bit denser and richer. Oil keeps the Zebra Cake particularly soft and tender, even after a couple of days.
Is it possible to make Zebra Cake gluten-free?
Absolutely! Swap the all-purpose flour with your favorite 1:1 gluten-free baking blend. Just make sure the mix contains xanthan gum for the best texture.
Can I use this technique for cupcakes or other shapes?
Definitely! Zebra Cake batter can be used for cupcakes—just alternate spoonfuls into each liner for mini striped cakes. Baking times will be shorter, so start checking at 18–20 minutes.
What’s the difference between Zebra Cake and marble cake?
Although both are marbled, Zebra Cake has defined, concentric stripes created by layering batters, while marble cake gets its swirls from gently folding the batters together. The visual effect is totally different and sure to impress!
Final Thoughts
There’s something truly special about serving up a homemade Zebra Cake—the surprise stripes make every slice a celebration! If you’re looking for a dessert that’s as delightful to make as it is to eat, this recipe will instantly become a favorite. Don’t be surprised if your family starts requesting it for every special occasion!
Print
Zebra Cake Recipe
- Prep Time: 20 minutes
- Cook Time: 40 minutes
- Total Time: 1 hour
- Yield: 12 slices
- Category: Dessert
- Method: Baking
- Cuisine: European
- Diet: Vegetarian
Description
This zebra cake recipe is a delightful twist on a classic marble cake, with alternating layers of vanilla and chocolate batter creating a striped ‘zebra’ pattern. Perfect for any occasion, this visually stunning cake is surprisingly easy to make.
Ingredients
Dry Ingredients:
- 2 cups all-purpose flour
- 2 teaspoons baking powder
- 1/2 teaspoon salt
Wet Ingredients:
- 1 cup granulated sugar
- 4 large eggs
- 1 cup whole milk
- 1 cup vegetable oil
- 1 teaspoon vanilla extract
- 2 tablespoons unsweetened cocoa powder
Instructions
- Preheat and Prepare: Preheat the oven to 350°F (175°C) and grease a 9-inch round cake pan.
- Mix Dry Ingredients: In a large bowl, whisk together the flour, baking powder, and salt.
- Prepare Wet Mixture: In a separate bowl, beat the sugar and eggs until light and fluffy. Add milk, oil, and vanilla extract, and mix until well combined.
- Combine and Divide Batter: Gradually add the wet mixture to the dry ingredients and stir until smooth. Divide the batter evenly into two bowls.
- Create Chocolate Batter: Stir the cocoa powder into one of the bowls to make the chocolate batter.
- Assemble Zebra Pattern: Spoon alternating plain and chocolate batter into the center of the pan, creating a zebra pattern by layering the batters.
- Bake: Bake for 35–40 minutes until a toothpick inserted in the center comes out clean.
- Cool and Serve: Let the cake cool in the pan for 10 minutes, then transfer to a wire rack to cool completely. Dust with powdered sugar or glaze, if desired.
Notes
- For extra moisture, brush the cooled cake with simple syrup.
- You can also bake this in two 8-inch pans for a layered version.
Nutrition
- Serving Size: 1 slice
- Calories: 280
- Sugar: 17g
- Sodium: 120mg
- Fat: 13g
- Saturated Fat: 2g
- Unsaturated Fat: 10g
- Trans Fat: 0g
- Carbohydrates: 36g
- Fiber: 1g
- Protein: 4g
- Cholesterol: 55mg

