
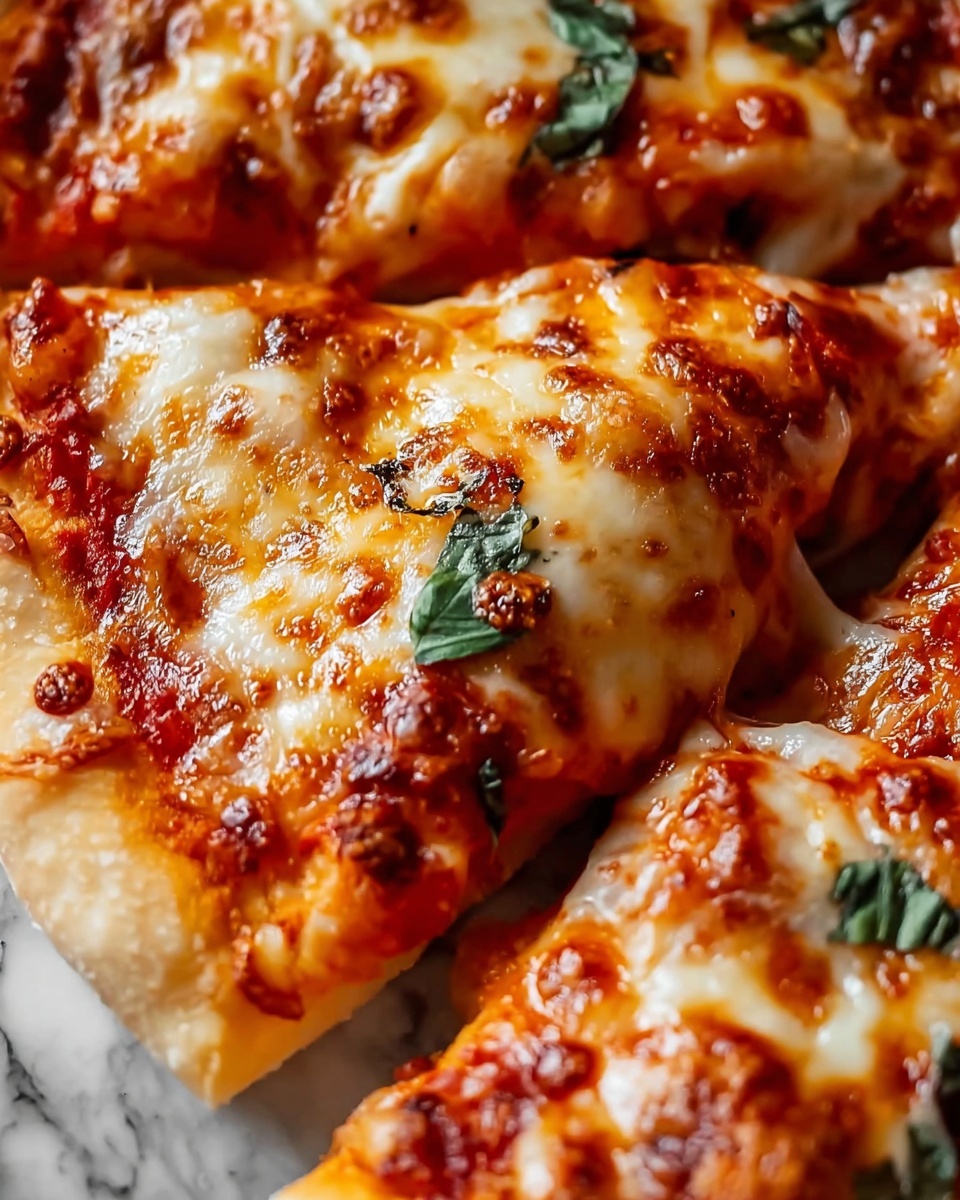
If you love the irresistible combination of crispy crust, gooey cheese, and your favorite pizza toppings but want something quick and handheld, then you are going to adore this Tortilla Pizza Pockets Recipe. These pockets are a clever twist on traditional pizza, using soft flour tortillas to create perfectly crispy, cheesy parcels bursting with flavor. Whether it’s for a busy weeknight dinner, a fun lunchbox surprise, or an easy snack, this recipe brings all the joy of pizza in a convenient, portable form that’s sure to become a favorite in your kitchen.

Ingredients You’ll Need
This recipe relies on simple, fresh ingredients that come together effortlessly to create layers of taste and texture. Each component plays an important role—from the soft, flexible tortillas that form the pocket, to the melty cheeses and vibrant toppings that make each bite exciting.
- 4 large flour tortillas (soft taco size): These act as the perfect wrap, providing a soft yet slightly crispy base when cooked.
- 1 cup pizza sauce: Choose your favorite store-bought or homemade sauce for that rich tomato flavor that ties everything together.
- 2 cups shredded mozzarella cheese: The melty, stringy cheese that gives these pockets their signature gooey center.
- 1/2 cup sliced pepperoni (optional): Adds a smoky, spicy bite—feel free to customize or omit.
- 1/2 cup chopped bell peppers (optional): Brings crunch and vibrant color to the filling.
- 1/2 cup sliced mushrooms (optional): For earthiness and a meaty texture that balances the cheese.
- 1/4 cup grated Parmesan cheese: Adds a sharp, nutty depth to the cheesy filling.
- 1 tsp Italian seasoning: A fragrant blend of herbs to elevate the savory notes.
- 1/2 tsp garlic powder: For subtle warmth and aroma.
- 2 tbsp olive oil (for brushing): Helps achieve that irresistible golden-brown crust when cooking.
How to Make Tortilla Pizza Pockets Recipe
Step 1: Prepare the Filling
Start by combining your cheeses in a small bowl—mix the mozzarella, Parmesan, and Italian seasoning to infuse the filling with layers of creamy and herby flavor. If you’re adding toppings like pepperoni, bell peppers, or mushrooms, make sure to chop them into small, bite-sized pieces so every pocket gets a perfect balance of ingredients with every mouthful.
Step 2: Assemble the Pizza Pockets
Lay your tortillas flat on a clean surface. Spoon a couple of tablespoons of pizza sauce onto the center of each tortilla, spreading it gently to avoid over-saturation. Next, sprinkle the cheesy mixture generously over the sauce, creating a scrumptious base layer. Add your prepared toppings for an extra pop of flavor and texture, tailoring each pocket to your favorite pizza combination.
Step 3: Fold and Seal
To transform your tortilla into a pizza pocket, carefully fold the sides inward over the filling, then fold up the bottom and top to create a sealed parcel. Press the edges gently to secure the filling inside so none of that cheesy goodness escapes while cooking. You’ll end up with a neat, square or rectangular pocket that’s ready for the skillet.
Step 4: Cook the Pizza Pockets
Warm the olive oil in a large skillet over medium heat to ensure even cooking. Place each pocket seam-side down in the pan so it stays sealed during cooking. Cook for 2 to 3 minutes per side, gently pressing with a spatula to help the tortillas crisp up beautifully. Flip carefully and cook the other side until golden and crunchy, while the cheese melts into a luscious, stringy delight inside.
Step 5: Serve Your Tortilla Pizza Pockets Recipe
When the pockets are perfectly cooked, remove them from heat and allow to cool for just a minute. Slice them in half to show off the melty cheese and colorful fillings inside. Serve hot with extra pizza sauce on the side for dipping—because who can resist a little extra sauce to moisten each bite?
How to Serve Tortilla Pizza Pockets Recipe
Garnishes
Sprinkle some freshly chopped basil or a pinch of red pepper flakes over the pockets before serving for added freshness and a touch of spice. A light drizzle of garlic butter or a sprinkle of grated Parmesan on top can elevate the presentation and flavor even more.
Side Dishes
These pizza pockets pair wonderfully with a simple green salad dressed in a tangy vinaigrette to cut through the richness. For heartier sides, try some roasted vegetables or a bowl of warm soup—they make the perfect comforting combo for family meals or casual entertaining.
Creative Ways to Present
Slice the pockets into smaller, bite-sized pieces for party platters or kids’ lunches, serving them alongside colorful veggie sticks or a fresh fruit salad. You can also stuff different flavor combos—think BBQ chicken or veggie supreme—offering variety with the same easy Tortilla Pizza Pockets Recipe base.
Make Ahead and Storage
Storing Leftovers
Once cooled, wrap leftover pizza pockets tightly in plastic wrap or place them in an airtight container and refrigerate for up to 3 days. This keeps them fresh and ready to enjoy again with minimal fuss.
Freezing
You can freeze the assembled, uncooked pockets by placing them on a parchment-lined tray and freezing until solid. Then transfer them to a freezer-safe bag for up to 1 month. This is perfect for busy days when a quick homemade meal is needed.
Reheating
Reheat refrigerated or thawed pockets in a toaster oven or skillet over medium heat to bring back the crispy texture. Avoid microwaving if possible, as it can make the tortilla soggy rather than crisp.
FAQs
Can I use different types of tortillas for this recipe?
Absolutely! While large flour tortillas work best for softness and pliability, you can use whole wheat or gluten-free tortillas depending on your preference. Just keep an eye on cooking times, as some may crisp faster than others.
Is it possible to make these vegan or dairy-free?
Yes, simply swap the mozzarella and Parmesan with your favorite vegan cheese alternatives and use a plant-based pizza sauce. Skip meat toppings and load up on veggies for a delicious vegan twist.
How long do these pizza pockets stay good after cooking?
When stored properly in the fridge, they remain delicious for up to three days. Just remember to reheat them thoroughly to enjoy that crispy exterior and melted filling.
Can I prepare these ahead of time for a party?
Definitely! Assemble the pockets ahead and either freeze or refrigerate. Cook just before serving to maintain their crispy texture and warm, gooey fillings.
What are some recommended dipping sauces besides pizza sauce?
Try ranch dressing, garlic aioli, or even a spicy marinara variation for dipping. A creamy basil pesto can also add a fresh, herby twist that pairs wonderfully with the classic fillings.
Final Thoughts
There is something truly satisfying about the crispy, cheesy goodness packed inside the Tortilla Pizza Pockets Recipe. It’s a recipe that feels both comforting and exciting, perfect for sharing with friends or enjoying a cozy night in. Give it a try—you might just find yourself reaching for tortillas with your favorite toppings more often than you ever thought possible!
Print
Tortilla Pizza Pockets Recipe
- Prep Time: 10 minutes
- Cook Time: 8 minutes
- Total Time: 18 minutes
- Yield: 4 servings
- Category: Lunch
- Method: Frying
- Cuisine: Italian-American
Description
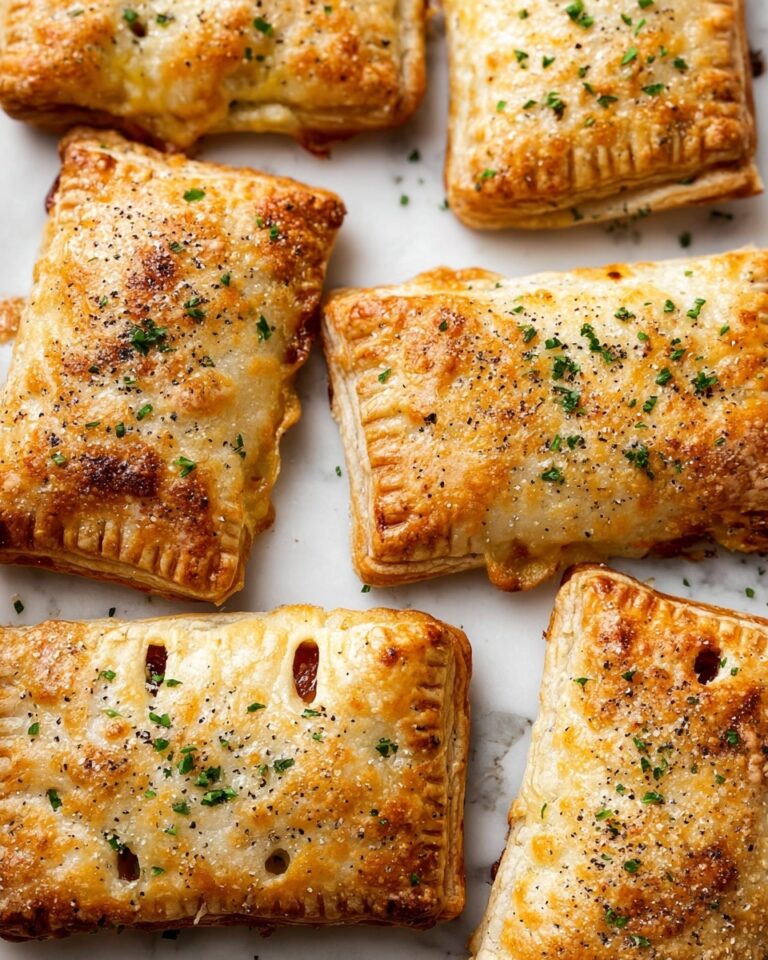
Delicious and easy-to-make Tortilla Pizza Pockets filled with gooey melted cheese, pizza sauce, and your choice of classic toppings like pepperoni, bell peppers, and mushrooms, all pan-fried to crispy golden perfection. Perfect for a quick lunch, snack, or casual dinner.
Ingredients
For the Tortilla Pizza Pockets
- 4 large flour tortillas (soft taco size)
- 1 cup pizza sauce (store-bought or homemade)
- 2 cups shredded mozzarella cheese
- 1/2 cup sliced pepperoni (optional)
- 1/2 cup chopped bell peppers (optional)
- 1/2 cup sliced mushrooms (optional)
- 1/4 cup grated Parmesan cheese
- 1 tsp Italian seasoning
- 1/2 tsp garlic powder
- 2 tbsp olive oil (for brushing)
Instructions
- Prepare the Filling: In a small bowl, combine the shredded mozzarella cheese, grated Parmesan cheese, and Italian seasoning. If using pepperoni, bell peppers, or mushrooms, slice them into small, bite-sized pieces to prepare for assembly.
- Assemble the Pizza Pockets: Lay the tortillas flat on a clean surface. Spread a couple of tablespoons of pizza sauce in the center of each tortilla. Sprinkle a generous amount of the cheese mixture over the sauce. Add any optional toppings such as pepperoni, bell peppers, or mushrooms.
- Fold and Seal: Fold the sides of the tortilla inward, then fold the bottom and top towards the center, creating a sealed pocket. Press the edges gently to secure and prevent the filling from spilling out, forming a square or rectangular shape.
- Cook the Pizza Pockets: Heat the olive oil in a large skillet over medium heat. Once hot, place the pizza pockets seam-side down in the pan. Cook for 2-3 minutes on each side, pressing gently with a spatula to achieve crispy, golden brown tortillas and ensure the cheese inside melts thoroughly. Flip carefully and repeat on the other side.
- Serve: Remove the cooked pizza pockets from the skillet and let them cool slightly for about a minute. Slice each pocket in half and serve warm, optionally accompanied by extra pizza sauce for dipping.
Notes
- You can customize the fillings using your favorite pizza toppings or keep it simple with just cheese and sauce.
- For a crispier exterior, use a non-stick skillet and sufficient olive oil.
- If you prefer, bake the pockets at 375°F (190°C) for 10-12 minutes instead of pan-frying.
- To keep the pockets from falling apart, ensure the tortilla edges are folded tightly and pressed firmly.
- Use low-moisture mozzarella cheese for better melting and less sogginess.


