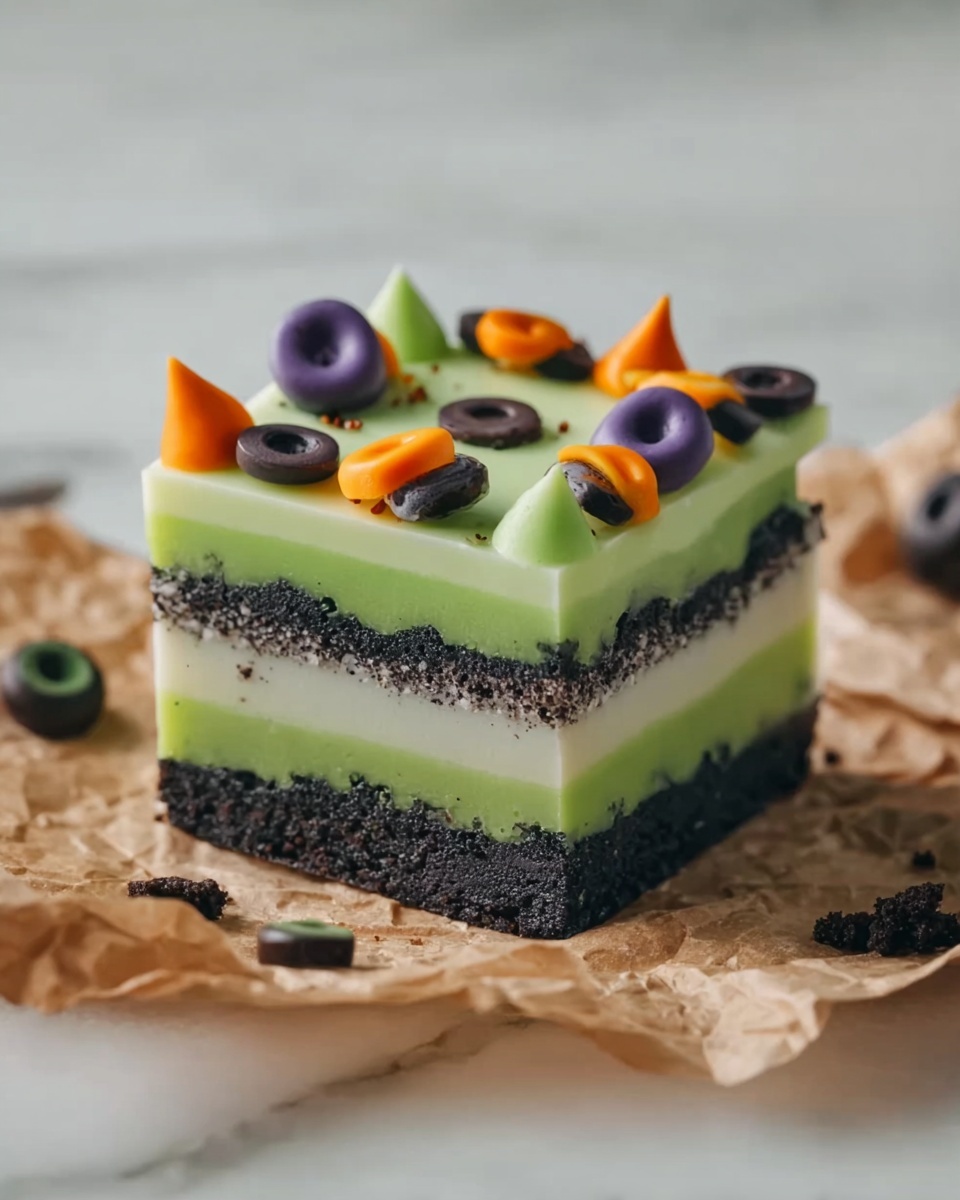
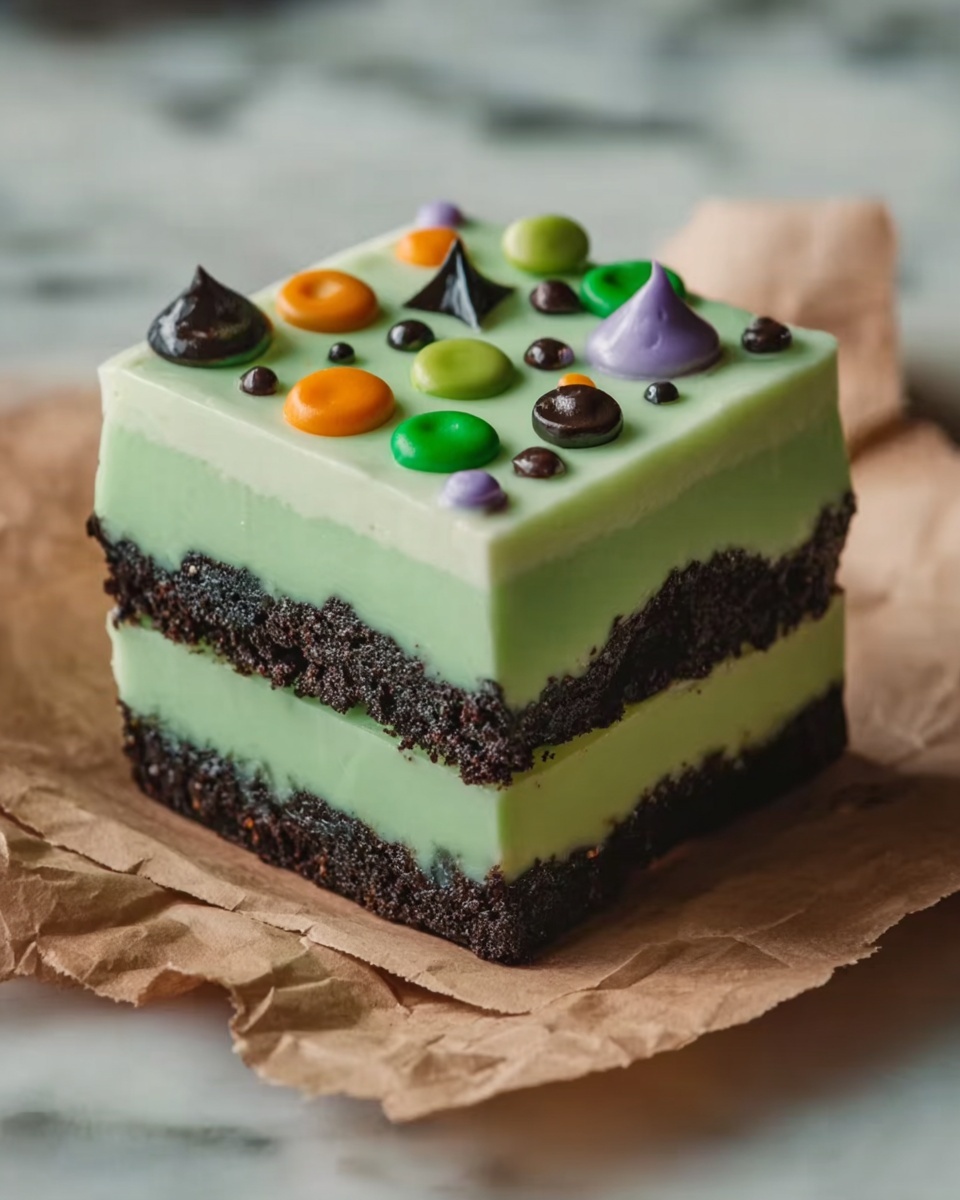
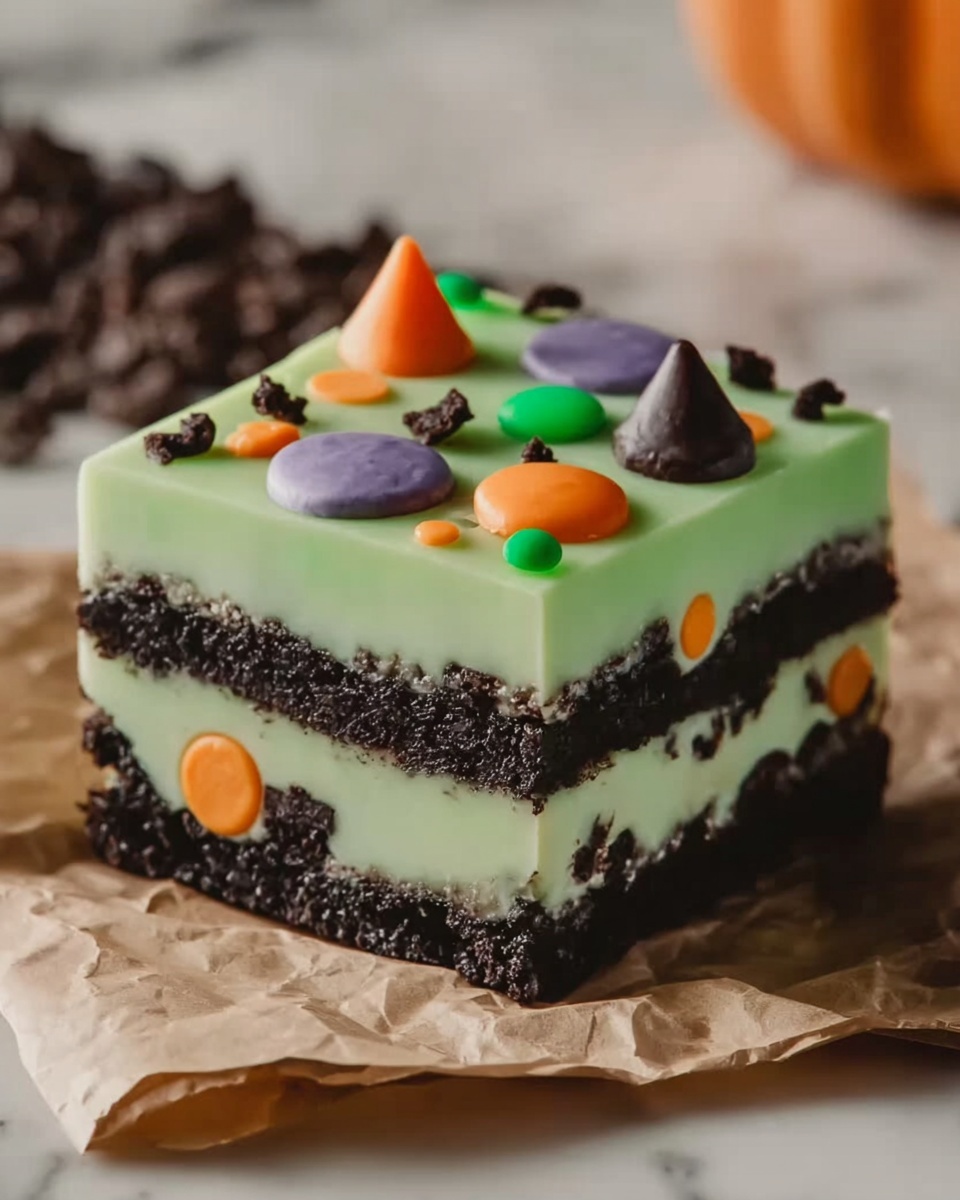
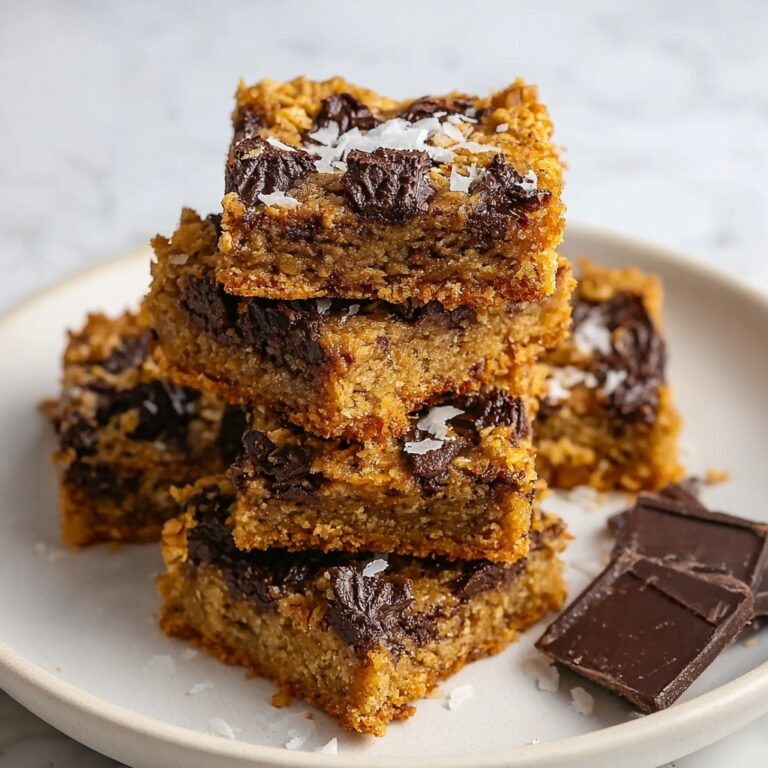
If you’re craving something magically delicious, look no further than The Wicked Witch Fudge Recipe. This charmingly eerie treat combines creamy white chocolate, fluffy marshmallow goodness, and a brilliant pop of green that’s perfect for any spooky occasion. Each bite melts in your mouth with just the right balance of sweetness and texture, making it an absolute favorite to share with friends or enjoy all on your own.
Ingredients You’ll Need
Getting the basics right is key to making this fudge truly wicked in flavor and appearance. Each ingredient is simple but plays a crucial role in delivering that characteristic creamy texture and hauntingly sweet taste.
- White granulated sugar: Provides the rich sweetness and structure essential for classic fudge.
- Unsalted butter: Adds creaminess and depth without overpowering other flavors.
- Evaporated milk: Creates a smooth, velvety consistency ideal for fudge.
- Marshmallow fluff: Gives a light, airy texture and enhances sweetness effortlessly.
- White chocolate chips: Bring rich, creamy chocolate flavor while melting smoothly.
- Vanilla extract: Offers a warm, fragrant undertone to balance the sweetness.
- Green food coloring: Adds that spooky, witchy vibe without changing the flavor.
- Witch or spooky sprinkles: Perfect for festive decoration to bring fun and character.
How to Make The Wicked Witch Fudge Recipe
Step 1: Prepare the Ingredients
Start by combining the white chocolate chips and marshmallow fluff in a large bowl. This mixture will become the creamy base of your fudge, so make sure they’re well combined and ready for the hot sugar mixture coming your way.
Step 2: Butter the Pan
Next, generously butter a 9×13-inch dish. This step ensures that the fudge won’t stick when it’s time to slice and enjoy, making your life much easier and your pieces perfectly intact.
Step 3: Make the Sugar Mixture
In a large saucepan, add sugar, butter, and evaporated milk. Stir these ingredients together and place over medium heat. This mixture will become the sweet and smooth syrup that binds the fudge together.
Step 4: Bring to a Boil
Carefully bring the mixture to a boil while stirring constantly to prevent burning. This step takes patience but is critical for developing the right texture in your fudge.
Step 5: Boil for 5 Minutes
Once boiling, continue to cook for exactly five minutes or until the temperature hits about 235°F (113°C). This precise timing guarantees your fudge will set beautifully without becoming grainy.
Step 6: Combine Ingredients
Pour the hot sugar mixture over the white chocolate and marshmallow fluff in your bowl. Immediately stir everything quickly and thoroughly until all solids melt and the texture becomes velvety smooth.
Step 7: Add Flavor and Color
Now, stir in the vanilla extract for that lovely aromatic quality. Follow with green food coloring until the color reaches the spooky shade you desire, giving this fudge its iconic wicked witch charm.
Step 8: Pour and Decorate
Pour the luscious fudge mixture into your buttered pan. While it’s still warm, sprinkle your witch-themed sprinkles or other spooky decorations on top for a festive touch that’s as fun to look at as it is to eat.
Step 9: Cool and Slice
Allow the fudge to cool completely at room temperature so it can set properly. Once firm, slice into 1-inch squares—perfect little bites of wicked delight.
How to Serve The Wicked Witch Fudge Recipe
Garnishes
Enhance your fudge by adding edible glitter, crushed candy canes for a peppermint twist, or even tiny candy eyeballs for a creepy-cute effect that will impress guests at any Halloween party.
Side Dishes
Pair this fudge with a cup of hot cocoa or a spicy pumpkin latte to elevate that cozy, fall vibe. Fresh cranberries or a simple bowl of mixed nuts also balance the sweetness wonderfully.
Creative Ways to Present
Serve your Wicked Witch Fudge Recipe on a black slate board or a cauldron-shaped dish to lean into the spooky theme. Wrapping individual pieces in clear cellophane with a ribbon can make awesome party favors or gifts.
Make Ahead and Storage
Storing Leftovers
Keep any leftover fudge in an airtight container at room temperature for up to one week. This will preserve the creamy texture and keep those flavors vibrant and fresh.
Freezing
You can freeze the fudge by wrapping it tightly in plastic wrap and then placing it in a freezer-safe bag. It will last up to three months this way, making it easy to enjoy your wicked treat anytime.
Reheating
Fudge is best enjoyed at room temperature, but if you prefer it slightly softer, leave it out for about 20 minutes or microwave briefly for 5-10 seconds to soften without melting.
FAQs
Can I use dark or milk chocolate instead of white chocolate chips?
Absolutely! While the original recipe shines with white chocolate’s sweetness and creaminess, swapping in dark or milk chocolate will create a different flavor profile and darker color, which can be delicious for a more intense cocoa flavor.
What if I don’t have marshmallow fluff?
Regular marshmallows melted carefully can be used as a substitute, but marshmallow fluff gives that smooth, light texture that really helps make this fudge stand out. If using marshmallows, chop them finely for quicker melting.
How do I know when the sugar mixture is ready?
The best way is to use a candy thermometer and wait until the temperature reaches 235°F (113°C). This ensures the fudge will set properly without being too soft or too hard.
Can this fudge be made vegan or dairy-free?
With some adjustments, like using dairy-free butter and white chocolate alternatives, you can experiment to create a vegan version. Keep in mind that texture and taste may vary slightly when swapping ingredients.
Why does my fudge sometimes turn out grainy?
Graininess often happens if the sugar crystallizes or if the fudge isn’t cooked to the correct temperature. Stirring constantly and ensuring the right boil time will help prevent this and keep your fudge silky smooth.
Final Thoughts
The Wicked Witch Fudge Recipe is more than just a treat—it’s an experience filled with fun, flavor, and festive charm. Whether you’re making it for a Halloween celebration or just because you love a little magic in your kitchen, this recipe won’t disappoint. Grab your ingredients, unleash your inner witch, and enjoy every sweet, creamy bite!
Print
The Wicked Witch Fudge Recipe
- Prep Time: 15 minutes
- Cook Time: 10 minutes
- Total Time: 25 minutes
- Yield: 36 pieces (1-inch squares)
- Category: Dessert
- Method: Stovetop
- Cuisine: American
Description
The Wicked Witch Fudge is a festive, creamy, and delightfully sweet treat perfect for Halloween celebrations. This rich fudge combines white chocolate, marshmallow fluff, and a vibrant green hue to resemble a wicked witch’s brew, topped with spooky sprinkles for an extra touch of holiday fun.
Ingredients
Fudge Base
- 2 1/2 cups white granulated sugar
- 3/4 cup unsalted butter
- 2/3 cup evaporated milk
- 1 jar (7 oz) marshmallow fluff (marshmallow cream)
- 2 cups white chocolate chips
- 1 teaspoon vanilla extract
- Green food coloring (as desired)
Decoration
- Witch or spooky sprinkles (for decoration)
Instructions
- Prepare the Ingredients: In a large bowl, combine the white chocolate chips and marshmallow fluff to prepare the fudge base for melting.
- Butter the Dish: Grease a 9×13-inch baking dish thoroughly with butter to prevent sticking when the fudge is poured and cooled.
- Make the Sugar Mixture: In a large 4-quart saucepan, combine sugar, butter, and evaporated milk to create the fudge’s cooked syrup base.
- Boil the Mixture: Heat the sugar mixture over medium heat, stirring constantly to prevent burning or crystallization.
- Cook to Soft Ball Stage: Once boiling, continue to boil the mixture for 5 minutes or until it reaches 235°F (113°C), known as the soft ball stage for fudge making.
- Combine Ingredients: Immediately pour the hot sugar mixture over the bowl containing white chocolate and marshmallow fluff.
- Mix Until Smooth: Stir quickly to fully melt the chocolate and fluff, ensuring a smooth and creamy fudge mixture.
- Add Flavor and Color: Stir in the vanilla extract followed by green food coloring, mixing until the color is evenly incorporated throughout.
- Pour and Decorate: Pour the finished fudge mixture into the prepared 9×13-inch buttered dish, spreading evenly.
- Add Sprinkles: Immediately top the fudge with witch-themed sprinkles or other spooky decorations while it is still warm and pliable.
- Cool and Slice: Allow the fudge to cool completely at room temperature until set, then cut into 1-inch squares for serving.
Notes
- Ensure to stir constantly while boiling the sugar mixture to avoid burning and grainy fudge.
- Use a candy thermometer to accurately gauge the soft ball stage temperature for perfect fudge texture.
- Green food coloring can be adjusted based on desired intensity of color.
- Store fudge in an airtight container at room temperature for up to 1 week or refrigerate if warmer climate.
- For a firmer set, chill the fudge in the refrigerator before slicing.


