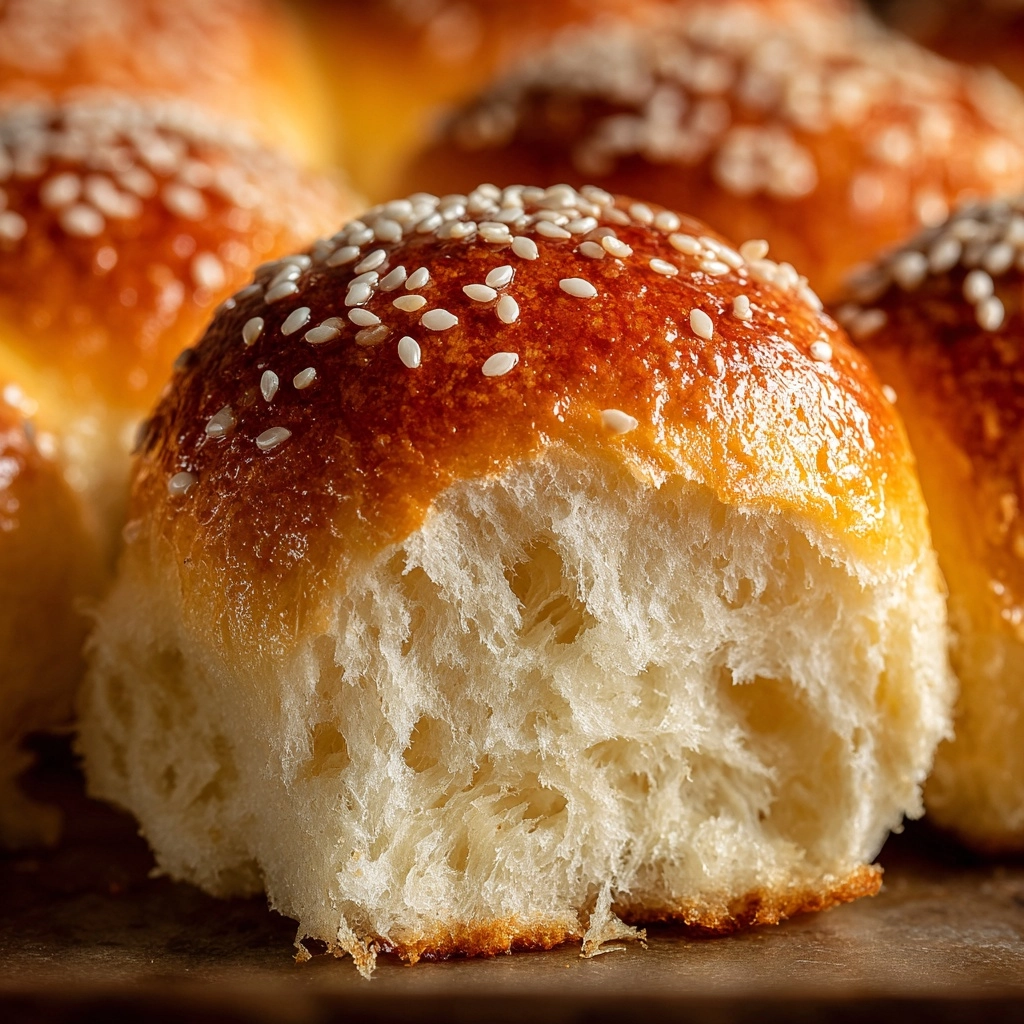
If you’ve ever dreamed of pulling warm, fluffy bread right from your own oven, this Soft and Buttery Homemade Rolls Recipe is about to become your new best friend. These rolls are the perfect balance of tender crumb and rich buttery flavor, making them incredibly comforting and irresistibly delicious. Whether you’re serving them at a family dinner or cozying up for a special holiday, this recipe delivers that classic bakery-quality softness with a homemade touch that will have everyone asking for seconds. The step-by-step process is straightforward, and the result is truly unforgettable.

Ingredients You’ll Need
Getting started is easier than you think because the ingredients for this Soft and Buttery Homemade Rolls Recipe are simple staples you likely already have. Each one plays a vital role—from tenderizing the dough to adding that buttery richness and beautiful golden color.
- All-purpose flour (4 cups): Provides the structure and kneads into that soft, pillowy texture you crave.
- Active dry yeast (2 1/4 teaspoons): The magical leavening agent that makes your rolls rise perfectly and stay light.
- Granulated sugar (1/4 cup): Sweetens just enough to balance the savory butter and adds to browning.
- Salt (1 teaspoon): Enhances flavor, making every bite more satisfying.
- Warm milk (1 cup): Feeds the yeast and creates tenderness in the dough with its fat content.
- Unsalted butter (1/4 cup melted + 2 tbsp melted for brushing): Boosts richness and ensures a golden, flavorful crust.
- Large egg (1): Adds moisture, richness, and structure, helping the dough stay soft and supple.
How to Make Soft and Buttery Homemade Rolls Recipe
Step 1: Activate the yeast
Start by combining warm milk, yeast, and sugar in a large bowl or your stand mixer. Let this mixture sit for about 5 to 10 minutes until it becomes foamy and bubbly. This step is crucial because it proves the yeast is alive and ready to work its magic, ensuring your rolls rise beautifully.
Step 2: Mix the wet ingredients
Once the yeast is foamy, stir in the melted butter, egg, and salt. These ingredients will enrich the dough, creating that tender, buttery crumb that makes these rolls so special. Mix everything just until combined to keep your dough smooth and ideal for kneading.
Step 3: Add the flour and knead
Gradually add the flour, about one cup at a time, mixing after each addition. When the dough starts to pull together into a ball, switch to kneading by hand or with a dough hook. Knead for about 6 to 8 minutes until the dough feels smooth and slightly tacky but not overly sticky. If it’s too sticky, sprinkle in a tablespoon of flour at a time. This stage builds the gluten network that gives your rolls their signature soft yet resilient texture.
Step 4: First rise
Place your dough in a lightly greased bowl and cover it with a clean towel or plastic wrap. Find a warm spot in your kitchen and let the dough rise until it has doubled in size. This usually takes between 1 and 1.5 hours and is when the yeast creates those precious air bubbles that give your rolls their fluffy, airy softness.
Step 5: Shape the rolls
Once risen, punch down your dough gently to release any excess air, then divide it into 12 equal pieces. Roll each piece into a smooth ball—this is where your hands get to have some fun shaping perfectly round, uniform rolls. Place them side by side in a greased 9×13-inch baking dish, which will help them bake evenly and give that classic pull-apart bread feel.
Step 6: Second rise
Cover your baking dish again and let the rolls rise for another 30 to 45 minutes until they look puffy and ready to bake. This second rise enhances the softness and ensures a light, tender crumb inside with a golden crust outside.
Step 7: Bake and brush with butter
Preheat your oven to 375°F and bake the rolls for 15 to 18 minutes. You’ll know they’re done when the tops turn a beautiful golden brown. The secret finishing touch is brushing them immediately with melted butter while they’re still warm. This adds irresistible shine and a buttery scent that fills your kitchen and tempts everyone to grab one hot from the oven.
How to Serve Soft and Buttery Homemade Rolls Recipe

Garnishes
Feel free to jazz up your rolls with a sprinkle of flaky sea salt after brushing with butter for a subtle contrast that amps up the flavor. Fresh chopped herbs like rosemary or thyme can also be lightly brushed on top for a fragrant twist that’s sure to impress guests.
Side Dishes
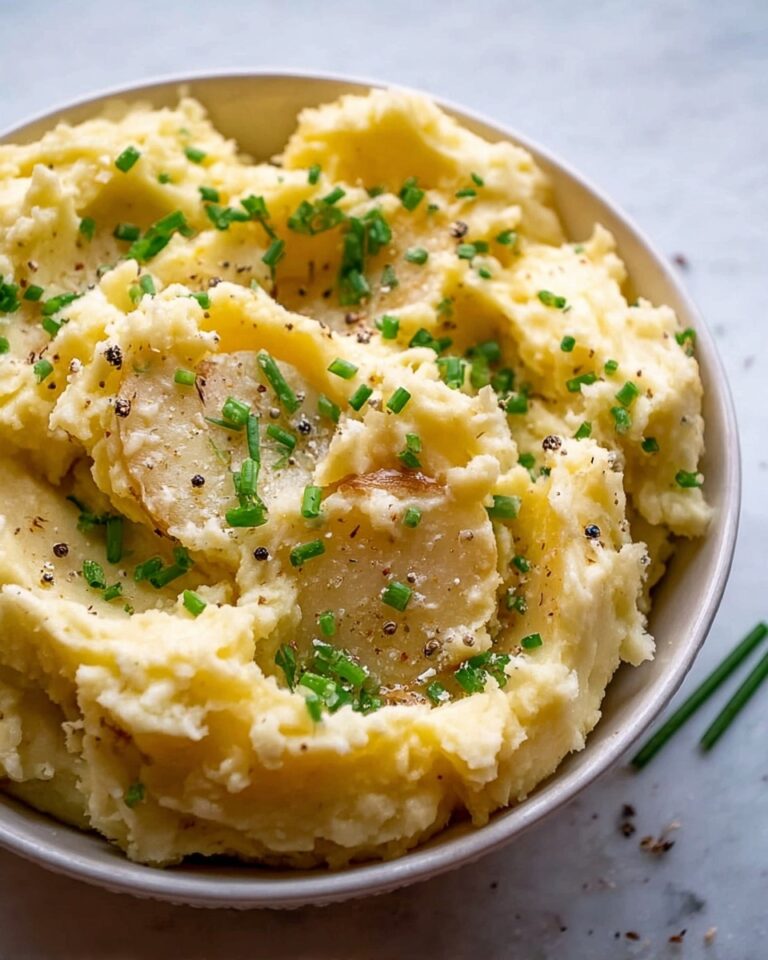
Soft and buttery rolls make a naturally perfect companion to hearty soups, creamy mashed potatoes, and savory stews. Their tender crumb soaks up sauces beautifully and pairs well with just about any comfort food on your table.
Creative Ways to Present
Serve these rolls in a beautiful basket lined with a colorful cloth napkin for casual family dinners or arrange them on a wooden board alongside butter pats and jams for a charming brunch spread. You can slice and butter them warm or pull them apart individually to encourage sharing and savoring with your loved ones.
Make Ahead and Storage
Storing Leftovers
If you have any leftovers (and sometimes that’s hard to believe), store them in an airtight container or resealable plastic bag at room temperature for up to two days. This keeps them soft and fresh, perfect for a quick snack or next-day sandwich bun.
Freezing
These rolls freeze wonderfully. After baking and cooling completely, place them in a freezer-safe bag or container. They’ll keep up to three months, making them ideal to pre-make for holidays or busy weeknights when fresh bread just feels like a luxury.
Reheating
To bring your frozen or leftover rolls back to life, wrap them in foil and warm in a 350°F oven for about 10 to 15 minutes. For a quick fix, you can microwave a roll wrapped in a damp paper towel for 15 to 20 seconds, then brush with a little melted butter to restore that fresh-baked warmth.
FAQs
Can I use whole wheat flour for these rolls?
Yes, substituting half of the all-purpose flour with whole wheat flour adds a nuttier flavor and more fiber. However, whole wheat may make the rolls slightly denser, so balance it out by sticking to half the amount or adding a bit more kneading time.
What if I don’t have warm milk? Can I use water?
While water can work in a pinch, milk adds richness and softness that really makes these rolls special. If you have none, use warm water but consider adding a tablespoon of butter or oil to compensate for the lost fat content.
How can I tell when the rolls are fully baked?
Look for a golden-brown color on top and a firm but tender feel when you gently press the rolls. You can also tap the bottom of a roll—it should sound hollow, indicating they’re baked through perfectly.
Is it okay to use instant yeast instead of active dry yeast?
Absolutely! When using instant yeast, you can mix it directly with the dry ingredients and skip the proofing step. Just be aware that the rise times might be a little faster.
Can I add extras like herbs, cheese, or garlic to this recipe?
Yes! Adding finely chopped herbs, shredded cheese, or minced garlic to the dough or brushing the tops with garlic butter before baking can make these rolls even more exciting. Just make sure the additions are finely incorporated so they don’t affect the dough’s ability to rise.
Final Thoughts
There’s nothing quite like the feeling of serving warm rolls made from scratch, and this Soft and Buttery Homemade Rolls Recipe brings that joy to your kitchen with ease. It’s a recipe that invites you to slow down, enjoy the process, and share something truly comforting with people you love. Give these rolls a try—you might just find yourself baking them again and again as a new family favorite.
Print
Soft and Buttery Homemade Rolls Recipe
- Prep Time: 20 minutes
- Cook Time: 18 minutes
- Total Time: 2 hours 20 minutes
- Yield: 12 rolls
- Category: Side Dish
- Method: Baking
- Cuisine: American
- Diet: Vegetarian
Description
Soft and Buttery Homemade Rolls are fluffy, tender, and perfect for any meal or special occasion. Made with simple ingredients like flour, yeast, milk, butter, and eggs, these rolls have a rich buttery flavor and a pillowy texture that melts in your mouth. They are easy to prepare with classic baking methods and make a delightful side dish.
Ingredients
Dough Ingredients
- 4 cups all-purpose flour (plus more as needed)
- 2 1/4 teaspoons active dry yeast (1 packet)
- 1/4 cup granulated sugar
- 1 teaspoon salt
- 1 cup warm milk (about 110°F)
- 1/4 cup unsalted butter (melted)
- 1 large egg
For Brushing
- 2 tablespoons unsalted butter (melted, for brushing)
Instructions
- Activate the Yeast: In a large bowl or stand mixer, combine warm milk, active dry yeast, and sugar. Let the mixture sit undisturbed for 5–10 minutes until it becomes foamy, indicating the yeast is active.
- Mix Wet Ingredients and Add Salt: Stir in the melted butter, egg, and salt into the yeast mixture until thoroughly combined.
- Add Flour and Form Dough: Gradually add the all-purpose flour, about 1 cup at a time, mixing well after each addition until a soft dough forms. The dough should be slightly tacky but manageable.
- Knead the Dough: Knead the dough either by hand or using a dough hook attachment for 6–8 minutes until it becomes smooth and elastic. If the dough is too sticky, incorporate more flour one tablespoon at a time.
- First Rise: Place the kneaded dough in a lightly greased bowl, cover it with a clean towel or plastic wrap, and let it rise in a warm location for 1 to 1.5 hours until it doubles in size.
- Shape Rolls: Punch down the risen dough to release air, then divide it into 12 equal portions. Roll each portion into a smooth ball and arrange them in a greased 9×13-inch baking dish with space to expand.
- Second Rise: Cover the dough balls and allow them to rise for another 30 to 45 minutes until they become puffy.
- Bake: Preheat your oven to 375°F (190°C). Bake the rolls for 15–18 minutes or until they turn golden brown on top.
- Brush with Butter and Serve: Remove the rolls from the oven and immediately brush the tops with melted butter for extra softness and flavor. Let the rolls cool slightly before serving.
Notes
- For a richer taste, use whole milk instead of regular milk and increase the amount of butter used for brushing the tops.
- These rolls freeze well. To serve after freezing, simply reheat them in the oven until warm.
- If the dough feels too sticky, add flour a tablespoon at a time to avoid making it too dry.


