
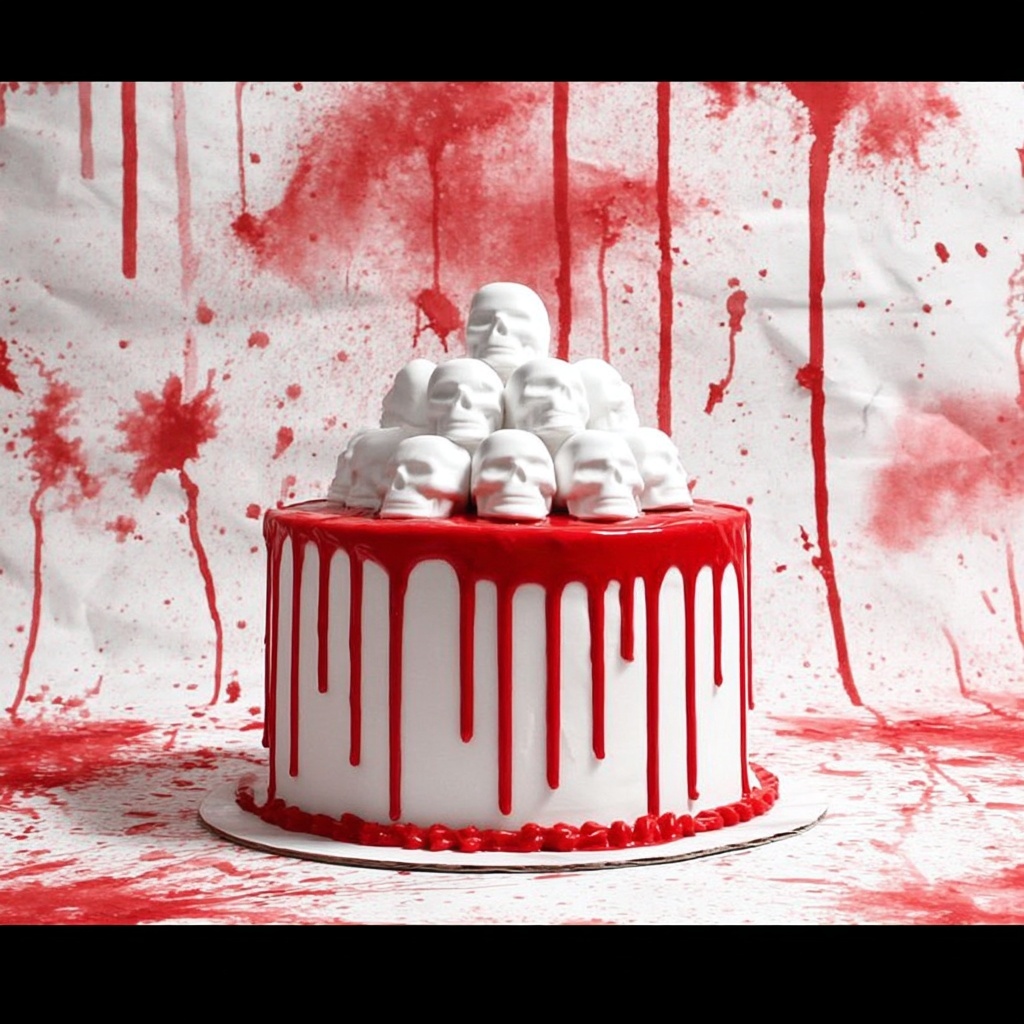
If you’re looking to wow your friends with something truly unforgettable, this Skull Cake Recipe is the perfect way to do it. With its hauntingly beautiful design and rich red velvet layers underneath a creamy, smooth frosting, this cake isn’t just a treat for Halloween—it’s a statement. The combination of crisp white chocolate skulls, luscious red cake, and velvety frosting will have everyone reaching for seconds, and maybe even thirds! Whether you’re a seasoned baker or just looking for a fun project, this Skull Cake Recipe blends artistry and flavor in one delicious package that will impress and delight every time.
Ingredients You’ll Need
All the ingredients in this Skull Cake Recipe are straightforward but essential to achieve that perfect balance of flavor, texture, and visual impact. Each element plays a vital role, from the creamy frosting to the signature red velvet cake base and the white chocolate skulls that crown it all.
- Wilton white candy melts (3 bags, 8 oz each): These melt easily and set beautifully to create the skull decorations.
- Chocolate skull molds: Essential for crafting the detailed skull shapes that give this cake its spooky charm.
- Red velvet cake mix (3 boxes): The foundation of the cake, delivering that classic red velvet flavor and moist crumb.
- Large eggs (6): Help bind the cake ingredients together for a tender texture.
- Unsalted butter (3 ½ cups, softened): Adds richness and moisture to the cake and frosting.
- Whole milk (3 cups): Makes the cake batter smooth and tender.
- Powdered sugar (6 cups): Provides sweetness and structure to the frosting.
- Pure vanilla extract (1 Tbsp): Enhances the flavor depth in the frosting.
- Heavy whipping cream (7 Tbsp): Creates a creamy, stiff frosting that holds the cake layers together beautifully.
- Red cookie icing (3 tubes): For that dramatic, blood-like drip around the top edge of the cake.
How to Make Skull Cake Recipe
Step 1: Melt the Candy Melts
Start by melting your Wilton white candy melts according to the package instructions. This step is key because the candy needs to be smooth and pourable to fill the chocolate skull molds perfectly.
Step 2: Create the Skulls
Pour the melted candy into the chocolate skull molds, filling enough to make about 15 small skulls and 5 to 6 large ones. Let them set completely before handling—these will be the star decorations for your cake.
Step 3: Prepare the Cake Pans
Preheat your oven to 350 degrees Fahrenheit and generously spray your cake pans with baking spray to prevent sticking. This prep ensures your red velvet layers bake evenly and come out cleanly.
Step 4: Mix the Cake Batter
Combine all three red velvet cake mixes with the eggs, softened butter, and milk using a standing mixer or hand beater. Beat until the batter is smooth and well-mixed, which ensures a tender, even crumb once baked.
Step 5: Bake Your Red Velvet Layers
Distribute the batter evenly into your prepared cake pans. Bake for 25 to 28 minutes, or until a toothpick inserted in the center comes out with just a few moist crumbs. Then, allow the cakes to cool completely before assembling.
Step 6: Level and Assemble the Cake
Once cooled, transfer the layers to cake boards and even out the tops with a serrated knife or cake leveler. This step is crucial for a clean, stable stack.
Step 7: Make the Frosting
Using your mixer, beat the remaining butter, powdered sugar, vanilla, and heavy cream until the mixture is creamy and holds stiff peaks. This luscious frosting will hold your cake layers together beautifully.
Step 8: Frost the Cake
Spread a generous cup of frosting between each cake layer, stacking them as you go. Then, cover the entire cake with the remaining frosting for a smooth, even finish.
Step 9: Chill the Cake
Refrigerate the frosted cake for a few hours to let that frosting firm up; this step will ensure your red icing drip and skulls stay put once decorated.
Step 10: Decorate with Red Icing and Skulls
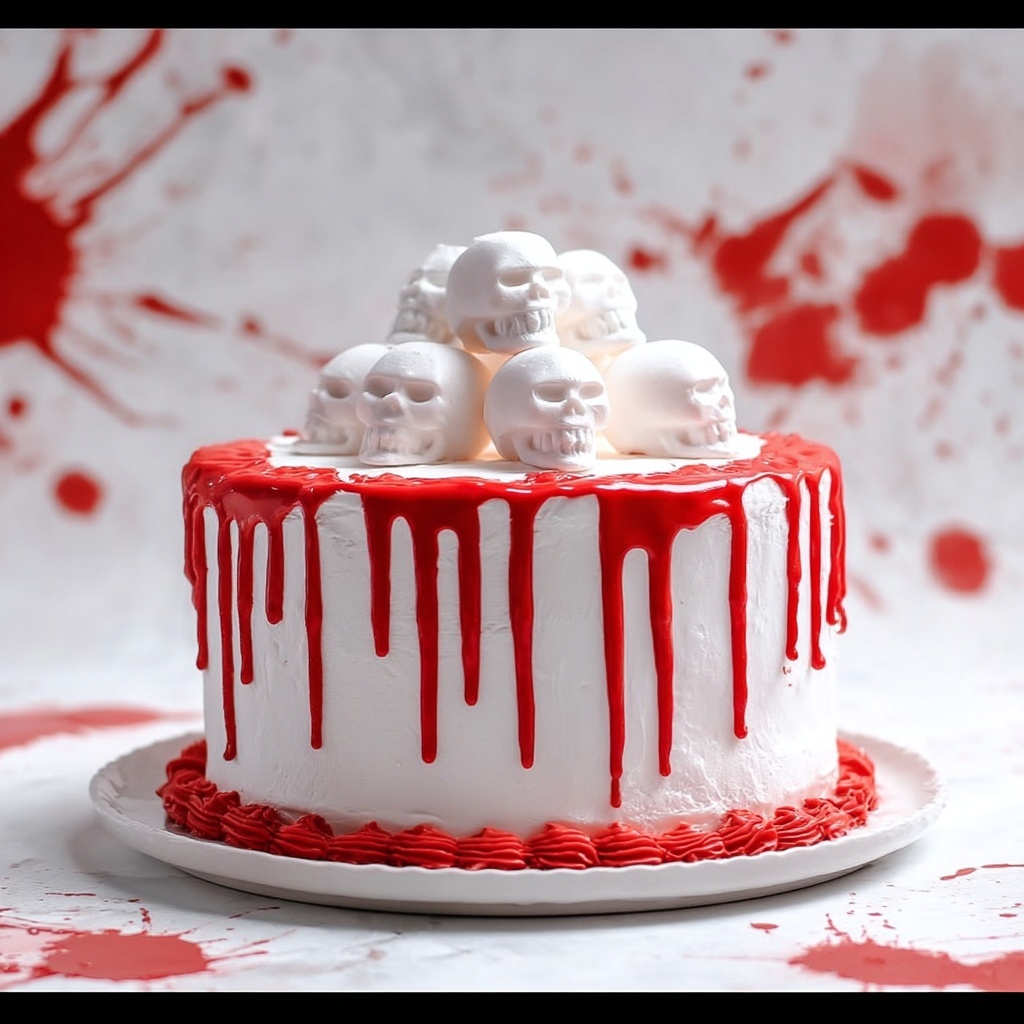
Using the red cookie icing, carefully squeeze it around the top edge of the cake to create a dripping blood effect. Finally, build a mound of your white chocolate skulls in the center, using a bit of leftover frosting as glue to keep them stable.
Step 11: Enjoy!
Your hauntingly gorgeous Skull Cake Recipe masterpiece is ready to impress. Dive in and enjoy every spooky bite!
How to Serve Skull Cake Recipe
Garnishes
To elevate your Skull Cake Recipe even further, consider adding edible glitter or silver dragées around the base for a hint of shimmer. Fresh raspberries or blackberries scattered nearby add a pop of color and a burst of tartness that complements the sweet frosting beautifully.
Side Dishes
Serve this rich cake alongside a simple dessert wine or a cup of strong coffee to balance the sweetness. For a seasonal touch, try pairing it with spiced apple cider or a creamy chai latte to enhance the cake’s comforting flavors.
Creative Ways to Present
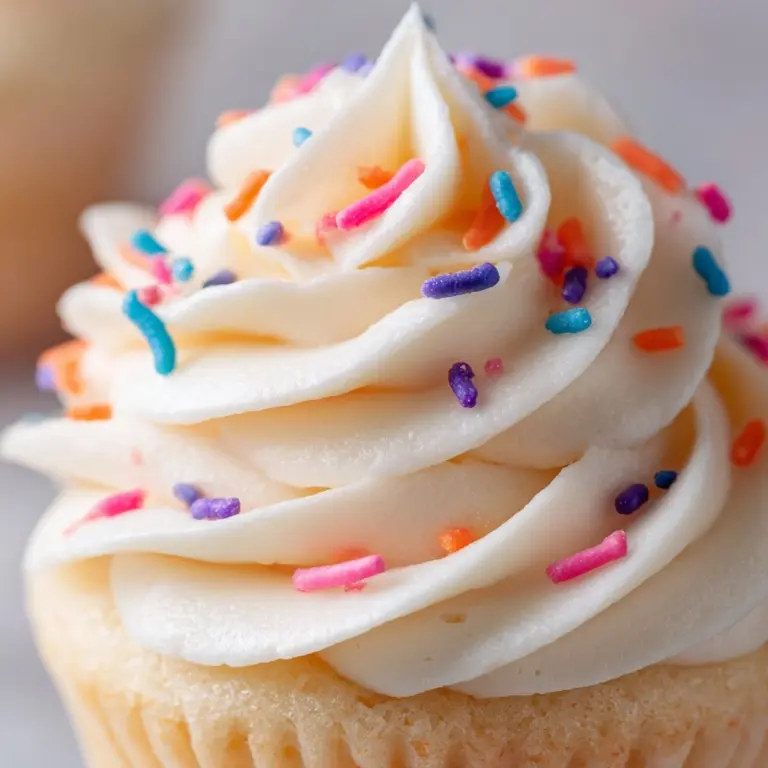
Presentation makes all the difference! Try placing your Skull Cake Recipe on a vintage cake stand surrounded by autumn leaves or faux cobwebs for a dramatic Halloween centerpiece. Alternatively, offer mini skull cupcakes on the side to match the theme and wow your guests with variety.
Make Ahead and Storage
Storing Leftovers
Keep any leftover Skull Cake Recipe in an airtight container in the refrigerator. It stays fresh for 3 to 4 days and the frosting will maintain its creamy texture while absorbing just a hint more flavor.
Freezing
You can freeze your assembled cake, wrapped tightly in plastic wrap and foil, for up to one month. When ready to serve, thaw it overnight in the fridge to preserve the integrity of the frosting and decorations.
Reheating
This cake is best enjoyed cold or at room temperature, so rather than reheating, simply let it sit out for about 30 minutes to soften the frosting before slicing and serving.
FAQs
Can I use a different cake flavor for this Skull Cake Recipe?
Absolutely! While red velvet provides that classic spooky red color, you can swap in chocolate or vanilla cake mixes depending on your preference. Just keep in mind the colors when decorating.
How do I prevent the white candy melts from overheating?
Melting candy melts slowly in short intervals in the microwave or using a double boiler helps avoid overheating and clumping. Stir frequently for smooth, glossy candy.
Can I make the skull decorations ahead of time?
Yes! You can create and store the skulls up to a week in an airtight container at room temperature, keeping them dry and away from heat or direct sunlight.
What kind of frosting works best with this cake?
The buttercream frosting made with butter, powdered sugar, vanilla, and heavy cream is ideal because it’s creamy yet sturdy enough to hold the skull decorations.
Is this Skull Cake Recipe suitable for beginners?
Definitely! While the skull mold step requires some patience, the overall recipe is straightforward. Following the directions step-by-step makes this an accessible and rewarding baking project.
Final Thoughts
If you want to bring a little spooky magic and a lot of deliciousness to your next celebration, the Skull Cake Recipe is a showstopper you’ll adore. It’s equal parts fun to make and delightful to eat, and once you see those adorable white chocolate skulls stacked on that luscious red velvet cake, you’ll know all the effort was worth it. Give this recipe a try—you’re going to love how it turns any occasion into an unforgettable memory!
Print
Skull Cake Recipe
- Prep Time: 35 minutes
- Cook Time: 25 minutes
- Total Time: 1 hour 15 minutes
- Yield: 12 servings
- Category: Baking
- Method: Baking
- Cuisine: American
Description
This visually stunning Skull Cake combines moist red velvet cake layers with creamy buttercream frosting adorned with white candy skull decorations. Perfect for Halloween or themed parties, this cake features carefully crafted candy skulls stacked on top with a striking red drip icing effect, creating an impressive centerpiece dessert.
Ingredients
For the Candy Skulls
- 3 (8 oz) bags Wilton white candy melts
- Chocolate skull molds
For the Cake
- 3 packets Red Velvet cake mix
- 6 large eggs
- 1 ½ cups unsalted butter, softened
- 3 cups whole milk
For the Buttercream Frosting
- 2 cups unsalted butter, softened
- 6 cups powdered sugar
- 1 tablespoon pure vanilla extract
- 7 tablespoons heavy whipping cream
For Decoration
- 3 tubes red cookie icing
Instructions
- Melt Candy Melts: Follow the package instructions on the Wilton white candy melts to carefully melt them to a smooth consistency.
- Create Candy Skulls: Using the chocolate skull molds, pour the melted candy melts to create about 15 small skulls and 5 to 6 large skulls. Allow them to set and harden completely.
- Set Candy Skulls Aside: Once hardened, remove skulls from molds and set them aside for decorating later.
- Prepare Oven and Pans: Preheat your oven to 350°F (175°C) and spray your cake pans with a non-stick baking spray such as Pam.
- Mix Cake Batter: In a standing mixer or with a hand beater, combine the red velvet cake mix, eggs, softened butter, and whole milk. Beat the mixture until smooth and fully incorporated.
- Bake Cake Layers: Pour the batter evenly into your prepared cake pans. Bake for 25-28 minutes or until a toothpick inserted in the center comes out with a few moist crumbs.
- Cool Cakes: Remove the baked cakes from the oven and allow them to cool completely on a wire rack.
- Remove Cakes from Pans: Once cooled, carefully remove the cakes from their pans and place each on cake boards for assembling.
- Level Cake Layers: Use a cake leveler or serrated knife to trim the tops of the cakes for an even, flat surface, ensuring stable stacking.
- Make Frosting: In a standing mixer with the paddle attachment, beat together the softened butter, powdered sugar, vanilla extract, and heavy whipping cream until the frosting is creamy, stiff, and spreadable.
- Assemble Cake Layers: Place one cake layer on your serving board and spread about 1 cup of frosting evenly over the surface.
- Add Second Layer: Place the second cake layer on top of the frosted layer.
- Frost Second Layer: Scoop another 1 cup of frosting onto the second layer and spread it out evenly.
- Add Final Cake Layer: Place the last cake layer on top of the frosted second layer.
- Frost Exterior: Use the remaining frosting to fully frost the outside of the entire cake, smoothing surfaces as desired.
- Chill the Cake: Refrigerate the frosted cake for a few hours to set the frosting hard and cold, making it easier to decorate.
- Create Red Drip Effect: Using the red cookie icing tubes, carefully squeeze red icing around the top edge of the chilled cake to produce a realistic drip effect flowing down the sides.
- Decorate with Skulls: Build a mound of the pre-made candy skulls in the center top of the cake, using any remaining frosting as adhesive to stack and secure the skulls.
- Serve and Enjoy: Once decorated, your Skull Cake is ready to be sliced, served, and enjoyed at your celebration.
Notes
- Be sure to follow candy melt package instructions carefully to avoid overheating and seizing of the candy melts.
- Use a serrated knife when leveling cake layers to achieve a smooth, even finish.
- Chilling the cake before decorating ensures the drip icing does not melt the frosting.
- You can prepare the candy skulls a day in advance to save time on the day of assembly.
- For precise drip effect, practice squeezing cookie icing on the edge using gentle pressure.

