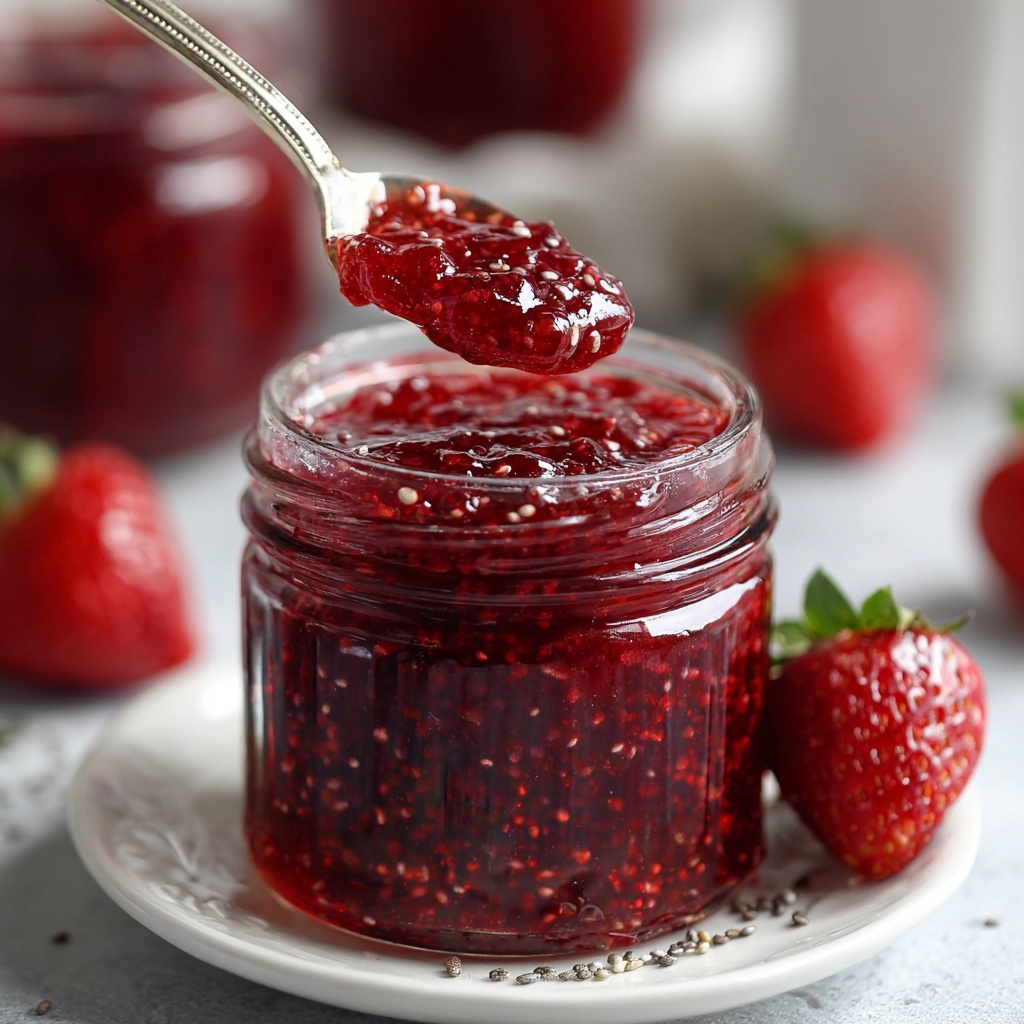
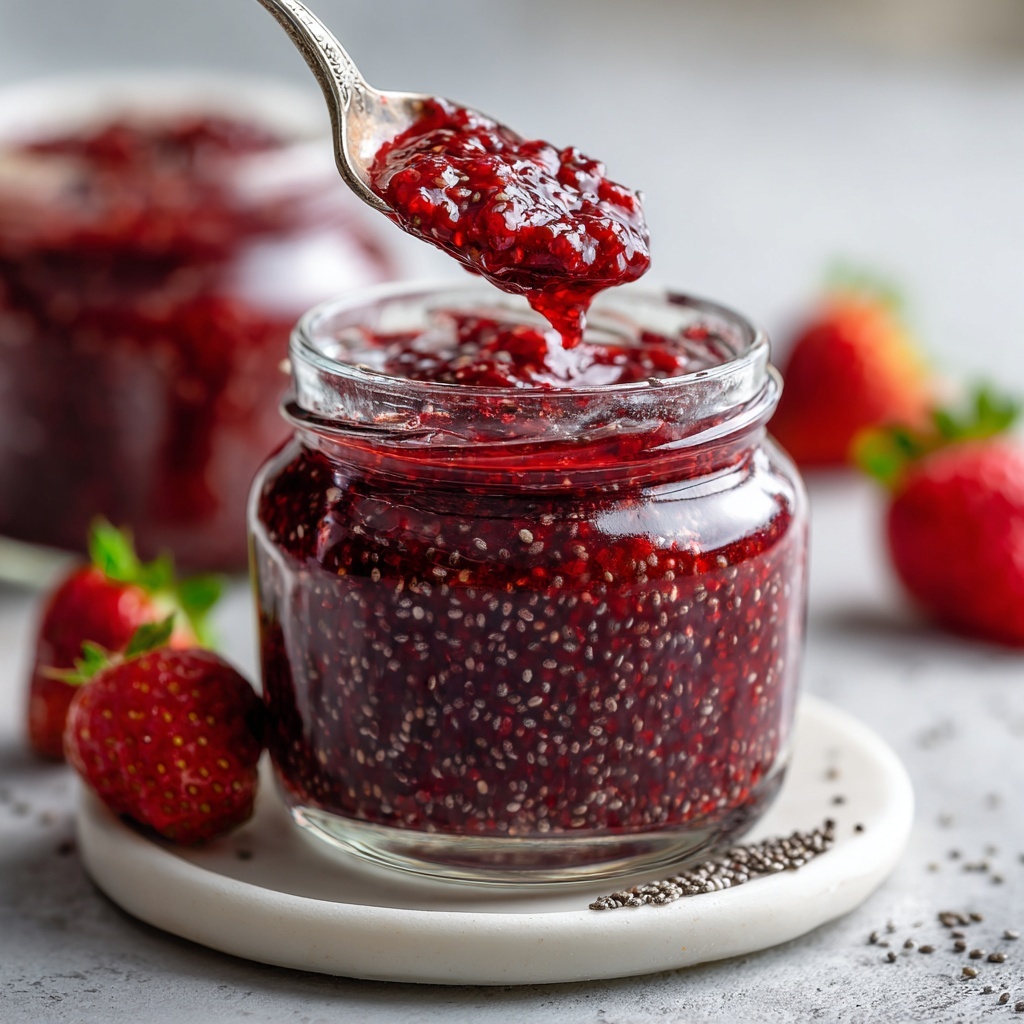
If you’re on the lookout for a delightful, nutritious spread that’s bursting with flavor and incredibly easy to make, this Simple Chia Seed Berry Jam Recipe is about to become your new best friend in the kitchen. It’s a vibrant blend of fresh or frozen berries, naturally sweetened and thickened with chia seeds instead of any artificial pectin or refined sugars. This jam is perfect for brightening up your mornings or adding a wholesome twist to snacks, and it only takes minutes to whip up!
Ingredients You’ll Need
These ingredients are refreshingly simple yet carefully chosen to create a jam that is flavorful, textured, and naturally sweet. Each plays a crucial role—berries bring vibrant color and tang, chia seeds serve as the natural thickener, maple syrup or honey adds just the right touch of sweetness, and lemon juice brightens the whole blend.
- 2 cups fresh or frozen berries: Choose strawberries, raspberries, blueberries, or a mix for a medley of flavors and colors.
- 2 tablespoons chia seeds: These absorb liquid and gel up, transforming your berry mash into a luscious jam.
- 1–2 tablespoons maple syrup or honey: Adjust sweetness to taste for the perfect balance against berry tartness.
- 1/2 teaspoon lemon juice (optional): Adds a subtle tang that lifts and highlights the fruit flavors beautifully.
How to Make Simple Chia Seed Berry Jam Recipe
Step 1: Cook the Berries
Start by placing your chosen berries in a small saucepan over medium heat. Cook them gently for about 5 to 7 minutes, stirring occasionally, until the fruit breaks down, releasing its juices and turning deliciously syrupy. This step is where the jam’s natural sweetness and berry essence really begin to shine.
Step 2: Mash to Desired Texture
Next, use a fork or potato masher to gently crush the berries to your preferred consistency. Whether you like your jam chunky with bits of fruit or smoother, this is your chance to make it exactly how you like it.
Step 3: Stir in Chia Seeds and Sweetener
Remove the saucepan from heat and mix in the chia seeds along with your chosen sweetener—maple syrup or honey. Add the optional lemon juice if you want to give the jam a nice little citrusy kick. The chia seeds start absorbing the berry juices right away, so it’s magic happening in just a few moments.
Step 4: Let it Thicken and Chill
Allow the mixture to rest for 10 to 15 minutes at room temperature so the chia seeds can thicken the jam beautifully. When you’re happy with the consistency, transfer the jam to a jar or airtight container and refrigerate for at least one hour before serving. This chill time lets the flavors meld perfectly.
How to Serve Simple Chia Seed Berry Jam Recipe

Garnishes
Sprinkle a few fresh chia seeds or add a small dollop of whipped coconut cream on top for a pretty, textured garnish that matches the jam’s wholesome vibe. Fresh mint leaves also add a refreshing aroma and splash of color.
Side Dishes
This Simple Chia Seed Berry Jam Recipe pairs wonderfully with toasted bread, warm scones, or crisp crackers. It’s also fantastic when swirled into creamy yogurt, oatmeal, or even spooned over pancakes and waffles for a vibrant breakfast twist.
Creative Ways to Present
For an irresistible snack, layer the jam in small glass jars with granola and Greek yogurt to create beautiful parfaits. Use it as a topping for vegan cheesecakes or blend it into smoothie bowls for that perfect natural sweetness. The possibilities feel endless!
Make Ahead and Storage
Storing Leftovers
Your Simple Chia Seed Berry Jam Recipe keeps well in the refrigerator for up to one week. Just be sure to keep it in a sealed container to maintain freshness and prevent any berry flavors from mingling with other foods in the fridge.
Freezing
If you want to enjoy your jam a little later, you can freeze it for up to three months. Use a freezer-safe container, leaving some space at the top for expansion. Thaw it slowly in the refrigerator overnight before enjoying.
Reheating
If the jam firms up too much after chilling or freezing, simply warm a spoonful gently in the microwave or on the stovetop. This will loosen the texture without compromising the fresh berry flavors and ensures it spreads smoothly every time.
FAQs
Can I use any type of berries for this jam?
Absolutely! Fresh or frozen strawberries, raspberries, blueberries, or a mix of these are perfect for this jam. Each berry brings its unique flavor and color, so feel free to experiment and find your favorite blend.
Do I have to use chia seeds, or is there an alternative?
Chia seeds are key because they naturally thicken the jam without added pectin or gelatin. They also add fiber and nutrients. If needed, flax seeds soaked in water can work as a substitute, but the texture might vary slightly.
How sweet should I make the jam?
The sweetness depends on the tartness of your berries and your taste. Start with one tablespoon of maple syrup or honey, then adjust from there. Remember, you can always add more later if you want it sweeter.
Is this jam suitable for a vegan diet?
Yes! When you use maple syrup or another plant-based sweetener, this Simple Chia Seed Berry Jam Recipe is completely vegan and refined sugar free, making it a healthy choice for many diets.
How long does the jam take to set properly?
After mixing in the chia seeds, letting the jam sit for about 10 to 15 minutes at room temperature allows it to thicken. Refrigerating for at least one hour afterward helps it set fully and develop the best flavor.
Final Thoughts
There’s something truly magical about making your own Simple Chia Seed Berry Jam Recipe at home — it’s fast, nourishing, and full of fresh fruit flavor that store-bought versions just can’t match. Whether you spread it on toast, add it to desserts, or enjoy it by the spoonful, this jam always brings a little sunshine to the table. So grab your berries and give it a try today; you’ll love how simple and delicious homemade jam can be!
Print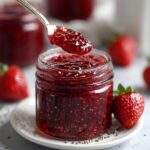
Simple Chia Seed Berry Jam Recipe
- Prep Time: 5 minutes
- Cook Time: 7 minutes
- Total Time: 15 minutes (plus chilling time)
- Yield: 1 cup
- Category: Condiment
- Method: Stovetop
- Cuisine: American
- Diet: Vegan
Description
This Simple Chia Seed Jam is a quick and healthy homemade jam using fresh or frozen berries, chia seeds, and natural sweeteners like maple syrup or honey. It requires no pectin and is perfect for a refined sugar-free option. The jam cooks gently on the stovetop, thickens naturally with chia seeds, and can be enjoyed on toast, yogurt, or oatmeal.
Ingredients
Jam Ingredients
- 2 cups fresh or frozen berries (strawberries, raspberries, blueberries, or a mix)
- 2 tablespoons chia seeds
- 1–2 tablespoons maple syrup or honey (to taste)
- 1/2 teaspoon lemon juice (optional)
Instructions
- Cook Berries: In a small saucepan over medium heat, add the berries and cook for 5–7 minutes, stirring occasionally, until the fruit breaks down and becomes syrupy.
- Mash Berries: Use a fork or potato masher to gently mash the berries to your desired texture.
- Add Ingredients: Remove the pan from heat and stir in the chia seeds, maple syrup or honey, and lemon juice if using.
- Thicken Jam: Let the mixture sit for 10–15 minutes so the chia seeds can absorb the liquid and thicken the jam.
- Refrigerate: Transfer the jam to a jar or airtight container and refrigerate for at least 1 hour before using to allow flavors to meld and texture to set.
Notes
- This jam will keep in the fridge for up to 1 week.
- Adjust the amount of sweetener based on the tartness of the berries.
- Great served on toast, yogurt, or oatmeal.


