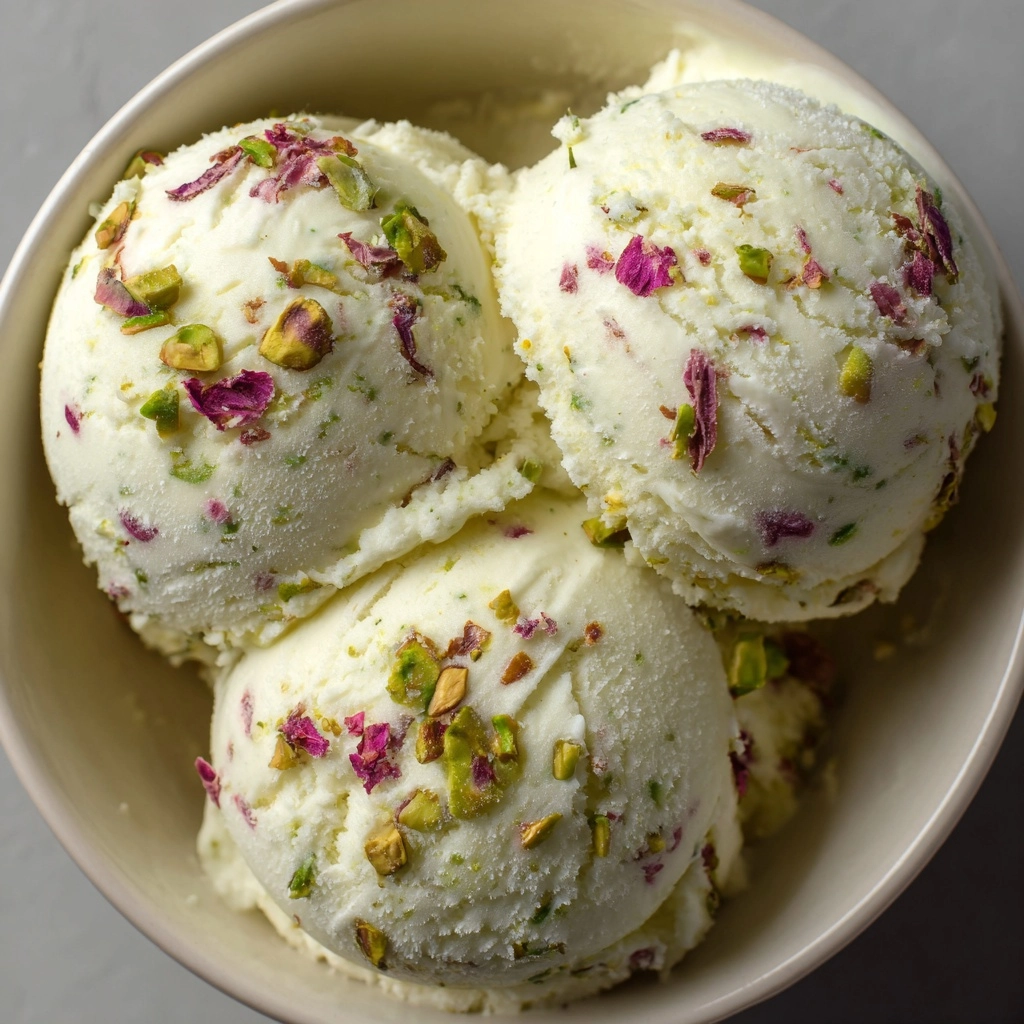
If you’re on the hunt for an unforgettable floral dessert, this Rose Pistachio Cheesecake Ice Cream truly delivers a unique blend of creamy cheesecake richness, fragrant rose water, and crunchy pistachios. With its stunning color, lush texture, and dreamy flavors, this recipe transforms simple ingredients into a show-stopping sweet you can serve any time you want to impress friends, family, or your own tastebuds. Trust me, once you try it, this Rose Pistachio Cheesecake Ice Cream will become a new favorite in your frozen treat repertoire!
Ingredients You’ll Need
You won’t believe how just a handful of easy-to-find ingredients create something as special as Rose Pistachio Cheesecake Ice Cream! Each item brings its own magic—creamy, tangy, floral, and nutty notes all blend into a dessert that’s as gorgeous as it is delicious.
- Cream Cheese: Gives the ice cream a dense, velvety texture and a classic cheesecake tang.
- Heavy Whipping Cream: Whipped to soft peaks for that signature no-churn ice cream fluffiness.
- Sweetened Condensed Milk: Sweetens the mixture and keeps the ice cream scoopable without a machine.
- Whole Milk: Lightens the texture just enough to keep things creamy but not too heavy.
- Granulated Sugar: Adds a gentle, clean sweetness that pairs beautifully with the floral rose water.
- Rose Water: Fragrances the ice cream—start with less, then add more to taste for your perfect floral note.
- Vanilla Extract: Rounds out the flavors with warmth and depth.
- Shelled Pistachios (chopped): Introduces a satisfying crunch and subtle nuttiness in every bite.
- Crushed Dried Rose Petals (optional): For a breathtaking garnish and extra boost of rose aroma.
- Pink Food Coloring (optional): Just a few drops add a pretty blush, hinting at the rose flavor inside.
How to Make Rose Pistachio Cheesecake Ice Cream
Step 1: Beat the Cream Cheese and Sugar
Start by placing your softened cream cheese in a large mixing bowl along with the granulated sugar. Beat the two together until the mixture becomes light, fluffy, and smooth—no lumps allowed! This step really sets the creamy, tangy base that makes this ice cream taste like a frozen slice of cheesecake.
Step 2: Mix in Milks, Rose Water, and Vanilla
Add the sweetened condensed milk, whole milk, rose water, and vanilla extract. Give everything a good mix until the ingredients are fully combined and the mixture is glossy and luscious. At this point, give it a little taste and adjust the rose water if you want a more intense floral note—remember, brands can differ in potency.
Step 3: Whip the Cream
In a separate bowl, pour in your heavy whipping cream and use a handheld mixer or stand mixer to beat it until soft peaks form. This step is important for achieving that airy, scoopable texture you want in a no-churn ice cream.
Step 4: Fold Everything Together
Gently fold the whipped cream into the cream cheese-rose mixture. Do this slowly to maintain the fluffiness. If you’re using food coloring, now’s the time to add a drop or two and lightly fold so you don’t overmix—you want just a blush of rosy color!
Step 5: Stir in the Pistachios
Add the chopped pistachios and fold them through so every scoop of your Rose Pistachio Cheesecake Ice Cream gets a bit of crunch and nutty flavor. The combination of creamy and crunchy is truly irresistible.
Step 6: Freeze and Garnish
Pour the mixture into a freezer-safe container and use a spatula to smooth out the top. Sprinkle with extra pistachios and a shower of crushed dried rose petals if you’re feeling fancy. Cover tightly and freeze for at least six hours—overnight if you can stand the wait!
Step 7: Scoop and Serve
Before serving, let your Rose Pistachio Cheesecake Ice Cream sit at room temperature for five to ten minutes to soften slightly, making it easy to scoop. Now it’s time to enjoy every dreamy, floral, nutty bite!
How to Serve Rose Pistachio Cheesecake Ice Cream
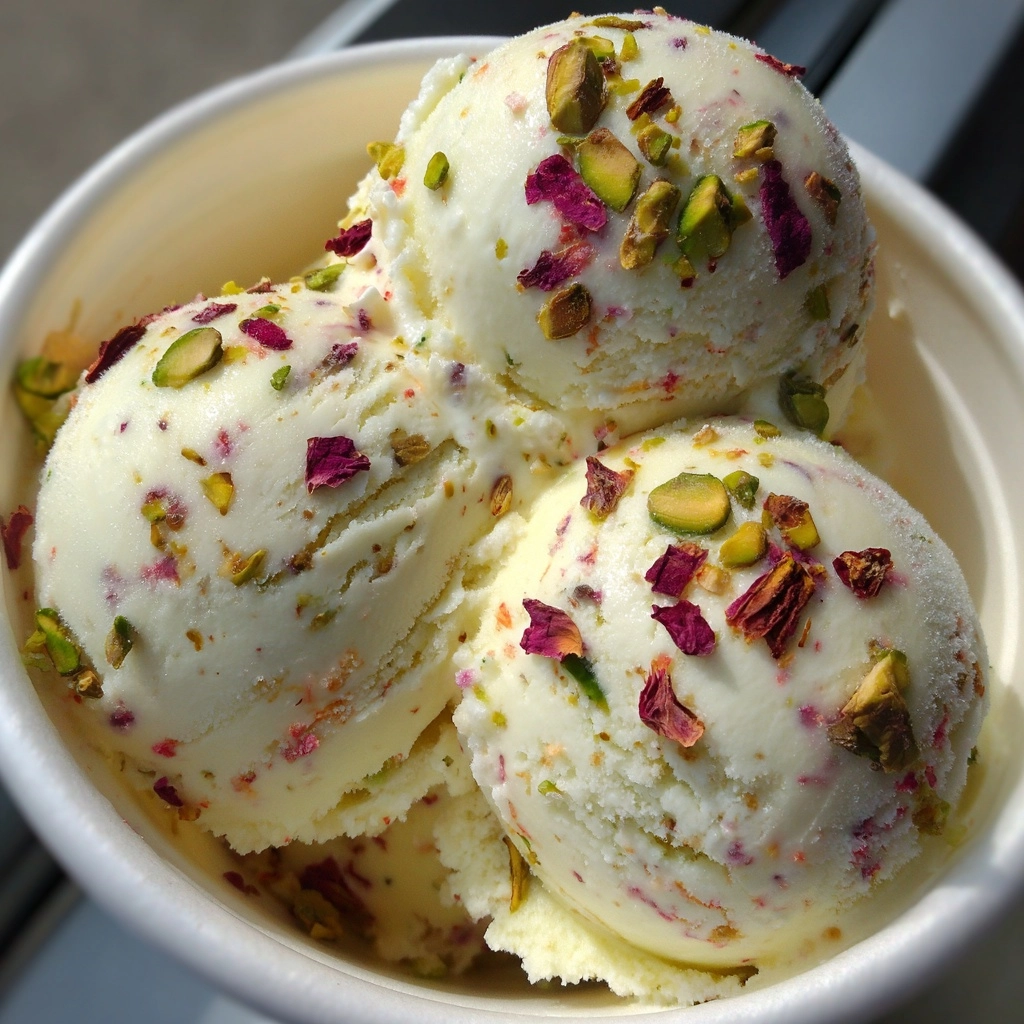
Garnishes
This is your moment to make your ice cream pop visually and flavor-wise! A sprinkle of extra chopped pistachios and a generous pinch of crushed dried rose petals on top turn every scoop into a picture-perfect dessert. For an extra special touch, add a couple whole pistachios or a tiny edible flower to each serving.
Side Dishes
While Rose Pistachio Cheesecake Ice Cream truly stands on its own, pairing it alongside crisp butter cookies or delicate shortbread works like magic. The buttery crunch makes a delicious contrast with the creamy, floral ice cream. You can also pair it with fresh strawberries or poached pears for a fruity, elegant dessert plate.
Creative Ways to Present
Show off your beautiful ice cream by scooping it into elegant coupe glasses, dainty tea cups, or even tiny edible waffle bowls. For a stunning party presentation, drizzle with a touch of rose syrup and stack a few cubes of Turkish delight on the side. Or try sandwiching a scoop between two pistachio cookies for an unforgettable ice cream sandwich!
Make Ahead and Storage
Storing Leftovers
Keep any leftover Rose Pistachio Cheesecake Ice Cream in a tightly sealed, freezer-safe container. It maintains its best flavor and texture within two weeks, so don’t be shy—dig in often! If possible, press a piece of parchment or plastic wrap directly on the surface of the ice cream before sealing to minimize freezer burn.
Freezing
This ice cream is fabulously freezer-friendly—one of the joys of no-churn desserts! Just make sure your container is airtight. If you’re prepping ahead for a party, you can make the recipe up to a week in advance, and it will still taste wonderfully fresh and fragrant.
Reheating
No reheating required! Simply pull your container out of the freezer and let it sit at room temperature for 5 to 10 minutes to soften before scooping. This makes serving time a breeze (and eliminates impatience—we all know the struggle of rock-solid ice cream that just won’t yield!).
FAQs
Can I use low-fat cream cheese or milk?
You can swap in low-fat cream cheese and lower-fat milk, but just note that your Rose Pistachio Cheesecake Ice Cream will lose some of its signature richness and might be a bit icier. For the creamiest and dreamiest texture, full fat is best!
How strong is the rose flavor?
The beauty of this recipe is you can customize the floral note! Start with a smaller amount of rose water, taste the mixture, and add more if you prefer a stronger essence. The intensity depends a lot on your particular brand of rose water.
Can I make this dairy-free?
Absolutely! Use your favorite dairy-free cream cheese, coconut cream in place of heavy cream, and a plant-based condensed milk. The result will be different but just as delightful, and you’ll still achieve that luscious, floral goodness.
Do I need an ice cream maker?
No machine required—this Rose Pistachio Cheesecake Ice Cream is completely no-churn! The whipped heavy cream is the trick to getting a soft, scoopable texture, all in your home freezer.
What else can I add to the ice cream?
If you want to switch things up, try swirling in a little raspberry jam before freezing, or add bits of white chocolate for some extra decadence. Just be sure to keep the add-ins small so your ice cream stays smooth and creamy!
Final Thoughts
This Rose Pistachio Cheesecake Ice Cream has a little magic in every bite—creamy, floral, and just a bit nutty, it’s destined to make regular appearances in your summer dessert lineup. I hope you fall in love with it as much as I have. There’s something truly special about sharing an icy scoop of something homemade and unique, so give it a try and treat yourself and your loved ones to this memorable, Middle Eastern-inspired delight!