
If you’ve ever found yourself daydreaming about pillow-soft dumplings filled with warm, cozy flavors, then the Roasted Butternut Squash and Feta Pierogi Recipe is about to become your new obsession. Imagine the natural sweetness of roasted butternut squash perfectly balanced by tangy, creamy feta, all wrapped in tender, homemade dough that’s cooked to perfection. This dish is comfort food elevated, a delightful blend of Eastern European tradition and seasonal freshness, guaranteed to bring both smiles and satisfied sighs to your dinner table.

Ingredients You’ll Need
Getting started with this Roasted Butternut Squash and Feta Pierogi Recipe is easy because the ingredients are simple yet incredibly important. Each one plays a crucial role in creating the perfect harmony of flavors, textures, and colors that make this dish so unforgettable.
- 1 medium butternut squash (about 3 cups if cut up): The star of the show, offering natural sweetness and creamy texture after roasting.
- 1 Vidalia onion, chopped: Adds a gentle sweetness and depth when sautéed.
- 1/2 teaspoon dried thyme: Brings a subtle earthiness to round out the filling.
- 1 cup feta cheese: Provides a tangy, salty punch to balance the squash’s sweetness.
- 1/2 teaspoon salt (plus more for roasting): Enhances all the flavors harmoniously.
- Freshly ground black pepper: Adds a gentle kick and complexity.
- 2 tablespoons olive oil: Used for roasting and sautéing to impart richness and flavor.
- 3 cups all-purpose flour: The base for the tender, yet sturdy dough.
- 1/2 cup very warm milk: Helps create a soft, pliable dough.
- 1/2 cup very warm water (up to 3/4 cup depending on flour soak): Adjusts dough consistency perfectly as you knead.
- 1 tablespoon unsalted butter, melted: Adds delicate richness to the dough.
- Pinch kosher salt: Balances the dough flavors.
- 1 tablespoon unsalted butter and 1 tablespoon extra virgin olive oil: For frying the pierogi until golden perfection.
- 6 sage leaves: Introduces an aromatic, savory touch during frying.
How to Make Roasted Butternut Squash and Feta Pierogi Recipe
Step 1: Roast the Butternut Squash
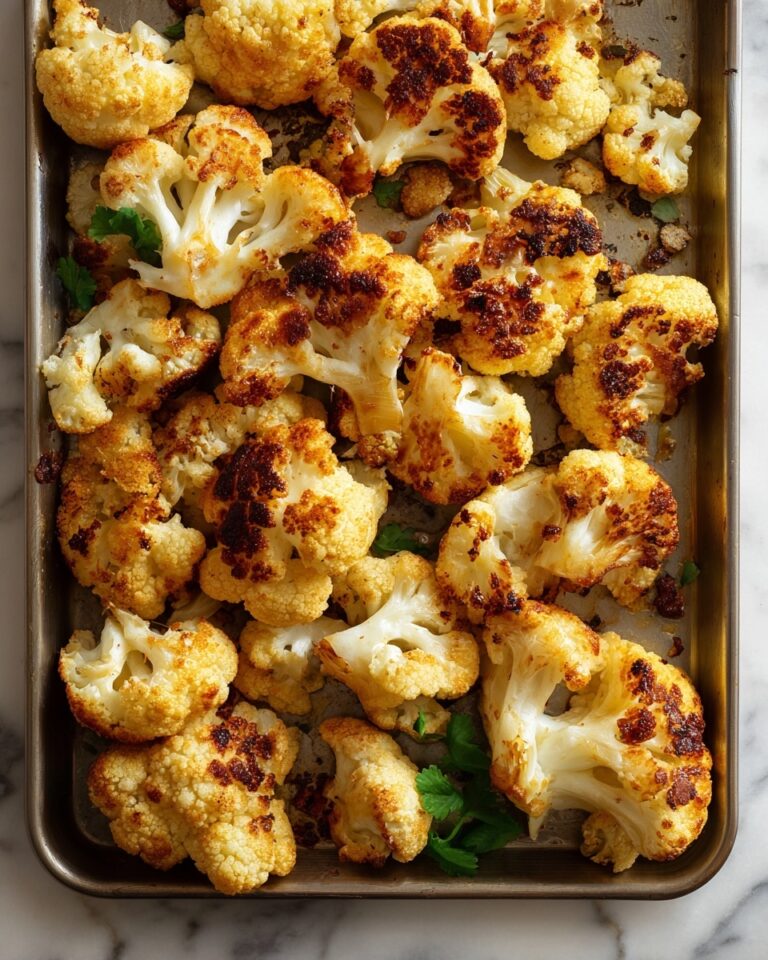
Start by cutting your butternut squash in half and scooping out the seeds. Brush both cut sides generously with olive oil, then sprinkle with salt and freshly ground black pepper. Pop these beauties into the oven to roast for about 50 to 60 minutes, until they’re tender and caramelized. The roasting process intensifies their natural sweetness, forming the foundation of your filling’s flavor.
Step 2: Prepare the Onion Mixture
While your squash is roasting, sauté your chopped Vidalia onion in a tablespoon of olive oil over medium heat. Cook until it softens and gains a beautiful golden tint, about five minutes. Stir in the dried thyme and cook for another minute to wake up those fragrant notes. Once done, set this mixture aside to cool. This step adds a lovely savory layer to the filling.
Step 3: Make the Filling
Once your roasted squash is cool enough to handle, scoop the flesh into a food processor. Pulse it until it reaches a smooth, almost pureed consistency—about a minute. To that, add the sautéed onion-thyme blend, crumble in your feta cheese, and season with salt and pepper. Pulse a few more times until everything is combined but still has a bit of texture. This vibrant mixture is the delightful heart of your pierogi.
Step 4: Prepare the Dough
In a large bowl, form a well in your measured flour and add the warm milk and melted butter. Gradually pour in warm water while mixing, adjust the amount as needed to bring the dough together. Knead for 10 to 15 minutes until it’s smooth and elastic; this care ensures your pierogi dough will be tender yet strong enough to hold the filling. Cover with a bowl and let it rest quietly for 20 to 30 minutes—a little patience here makes all the difference.
Step 5: Shape and Fill the Pierogi
Divide your rested dough into four portions, keeping the extras covered. Roll out one portion at a time until it’s as thin as pasta dough. Use a cookie cutter or a large wine glass to cut circles from the dough. Place a teaspoon of filling in the center of each circle, then wet the edges with water, folding one half over the filling and sealing it tightly. This step might take a bit of practice but trust me, it’s incredibly satisfying!
Step 6: Cook and Fry
Bring a large pot of salted water to a boil and gently drop in your assembled pierogi in batches. Cook them until they float to the surface, about 2 to 3 minutes—this means they are tender and cooked through. For an extra bit of golden crunch and flavor, dry the boiled pierogi and fry them in a mix of butter and olive oil with crispy sage leaves for about a minute on each side. That aroma and crispiness are pure magic!
How to Serve Roasted Butternut Squash and Feta Pierogi Recipe

Garnishes
Don’t underestimate the power of garnishes when serving your pierogi. A sprinkle of fresh chopped parsley or dill adds a fresh, herbal brightness. Some toasted pumpkin seeds can offer a delightful crunch and nutty contrast. And of course, a drizzle of browned butter with crisp sage leaves isn’t just decorative—it elevates each bite to something truly special.
Side Dishes
These pierogi pair wonderfully with simple sides that won’t overpower their delicate flavors. A light mixed greens salad dressed with lemon vinaigrette brings freshness. Creamy sour cream or Greek yogurt on the side adds coolness that perfectly complements the warm, savory filling. For a heartier meal, roasted root vegetables or caramelized Brussels sprouts make excellent partners.
Creative Ways to Present
Looking to impress your guests? Serve your roasted butternut squash and feta pierogi nestled in a bed of sautéed spinach or kale, topped with a sprinkle of toasted walnuts and a dusting of smoked paprika. Alternatively, create a savory pierogi stack drizzled with a sage-infused brown butter sauce. Presentation can be rustic or elegant—either way, the flavors shine through beautifully.
Make Ahead and Storage
Storing Leftovers
If you have any leftover pierogi (and you might just!), store them in an airtight container in the refrigerator for up to 3 days. Be sure they’re cooled completely before sealing to maintain their texture and freshness.
Freezing
The great news is this Roasted Butternut Squash and Feta Pierogi Recipe freezes beautifully! Arrange uncooked pierogi on a parchment-lined tray and freeze until solid. Then transfer them to a freezer-safe bag or container. They’ll keep well for up to 3 months and can be cooked straight from frozen without losing their charm.
Reheating
When it’s time to enjoy your leftovers, reheat your pierogi by pan-frying them gently in butter and oil until warmed through and crisped, or simmer them briefly in boiling water and then finish with a quick fry for that perfect texture and flavor revival.
FAQs
Can I use a different type of cheese instead of feta?
Absolutely! While feta adds a bright, tangy dimension, you can experiment with cheeses like ricotta for creaminess or goat cheese for a subtle tartness. Just keep in mind the saltiness adjustments.
Is it possible to make the dough gluten-free?
Yes, though using gluten-free flour blends may require some tweaking in liquid ratios and kneading time. Look for a high-quality all-purpose gluten-free flour and add a binding agent like xanthan gum if needed.
How do I store pierogi if I want to cook them later?
To prevent sticking, freeze them on a tray before transferring to a container. When ready, you can cook them directly from frozen without thawing.
Can I bake the pierogi instead of frying after boiling?
Definitely! After boiling, place the pierogi on a baking sheet, brush with melted butter, and bake at 375°F (190°C) until golden and slightly crispy, which offers a lighter alternative to frying.
What makes the butternut squash filling so flavorful?
The roasting process caramelizes the sugars in the squash, intensifying its natural sweetness. Combined with the savory onion, aromatic thyme, and salty feta, it creates a wonderfully balanced filling.
Final Thoughts
This Roasted Butternut Squash and Feta Pierogi Recipe is one of those rare dishes that feels like a warm hug and a special occasion all at once. Whether you’re making it for a cozy night in or to wow your friends, it’s a deliciously rewarding project that fills your kitchen with fantastic aromas and your heart with satisfaction. Give it a try—you might just discover your new favorite comfort food!
Print
Roasted Butternut Squash and Feta Pierogi Recipe
- Prep Time: 30 minutes
- Cook Time: 1 hour 10 minutes
- Total Time: 1 hour 40 minutes
- Yield: 4 servings (approximately 20-24 pierogi)
- Category: Main Dish
- Method: Roasting and Boiling with Optional Pan Frying
- Cuisine: Eastern European
- Diet: Vegetarian
Description
These Roasted Butternut Squash Feta Pierogi blend sweet, tender roasted butternut squash with tangy feta cheese and aromatic herbs. Wrapped in a tender homemade dough, these Eastern European-inspired dumplings are boiled and then optionally fried to a crispy golden perfection, offering a comforting, savory dish perfect for fall or anytime you’re craving a hearty, flavorful meal.
Ingredients
Filling
- 1 medium butternut squash (about 3 cups if using cut up)
- 1 Vidalia onion, chopped
- 1/2 teaspoon dried thyme
- 1 cup feta cheese
- 1/2 teaspoon salt (plus more for roasting squash)
- Freshly ground black pepper, to taste
- 2 tablespoons olive oil (divided)
Dough
- 3 cups all-purpose flour
- 1/2 cup very warm milk
- 1/2 cup very warm water (up to 3/4 cup depending on absorption)
- 1 tablespoon unsalted butter, melted
- Pinch kosher salt
For Cooking and Serving
- 1 tablespoon unsalted butter
- 1 tablespoon extra virgin olive oil
- 6 sage leaves
Instructions
- Prepare and roast the butternut squash: Cut the butternut squash in half and remove the seeds. Brush both cut sides with 1 tablespoon of olive oil, season with salt and freshly ground black pepper. Place cut side down on a baking tray and roast in a preheated oven at 400°F (200°C) for 50-60 minutes, or until the squash is fork-tender.
- Sauté the onions and herbs: While the squash roasts, heat 1 tablespoon olive oil in a skillet over medium heat. Add the chopped Vidalia onion and cook until slightly browned, about 5 minutes. Stir in the dried thyme and cook for an additional minute. Remove from heat and allow to cool.
- Puree the squash filling: Once the roasted squash has cooled slightly, scoop the flesh into a food processor and pulse until almost smooth, about 1 minute. Add the cooled onion mixture, feta cheese, 1/2 teaspoon salt, and freshly ground pepper to the processor. Pulse 2-3 times to combine while maintaining some texture. Taste and adjust seasoning as needed.
- Make the dough: In a large mixing bowl, create a well in the center of the 3 cups of all-purpose flour. Pour in the warm milk and melted butter. Slowly add warm water, a little at a time, mixing as you go until a soft dough forms. Knead the dough on a floured surface for 10-15 minutes until smooth and elastic. Cover with a bowl and let rest for 20-30 minutes.
- Roll and cut the dough: Divide the rested dough into four portions, keeping the unused portions covered to prevent drying. Roll out one portion at a time on a lightly floured surface until thin, about the thickness of pasta dough. Using a round cookie cutter or large wine glass, cut circles from the dough.
- Fill and seal the pierogi: Place about 1 teaspoon of the butternut squash and feta filling onto the center of each dough circle. Moisten the edge of the circle with water, fold in half, and press firmly to seal, ensuring no air pockets remain. Crimp edges for an extra seal.
- Boil the pierogi: Bring a large pot of salted water to a gentle boil. Carefully add the pierogi in batches to avoid overcrowding. When they float to the surface, cook for an additional 2-3 minutes. Remove with a slotted spoon and drain on a clean kitchen towel.
- Fry the pierogi (optional): For a crispy finish, heat 1 tablespoon unsalted butter and 1 tablespoon extra virgin olive oil in a skillet over medium heat. Add sage leaves to infuse the oil. Fry the boiled pierogi for about 1 minute per side, or until golden brown and crispy. Remove from skillet and serve warm.
Notes
- You can prepare the filling and dough in advance to save time on the day of cooking.
- Make sure not to overfill the pierogi to prevent bursting during boiling.
- Frying after boiling adds a crispy texture but is optional for a lighter dish.
- Use warm liquids when making the dough to help activate the gluten and create a pliable dough.
- Leftover pierogi can be refrigerated for up to 3 days or frozen before boiling.


