
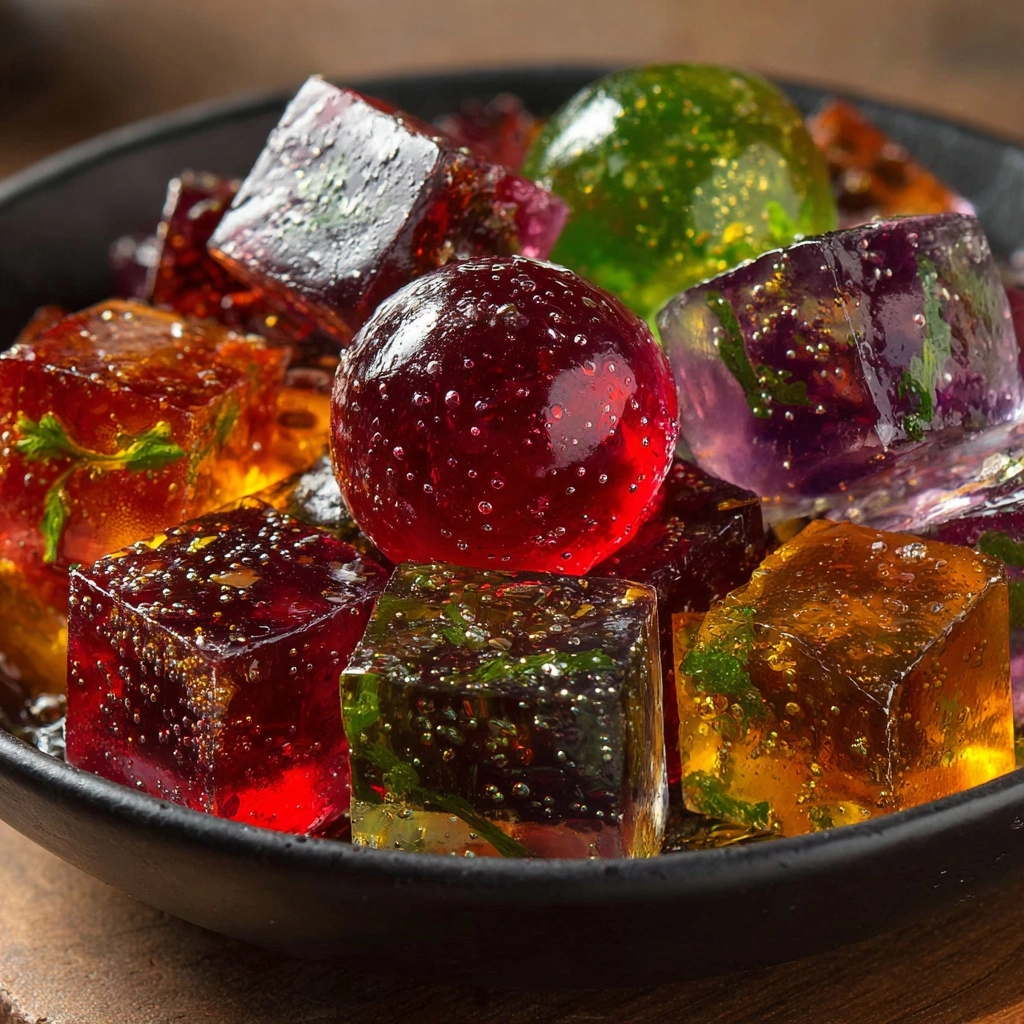
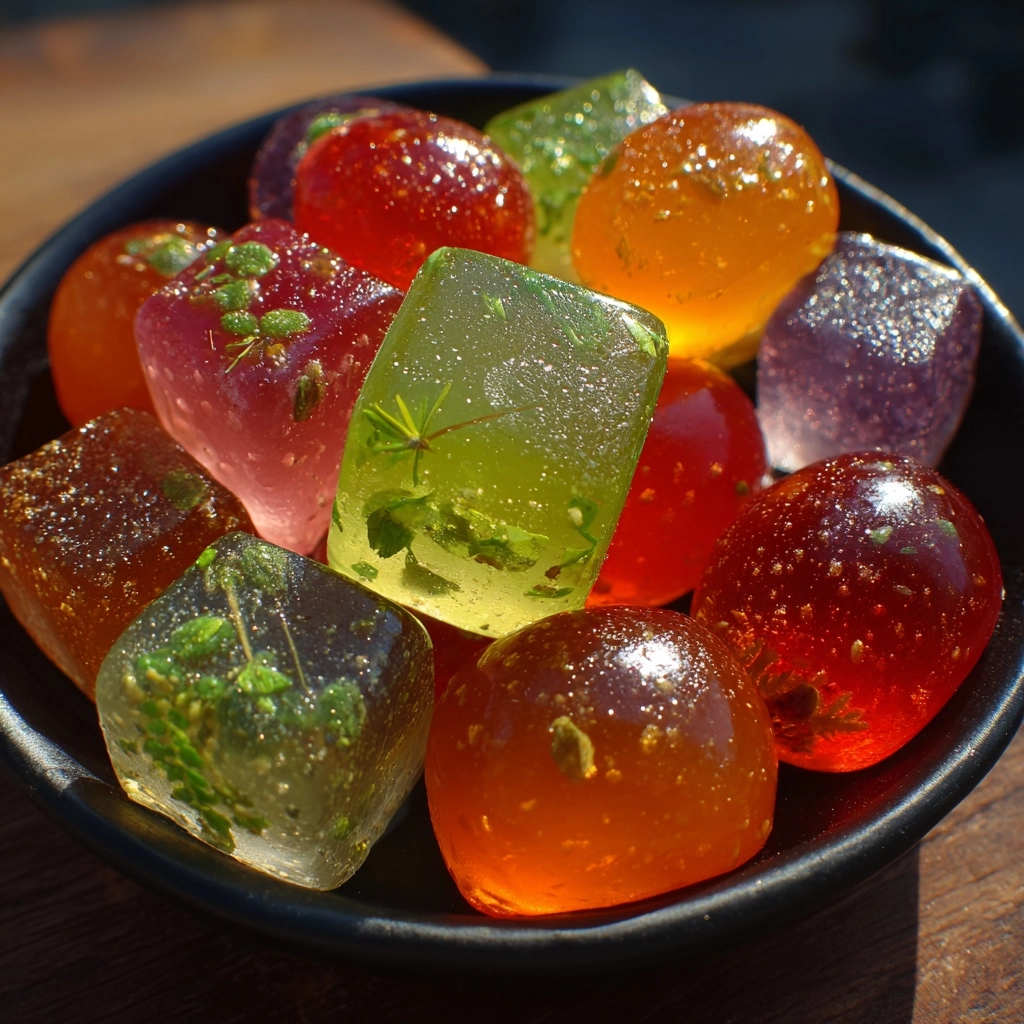
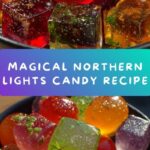
If magic could be captured in a candy, the Northern Lights Candy Glow would be it! Imagine glimmering shards of vibrant blue, green, and purple, swirling together like an edible aurora borealis and sparkling with a hint of edible glitter. This recipe transforms your kitchen into a laboratory of wonder, yielding a homemade treat that’s equally dazzling to look at and delicious to taste. Whether you’re making it for a holiday party, a galaxy-themed birthday, or just to brighten a rainy afternoon, this sweet confection will leave everyone in awe. Even better? Northern Lights Candy Glow is easy enough for beginners yet impressive enough to wow the candy connoisseurs in your life!
Ingredients You’ll Need
Ingredients You’ll Need
Candy-making may sound intimidating, but with just a handful of pantry staples and a few whimsical touches, you’re all set to create your own Northern Lights Candy Glow. Each ingredient genuinely brings something to the party, whether it’s shine, flavor, or those mesmerizing colors that make this recipe so special.
- Granulated Sugar: The backbone of the candy, providing structure and sweetness for your glowing shards.
- Light Corn Syrup: Helps prevent crystals, creating a perfectly clear, glossy candy.
- Water: Dissolves the sugar, ensuring everything melds together smoothly as it heats.
- Cream of Tartar: Just a touch keeps your syrup from becoming grainy—your secret to that flawless glassy look.
- Salt: A pinch sharpens all the flavors, so every bite tastes as bold as it looks.
- Food Coloring (Blue, Green, Purple): Choose gel for the most vivid, cosmic swirls or liquid for soft watercolor marbling. The color makes the Northern Lights Candy Glow truly magical!
- Peppermint or Berry Flavoring (Optional): Just a hint transforms these Aurora-inspired candies into a refreshing delight.
- Edible Glitter or Luster Dust (Optional): For that essential shimmer—because real auroras always sparkle!
- Candy Thermometer: Precision is key—this tool helps you nail that perfect candy texture every time.
- Parchment Paper or Silicone Mat: Ensures your candy lifts off easily once it’s set and shatteringly crisp.
How to Make Northern Lights Candy Glow
Step 1: Prep Your Candy Canvas
Line a baking sheet with parchment paper or a silicone mat and set it nearby—you’ll want everything ready once your candy hits the hard crack stage. Having your tools in place means you can bring your vision to life quickly, with as little stress as possible. The right surface makes sure those magical, marbled shards pop right off when they’re finished.
Step 2: Mix Base Ingredients
In a medium saucepan, combine your granulated sugar, light corn syrup, water, cream of tartar, and salt. Stir the mixture gently over medium heat until the sugar has dissolved and your syrup looks clear and uniform. Taking it slow at this stage guarantees your Northern Lights Candy Glow will be as smooth as can be, the perfect blank canvas for your colors.
Step 3: Heat to Hard Crack Stage
Once the sugar is dissolved, stop stirring and attach your candy thermometer to the saucepan. Allow the mixture to boil, keeping a close watch without touching or stirring. You’re looking for it to reach 300°F—this is the “hard crack” stage that yields crisp, shatterable candy. Patience pays off here; the right temperature means perfect texture every time.
Step 4: Add Flavor and Color
The moment your syrup hits 300°F, immediately take it off the heat and stir in your optional peppermint or berry flavoring (if using). Next, quickly add drops of blue, green, and purple food coloring. Use a skewer or toothpick to swirl the colors together—just a few gentle strokes will create an incredible marbled effect, and you’ll instantly see the Northern Lights Candy Glow come alive in your pan! Avoid overmixing so the colors remain distinct and vibrant.
Step 5: Pour and Decorate
Carefully pour your hot, colorful candy syrup onto the prepared sheet, tilting gently to spread it evenly. While the candy is still warm, dust the surface with edible glitter or luster dust for that essential radiant shimmer. This is when your kitchen feels like a real-life Aurora Borealis laboratory! Let the candy cool completely—the anticipation is worth every second. When ready, break into glass-like shards using a mallet or just your hands and enjoy the stunning spectacle.
How to Serve Northern Lights Candy Glow
Garnishes
A little extra sparkle can make your Northern Lights Candy Glow pop even more. Before serving, consider adding a final sprinkle of edible glitter or gently brushing on extra luster dust. If you want to lean into the candy’s celestial origins, a few edible stars or confetti will transform your serving platter into a stargazer’s dream. Just remember: sometimes a simple pile of jewel-toned shards is all the magic you need.
Side Dishes
While the Northern Lights Candy Glow shines brightest on its own, it makes a whimsical addition to a dessert board or candy tray. Pair with chocolate truffles, sugar cookies, or macarons for a galaxy-inspired spread. For a showstopping drink garnish, serve alongside a sparkling berry mocktail or even a classic hot chocolate—those dazzling candy shards perched on top will impress guests of every age.
Creative Ways to Present
Layer the shards in a glass apothecary jar or clear vase for a centerpiece everyone will want to snack on! Or, pack them in cellophane treat bags as enchanting party favors at birthdays, showers, or holiday gatherings. For an extra special touch, use shards of Northern Lights Candy Glow to decorate cakes, cupcakes, or even ice cream sundaes. The possibilities are as limitless as the night sky!
How to Serve
Serve this delicious recipe with your favorite sides.
Make Ahead and Storage
Storing Leftovers
Keep your leftover Northern Lights Candy Glow in an airtight container at room temperature, somewhere cool and dry. Avoid humid areas like kitchens in summer or near steamy ovens—humidity is the enemy of hard candy, making it sticky and less crisp. Stored properly, your candy shards will keep their color and crunch for up to two weeks, ready to wow at a moment’s notice.
Freezing
While it might seem tempting to freeze candy for longer storage, Northern Lights Candy Glow is best enjoyed fresh or stored at room temperature. Freezing can cause condensation when thawed, leaving you with sticky or cloudy candy. If longevity is your goal, just keep things airtight and dry—you’ll never need the freezer!
Reheating
If your candy becomes sticky or loses some of its snap due to humidity, unfortunately, reheating won’t restore its glorious texture. Instead, break fresh shards as needed or make a new batch—luckily, the recipe is fast and fun enough that another round will barely feel like work!
FAQs
Can I make Northern Lights Candy Glow without a candy thermometer?
While a candy thermometer ensures perfect results, you can try the “hard crack” test: drizzle a bit of syrup into cold water—if it instantly turns brittle and cracks, it’s ready. Still, for best results and the most reliable glow, investing in a thermometer is highly recommended.
How do I get the most vibrant colors?
Gel food colorings work best, since they’re more concentrated and create bold, swirling marbles that truly evoke the aurora look. If you only have liquid colors, use several drops to deepen the hues, and swirl just enough for the effect to stay eye-catching.
Can I use other flavors or add-ins?
Absolutely! The Northern Lights Candy Glow is a perfect canvas for creativity. Try citrus, coconut, or floral extracts for a new twist, or sprinkle tiny edible pearls or stars on top for an extra-special finish.
Is this recipe safe for kids to help with?
Children can definitely help with swirling colors and adding glitter, but the hot sugar syrup step should be managed by adults only—melted sugar gets extremely hot and can burn quickly. Invite kids in for the fun parts and let grown-ups handle the stovetop!
Can I double or halve the recipe?
Easily! For larger batches, simply double everything and use a bigger pan to spread the syrup evenly. If making a smaller amount, halve the ingredients and keep a close eye on the thermometer—the cooking time may be a bit shorter.
Final Thoughts
If you’ve ever wished you could taste the magic of the aurora borealis, Northern Lights Candy Glow is your delicious invitation. Dazzling, simple to make, and endlessly customizable, this recipe is destined to become a hit for holidays, birthdays, or whenever life calls for a little extra sparkle. Grab your ingredients and get ready to let your own candy creation shine!
Print
Northern Lights Candy Glow Recipe
- Prep Time: 10 minutes
- Cook Time: 15 minutes
- Total Time: 25 minutes
- Yield: 12 servings
- Category: Dessert, Candy
- Method: Stovetop
- Cuisine: American
- Diet: Gluten-Free, Vegan
Description
Create your own mesmerizing Northern Lights Candy Glow with this homemade hard candy recipe. Infused with vibrant colors and a hint of mint or berry flavor, these shimmering treats are perfect for the holiday season or as a unique edible gift.
Ingredients
Main Candy:
- 1 cup granulated sugar
- 1/2 cup light corn syrup
- 1/4 cup water
- 1/4 teaspoon cream of tartar
- 1/8 teaspoon salt
Additional:
- Food coloring in blue, green, and purple gel or liquid form
- 1/2 teaspoon peppermint or berry flavoring (optional)
- Edible glitter or luster dust (optional)
- Candy thermometer
- Parchment paper or silicone mat
Instructions
- Prepare the Candy Mixture: Line a baking sheet and combine sugar, corn syrup, water, cream of tartar, and salt in a saucepan. Stir until sugar dissolves.
- Cook the Candy: Boil the mixture to 300°F without stirring. Remove from heat, add flavoring, and swirl in food coloring.
- Shape the Candy: Pour onto the sheet, spread gently, sprinkle with glitter, and let cool.
- Break into Pieces: Once cooled, break the candy into shards using a mallet or hands.
Notes
- Store candy in an airtight container in a cool, dry place for up to two weeks.
- Avoid humid environments to prevent stickiness.
- Use gel coloring for more vibrant hues and better marbling.
Nutrition
- Serving Size: 1 piece
- Calories: 90
- Sugar: 18g
- Sodium: 15mg
- Fat: 0g
- Saturated Fat: 0g
- Unsaturated Fat: 0g
- Trans Fat: 0g
- Carbohydrates: 23g
- Fiber: 0g
- Protein: 0g
- Cholesterol: 0mg