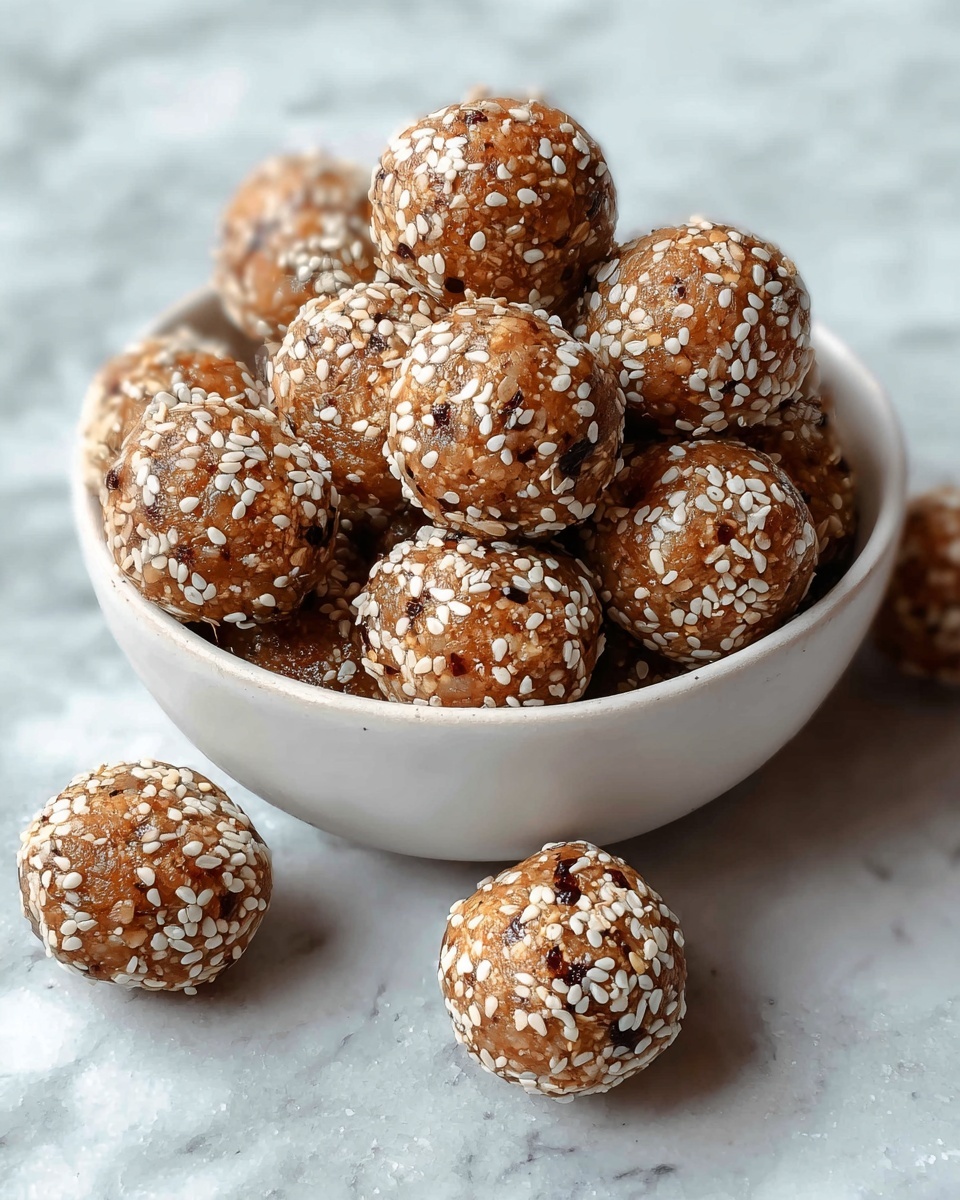
If you are on the lookout for a snack that is both nourishing and incredibly easy to whip up, this No Bake Protein Balls Recipe is going to become your new best friend. Imagine bite-sized bursts of wholesome oats, creamy nut butter, and protein-packed goodness all rolled into convenient little balls that require zero oven time. Whether you need a pre-workout boost, a quick breakfast alternative, or a midday pick-me-up, these protein balls deliver flavor, texture, and energy with minimal effort. Let me walk you through all the simple, delightful steps to make these irresistible treats!
Ingredients You’ll Need
This recipe shines because it relies on simple, pantry-friendly ingredients that each play a critical role in the flavor and nutrition of your protein balls. From the hearty oats to the sweet honey and protein powder, every item adds something special, making this recipe both satisfying and wholesome.
- 1 cup oats (old-fashioned or quick oats): Provides a chewy texture and a solid base full of fiber and complex carbs.
- 1/2 cup peanut butter (or almond butter): Adds creamy richness and healthy fats, plus a wonderful nutty flavor.
- 1/3 cup honey (or maple syrup): Acts as a natural sweetener that also helps bind everything together.
- 1/2 cup protein powder (vanilla or chocolate): The star for boosting protein content and flavor customization.
- 1/4 cup chia seeds (optional): Offers a little crunch along with omega-3s and fiber.
- 1/4 cup flaxseed meal (optional): Boosts nutrition and adds a subtle nutty undertone.
- 1/4 cup mini chocolate chips (optional): Brings a touch of indulgent sweetness and texture contrast.
- 1 tsp vanilla extract: Enhances overall flavor with warm, aromatic notes.
How to Make No Bake Protein Balls Recipe
Step 1: Combine the Dry Ingredients
Start by grabbing a large mixing bowl and adding the oats, protein powder, chia seeds, flaxseed meal, and mini chocolate chips (if you’re using them). This mixture forms the flavorful and nutrient-dense base for your protein balls. Giving everything a good stir now ensures all the dry bits are evenly distributed.
Step 2: Add the Wet Ingredients
Next, add the peanut butter, honey, and vanilla extract directly into the bowl with your dry ingredients. Stir it all together well; at first, the mixture may feel crumbly, but as you keep mixing—using your hands if needed—it will come together into a slightly sticky dough that’s perfect for rolling.
Step 3: Roll into Balls
Time to get your hands a bit messy! Pinch off portions of the mixture roughly 1 to 2 tablespoons in size and roll them between your palms to form nice, compact balls. Don’t worry if they’re not perfectly round—rustic charm counts here. Place each formed ball onto a baking sheet lined with parchment paper.
Step 4: Chill to Firm Up
Once all the balls are shaped, pop the baking sheet into the refrigerator for at least 30 minutes. This chilling step is essential because it helps the protein balls firm up so they hold their shape nice and tidy when you grab one later.
Step 5: Store or Enjoy
After chilling, your No Bake Protein Balls Recipe creations are ready to enjoy right away! Or you can store them in an airtight container in the fridge for up to a week, which makes them perfect for grab-and-go snacks throughout your busy week.
How to Serve No Bake Protein Balls Recipe
Garnishes
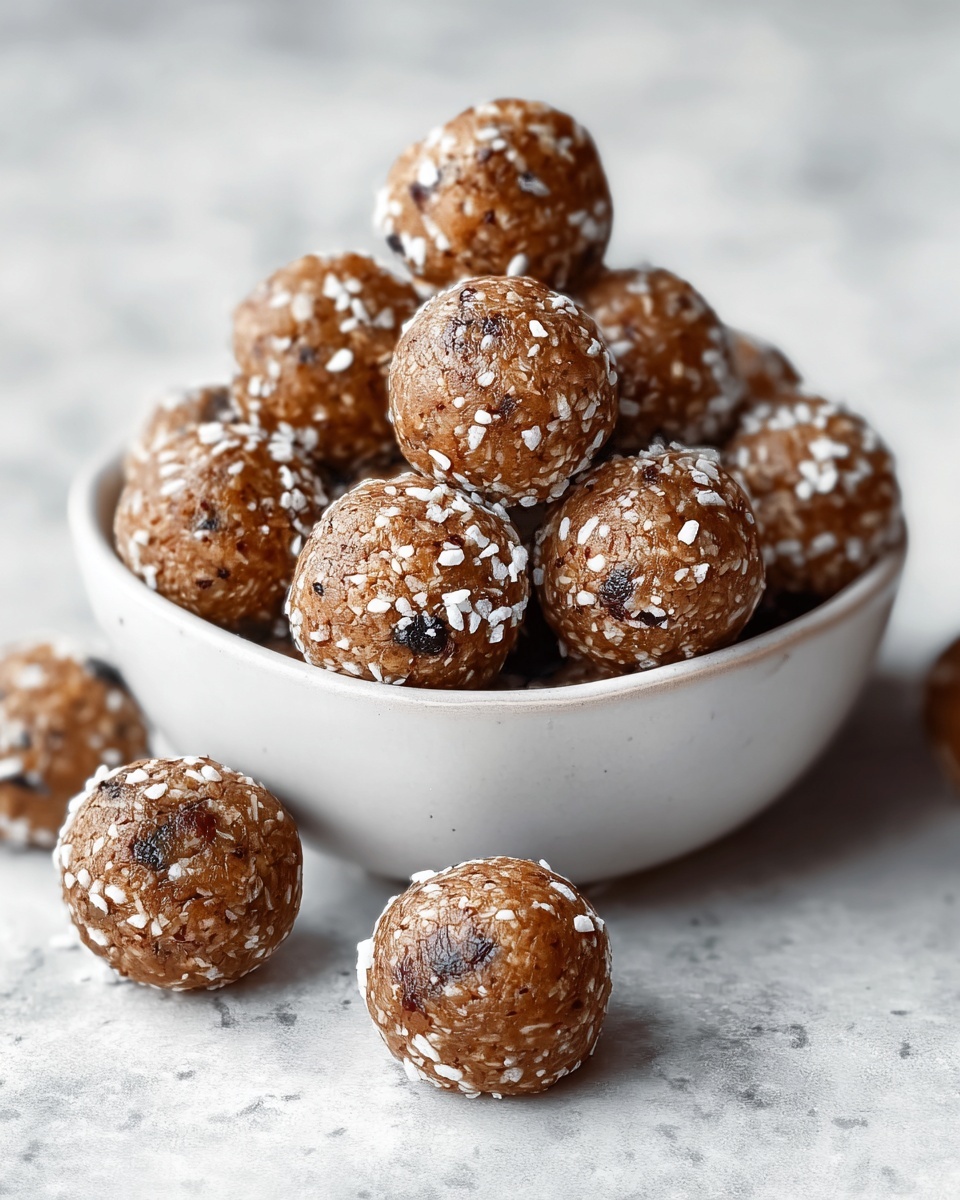
While these protein balls are delightful on their own, you can elevate them with some fun garnishes. Try rolling the balls in shredded coconut, cocoa powder, or crushed nuts to add extra texture and a visual pop. These toppings also offer flavor variations to keep things exciting.
Side Dishes
Pair your protein balls with fresh fruit like apple slices or berries for a balanced snack that combines sweetness, fiber, and protein. They’re also fantastic alongside a smoothie or a glass of milk for an energizing mini-meal.
Creative Ways to Present
Looking to impress friends or pack an eye-catching lunchbox? Arrange your No Bake Protein Balls Recipe on a pretty platter, alternating with colorful sliced fruits or nuts. You can also skewer a few on a toothpick to create mini protein ball kebabs, which are always a hit at gatherings.
Make Ahead and Storage
Storing Leftovers
Keep your protein balls fresh by storing them in an airtight container in the refrigerator. This helps maintain their texture and flavor for up to a week, making it easy to enjoy them throughout your busy days without worry.
Freezing
If you want to extend shelf life beyond a week, these protein balls freeze beautifully. Place them in a freezer-safe container or bag, separating layers with parchment paper to prevent sticking. When frozen, they last up to 3 months and thaw quickly when you’re ready to enjoy.
Reheating
Because these are no bake protein balls, reheating isn’t necessary. You can take them straight from the fridge or freezer and enjoy them chilled or at room temperature. If you prefer them softer, just let them sit for a few minutes to warm slightly before eating.
FAQs
Can I use different nut butters?
Absolutely! Almond butter, cashew butter, or even sunflower seed butter work wonderfully and can tweak the flavor to your liking. Just pick a nut or seed butter you enjoy for the best results.
What type of protein powder is best?
Both vanilla and chocolate protein powders work well in this recipe, so choose your favorite based on taste and dietary preferences. Plant-based, whey, or casein powders are all suitable options.
Are these suitable for a vegan diet?
To make this recipe vegan, swap honey for maple syrup or agave nectar and use a plant-based protein powder. Then these no bake protein balls fit perfectly into a vegan lifestyle.
Can I add other mix-ins?
Definitely! Feel free to get creative by adding nuts, dried fruits, shredded coconut, or seeds. Just be mindful of the overall texture so the balls still hold together well.
How long does it take to make these protein balls?
The hands-on prep takes about 15 minutes, and then chilling requires at least 30 minutes, so you can have ready-to-eat snacks within an hour.
Final Thoughts
I truly hope you give this No Bake Protein Balls Recipe a try because it has been a game-changer for my busy days and snack cravings. They’re simple to make, fun to customize, and wholeheartedly delicious. Once you taste these little power-packed bites, I’m sure they’ll become a staple in your kitchen too!
Print
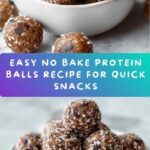
No Bake Protein Balls Recipe
- Prep Time: 15 minutes
- Cook Time: 0 minutes
- Total Time: 45 minutes
- Yield: 20 servings (protein balls)
- Category: Snack
- Method: No-Cook
- Cuisine: American
- Diet: Low Fat
Description
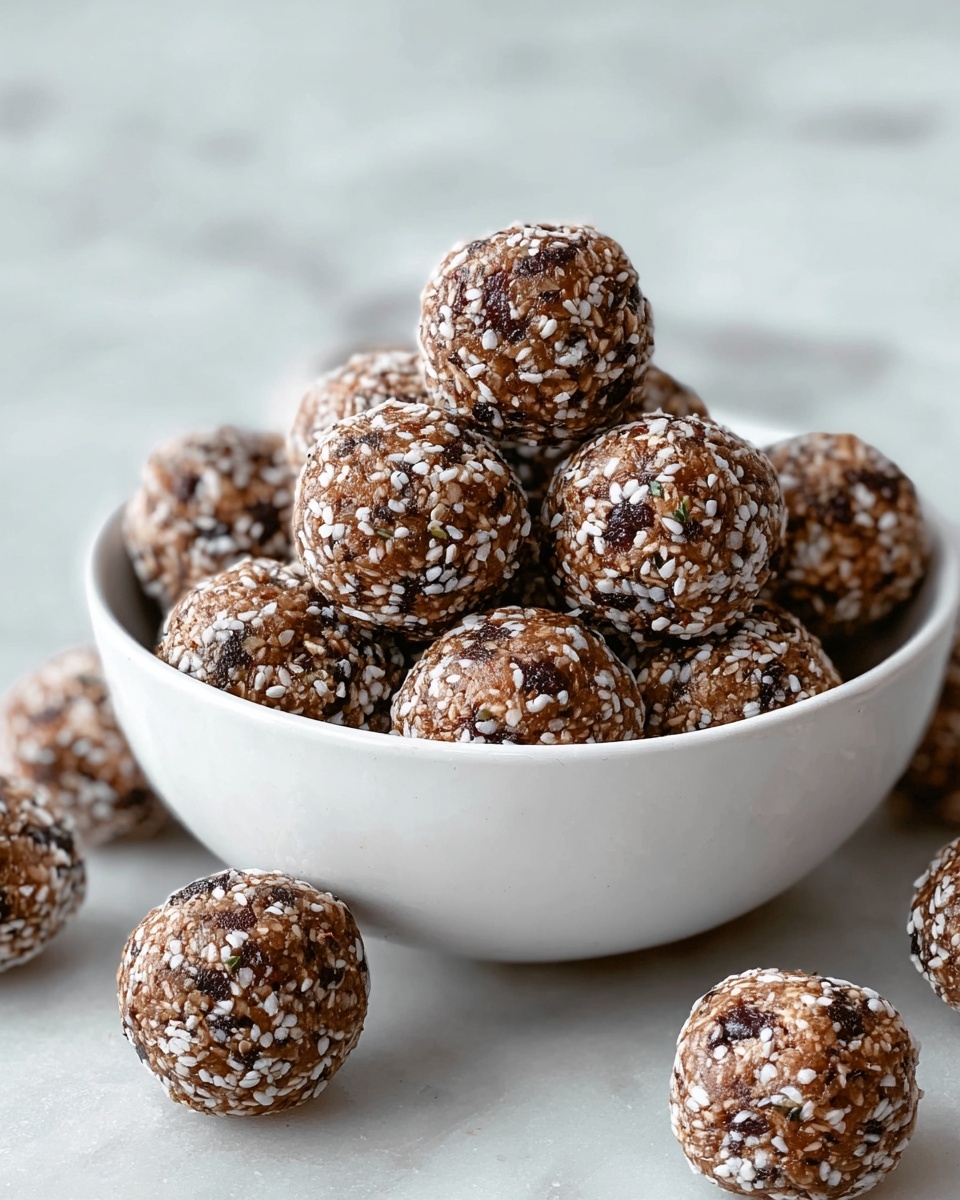
Delicious and nutritious no-bake protein balls made with oats, peanut butter, protein powder, and natural sweeteners. These easy-to-make snacks are perfect for a quick energy boost, post-workout recovery, or a healthy on-the-go treat, requiring no baking and minimal preparation time.
Ingredients
Dry Ingredients
- 1 cup oats (old-fashioned or quick oats)
- 1/2 cup protein powder (vanilla or chocolate)
- 1/4 cup chia seeds (optional)
- 1/4 cup flaxseed meal (optional)
- 1/4 cup mini chocolate chips (optional)
Wet Ingredients
- 1/2 cup peanut butter (or almond butter)
- 1/3 cup honey (or maple syrup)
- 1 tsp vanilla extract
Instructions
- Mix Dry Ingredients: In a large bowl, combine oats, protein powder, chia seeds, flaxseed meal, and mini chocolate chips, mixing thoroughly to distribute all elements evenly.
- Add Wet Ingredients: Add the peanut butter, honey, and vanilla extract to the dry mixture. Stir until all ingredients are well combined, using your hands if necessary to achieve a uniform mixture.
- Form Balls: Roll the mixture into small balls, approximately 1-2 tablespoons each, shaping them evenly and placing each on a baking sheet lined with parchment paper.
- Chill to Firm Up: Refrigerate the protein balls for at least 30 minutes to allow them to set and firm up properly.
- Store Properly: Once firm, store the protein balls in an airtight container in the refrigerator for up to one week, or freeze them for longer preservation.
Notes
- For a nut-free version, substitute peanut butter with sunflower seed butter.
- Adjust the sweetness by varying the amount of honey or maple syrup according to your preference.
- Optional add-ins like chia seeds and flaxseed meal boost fiber and omega-3 content.
- Mini chocolate chips add a touch of sweetness without overpowering the protein flavor.
- Protein powder can be vanilla or chocolate to suit flavor preferences.
