
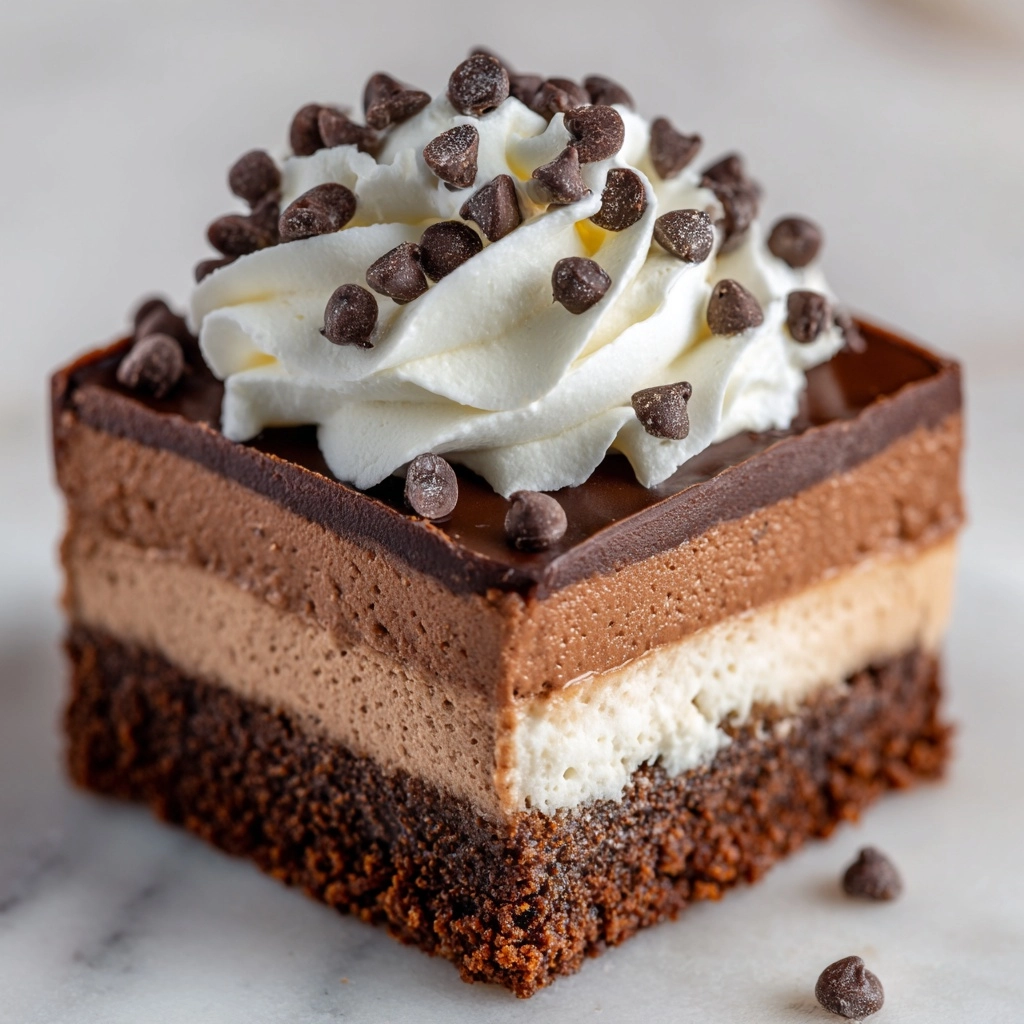
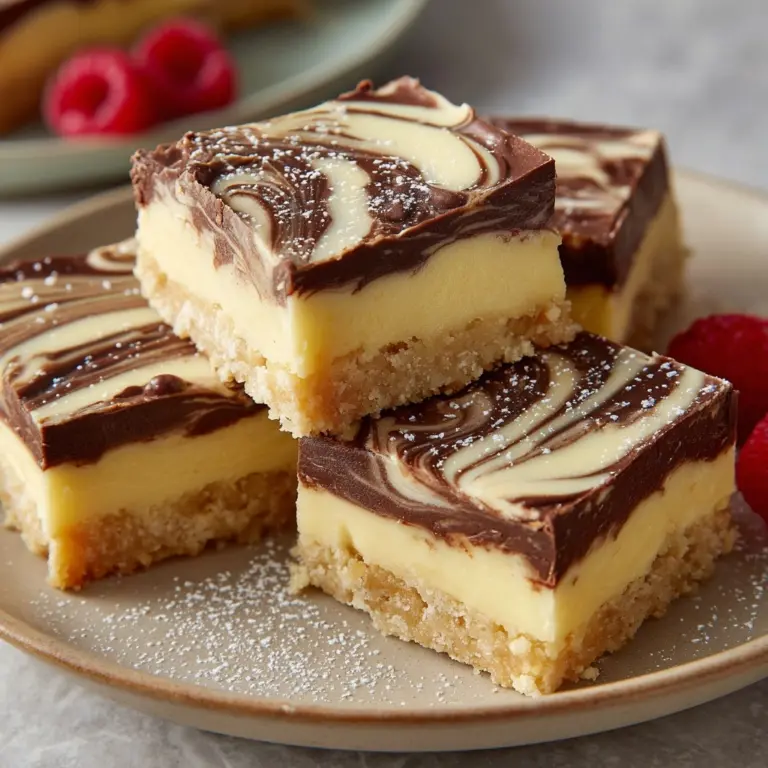
If you’re searching for the ultimate treat that’s luscious, creamy, and basically foolproof to make, these No-Bake Chocolate Mousse Bars are about to be your new obsession. Imagine a buttery chocolate cookie crust, topped with a dreamy chocolate mousse layer, all chilled to perfection—no oven necessary! Whether you’re making them for a party, a potluck, or just a quiet night in, this is one of those desserts you’ll find yourself turning to again and again for that perfect balance of decadence and ease.
Ingredients You’ll Need
The beauty of No-Bake Chocolate Mousse Bars is that just a handful of simple, quality ingredients can yield something truly magical. Each one plays a special role in delivering that signature rich flavor and luscious texture, so be sure not to skimp!
- Chocolate cookie crumbs: These give you a wonderfully cocoa-packed crust with a subtle crunch, setting the foundation for every bite.
- Melted butter: This brings all those crumbs together, making the base sturdy and rich with just the right amount of indulgence.
- Heavy cream: Whipping part of the cream creates a cloud-like mousse, while warming some helps melt the chocolate chips for an ultra-smooth finish.
- Semi-sweet chocolate chips: The heart of the mousse, these melt into a glossy, deep chocolate layer that’s not too sweet or too bitter.
- Cream cheese: Adds body and a subtle tang to balance out all that chocolatey goodness.
- Powdered sugar: This dissolves perfectly into the mousse, bringing just the right touch of sweetness and smoothness.
- Vanilla extract: It enhances every other flavor, making the chocolate taste even more decadent and rounded.
- Chocolate shavings or cocoa powder: These are optional for garnish, but they make every square look as sensational as it tastes.
How to Make No-Bake Chocolate Mousse Bars
Step 1: Make the Chocolate Cookie Crust
Start with a mixing bowl and combine the chocolate cookie crumbs with the melted butter. Stir them together until all the crumbs are glossy and clump together like wet sand. Line your 8×8-inch baking pan with parchment paper, then press the mixture firmly into the bottom, using your fingers or the bottom of a glass for an even, compact base. Pop the pan in the fridge while you move on to the mousse—the chill time helps the crust set and hold together beautifully.
Step 2: Prepare the Chocolate Ganache
Measure out 1/2 cup of your heavy cream and gently heat it in a small saucepan just until it starts to simmer (don’t let it boil!). Pour the hot cream over your chocolate chips in a heatproof bowl, let everything sit for a minute, then stir thoroughly until you have a shiny, completely smooth ganache. This will become the chocolatey heart of your mousse layer, so take your time to ensure it’s satin-smooth. Allow the ganache to cool to room temperature before moving on.
Step 3: Beat the Cream Cheese Mixture
Grab another mixing bowl, add the softened cream cheese, powdered sugar, and vanilla extract. Beat them together until you have a creamy, lump-free mixture. This step is key for that signature, silky mousse texture—so make sure your cream cheese is truly soft before starting! Once it’s smooth, blend in your cooled chocolate ganache, mixing until the color is uniform and inviting.
Step 4: Whip the Cream and Fold It In
In a clean bowl, whip the remaining 3/4 cup heavy cream until stiff peaks form. This whipped cream is what gives the mousse its feather-light texture. Carefully fold the whipped cream into your chocolate-cream cheese mixture in two or three additions, using a gentle hand so you don’t deflate that beautiful airiness. Stop folding as soon as it’s all combined and smooth—resist the urge to overmix!
Step 5: Assemble and Chill
Spread the chocolate mousse over your chilled cookie crust, smoothing the top with an offset spatula or the back of a spoon for an even layer. Place the pan back in the fridge and let it set for at least 4 hours (overnight is even better if you have the patience). This wait is where the magic happens: the mousse firms up, the flavors meld, and slicing becomes a dream.
Step 6: Slice and Garnish
Once set, lift the entire dessert out by the edges of the parchment paper and place it on a cutting board. For the neatest cuts, use a large, sharp knife, wiping the blade clean between each slice. Sprinkle with chocolate shavings or a dusting of cocoa powder for that extra “ooh la la” finishing touch. Your No-Bake Chocolate Mousse Bars are ready to serve and wow!
How to Serve No-Bake Chocolate Mousse Bars

Garnishes
The right garnish turns an irresistible dessert into a showstopper! Top your No-Bake Chocolate Mousse Bars with elegant chocolate shavings, a drift of cocoa powder, or even a sprinkle of sea salt for a sweet-salty pop. For special occasions, a few fresh raspberries or a swirl of whipped cream can add a touch of color and freshness.
Side Dishes
While these mousse bars are delightful all on their own, you can pair them with fresh berries, a scoop of vanilla or raspberry sorbet, or even a drizzle of caramel sauce. Having something tart or fruity on the side balances out the richness of the bars and makes your dessert spread feel extra fancy.
Creative Ways to Present
Put a playful spin on serving by using cookie cutters to create heart or star-shaped bars for birthdays or anniversaries. Alternatively, serve petite squares alongside espresso shots for a sophisticated coffee bar treat at parties. No matter how you serve them, these bars steal the spotlight every time!
Make Ahead and Storage
Storing Leftovers
Have some bars left over? Simply keep them in an airtight container in the fridge and they’ll stay fresh and perfectly creamy for up to four days. Lay a piece of parchment between layers to prevent sticking, especially if your fridge is on the chilly side.
Freezing
No-Bake Chocolate Mousse Bars actually freeze beautifully for longer storage. Once set, cut the bars and place them in a single layer on a tray to freeze solid. Then transfer to a freezer bag or container, separating layers with parchment. They’ll keep for up to three months and can be thawed in the fridge whenever a chocolate craving strikes!
Reheating
These bars are meant to be enjoyed chilled, so there’s no reheating required! If you’ve frozen them, allow to thaw in the refrigerator overnight. The mousse will return to its creamy, dreamy texture, ready to enjoy straight from the fridge.
FAQs
Can I use milk chocolate or dark chocolate chips instead of semi-sweet?
Absolutely! Milk chocolate will make the mousse bars sweeter and creamier, while dark chocolate delivers a deeper, slightly bittersweet flavor. Choose according to your chocolate preferences, or even mix and match for a unique twist.
How do I soften cream cheese quickly?
If you forget to take the cream cheese out ahead of time, unwrap it, cut it into small cubes, and let it sit at room temperature for 15-20 minutes. You can also microwave it in short, 10-second bursts until just soft—you want it spreadable but not hot.
Can No-Bake Chocolate Mousse Bars be made gluten-free?
Definitely! Use gluten-free chocolate sandwich cookies in place of standard Oreos for the crust, and double-check that your other ingredients (like chocolate chips) are certified gluten-free.
What’s the best way to get clean slices?
The secret to bakery-worthy bars is a sharp knife and a bit of patience. Warm your knife under hot water, wipe it dry, then slice—cleaning the blade between each cut for beautiful, tidy squares every time.
Do I need an electric mixer for this recipe?
While an electric mixer makes quick work of whipping cream and beating the cream cheese, you can use a sturdy whisk and some elbow grease if needed. Just be sure to whip that cream to nice, thick peaks!
Final Thoughts
If you’re dreaming of a dessert that’s decadent yet effortless, look no further than these No-Bake Chocolate Mousse Bars. They’re the kind of sweet treat everyone asks for the recipe to—so don’t be surprised when they disappear fast! Give them a try the next time you need a wow-worthy dessert with minimal fuss, and get ready to fall in love with each creamy, chocolatey bite.
Print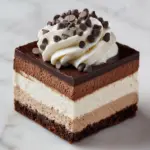
No-Bake Chocolate Mousse Bars Recipe
- Prep Time: 20 minutes
- Cook Time: 0 minutes
- Total Time: 20 minutes (plus chilling time)
- Yield: 9 bars
- Category: Dessert
- Method: No-Bake
- Cuisine: American
- Diet: Vegetarian
Description
Indulge in the velvety goodness of these No-Bake Chocolate Mousse Bars. A luscious chocolate mousse sits atop a crunchy cookie crust, creating a decadent treat that’s perfect for any sweet occasion.
Ingredients
For the Crust:
- 1 1/2 cups chocolate cookie crumbs (such as Oreos, finely crushed)
- 1/4 cup melted butter
For the Mousse:
- 1 1/4 cups heavy cream (divided)
- 1 cup semi-sweet chocolate chips
- 4 oz cream cheese (softened)
- 1/4 cup powdered sugar
- 1 teaspoon vanilla extract
For Garnish:
- Chocolate shavings or cocoa powder (optional)
Instructions
- Prepare the Crust: Combine chocolate cookie crumbs and melted butter. Press into the bottom of an 8×8-inch baking pan lined with parchment paper. Chill.
- Make the Mousse: Heat 1/2 cup of heavy cream, pour over chocolate chips, stir. Beat cream cheese, sugar, vanilla. Add chocolate mixture. Whip remaining cream, fold into chocolate mix.
- Assemble: Spread mousse over chilled crust. Refrigerate for at least 4 hours. Garnish before serving.
Notes
- For a crunchier base, add a tablespoon of granulated sugar to the crust.
- Bars can be made a day ahead and stored in the fridge.
- Try using dark chocolate chips for a richer flavor or milk chocolate for a sweeter taste.
Nutrition
- Serving Size: 1 bar
- Calories: 290
- Sugar: 16g
- Sodium: 160mg
- Fat: 21g
- Saturated Fat: 13g
- Unsaturated Fat: 6g
- Trans Fat: 0g
- Carbohydrates: 22g
- Fiber: 1g
- Protein: 3g
- Cholesterol: 55mg


