
If you’re looking for a fun and festive treat that’s as delightful to make as it is to eat, the Mummy Rice Krispie Treats Recipe is absolutely perfect. These spooky yet sweet little morsels bring the classic gooey marshmallow and crisp cereal combo to life with a whimsical mummy design made from white chocolate and candy eyeballs. Whether you’re throwing a Halloween party or simply craving a nostalgic twist on an old favorite, these treats are guaranteed to be a crowd-pleaser with their crispy texture and playful presentation.
Ingredients You’ll Need
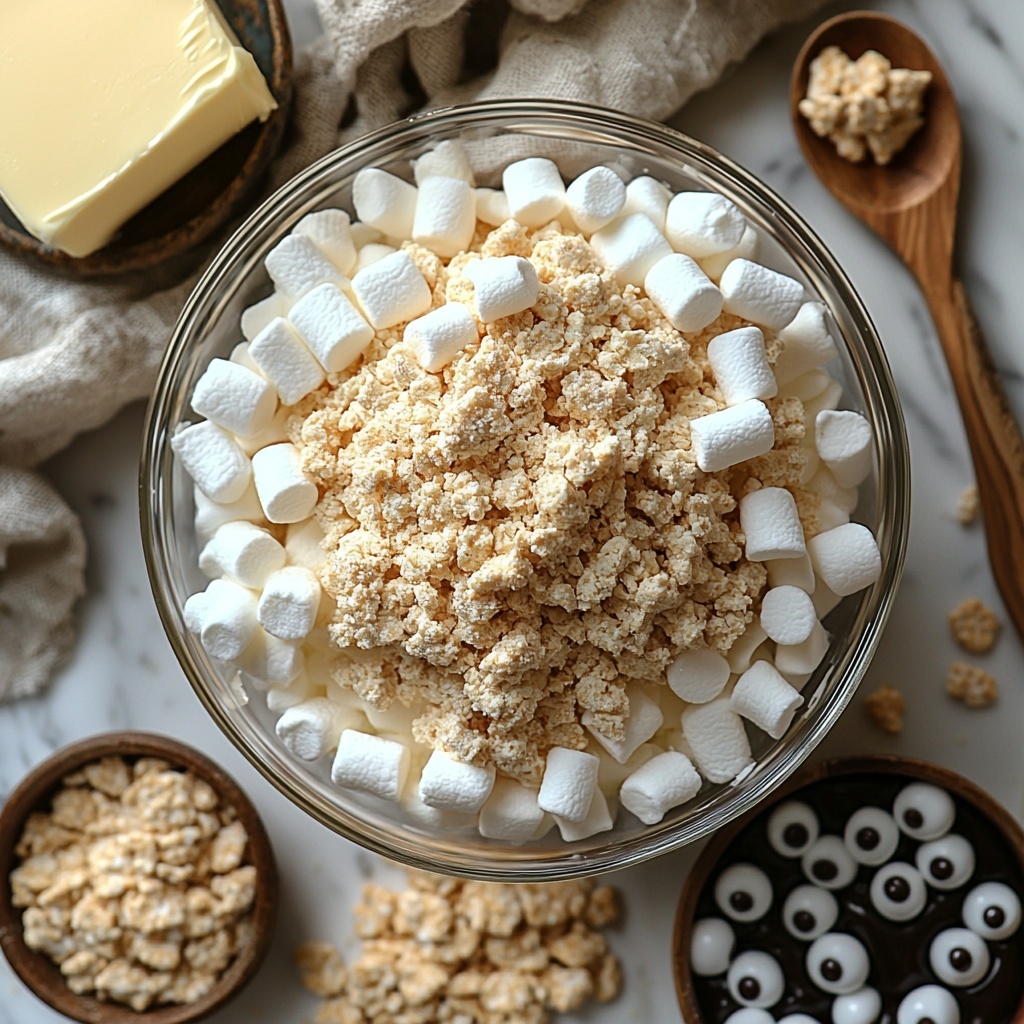
The magic behind the Mummy Rice Krispie Treats Recipe comes down to just a handful of simple ingredients, each chosen to deliver that unmistakable blend of texture, sweetness, and fun visual appeal. The ingredients are super straightforward but essential to make the treat come together perfectly.
- 3 Tbsp butter: This adds richness and helps melt the marshmallows smoothly without burning.
- 5 1/2 cups mini marshmallows: The classic sticky sweet base that gives these treats their chewy, dreamy texture.
- 6 cups Rice Krispies cereal: Crisp, light, and airy, creating the perfect contrast to the marshmallows.
- 8 oz white chocolate (melted): Used to craft the mummy “wraps” on top, adding creamy sweetness and visual flair.
- 20 candy eyeballs: Or mini chocolate chips—these bring the mummy to life with a playful, spooky touch.
How to Make Mummy Rice Krispie Treats Recipe
Step 1: Melt the Butter and Marshmallows
Start by melting the butter in a saucepan over medium heat. Once melted, add the mini marshmallows and stir continuously until they completely melt down and the mixture becomes smooth and creamy. This sticky, gooey base is the heart of the Mummy Rice Krispie Treats Recipe and gives the treats that signature softness.
Step 2: Mix in the Rice Krispies
Remove your marshmallow mixture from the heat, then quickly fold in the Rice Krispies cereal. Stir gently but thoroughly until every crispy puff is coated with that sweet, sticky marshmallow goodness. This ensures consistent flavor and the perfect chewy-crisp balance you’re aiming for.
Step 3: Press the Mixture into the Pan
Grease a 9×13 inch baking pan to prevent sticking, then press your Rice Krispie mixture evenly into the pan. A good tip is to use a greased spatula or wax paper to press it down firmly but gently—this helps the treats hold together once cooled without becoming too dense or compact.
Step 4: Create the Mummy Wraps with White Chocolate
Once your Rice Krispies are set but still slightly warm, melt the white chocolate in a microwave-safe bowl. Drizzle it over the entire surface in a fun mummy-wrap pattern—think zigzags and crisscrosses that mimic bandages. This adds not just a decorative touch, but an extra layer of sweetness and creaminess.
Step 5: Add Candy Eyeballs and Let Set
While the white chocolate is still soft, carefully press the candy eyeballs onto the treats. These adorable eyes transform your simple dessert into an irresistible mummy—perfect for spooky celebrations. Allow the chocolate to fully set before cutting into squares to keep the mummy design intact.
How to Serve Mummy Rice Krispie Treats Recipe

Garnishes
For an extra festive touch, sprinkle a light dusting of edible glitter or colored sugar over the mummies once the chocolate has set. It adds a magical shimmer, making each treat sparkle under the party lights. You can also add small edible flowers or Halloween-themed sprinkles to enhance their visual charm.
Side Dishes
Mummy Rice Krispie Treats pair wonderfully with warm apple cider or a classic pumpkin spice latte for an autumn-themed spread. For a balanced party platter, serve alongside fresh fruit slices or creamy dips to offer a variety of flavors and textures that complement the treats’ sweetness.
Creative Ways to Present
Take your presentation up a notch by arranging your mummies on a spooky platter lined with black lace doilies or parchment paper printed with Halloween motifs. You can also place each treat in themed cupcake liners or wrap them individually in cellophane tied with orange and black ribbons—perfect for gifting or party favors.
Make Ahead and Storage
Storing Leftovers
The great thing about the Mummy Rice Krispie Treats Recipe is how well they hold up! Store leftover treats in an airtight container at room temperature, and they should stay fresh and chewy for up to 3 days. Keeping them sealed prevents the marshmallows from hardening and preserves that delightful softness.
Freezing
If you want to make these treats in advance, wrap individual squares tightly in plastic wrap and place them in a freezer-safe bag or container. They freeze beautifully for up to a month. When you’re ready to indulge, simply thaw at room temperature for about an hour before serving—the texture stays surprisingly close to fresh.
Reheating
While reheating isn’t necessary, if you prefer a softer, gooier treat, you can microwave an individual square for 10 to 15 seconds. Just be careful not to overheat, or the white chocolate and marshmallows can become too melty and lose their structure. Enjoy warm and gooey for an extra comforting bite!
FAQs
Can I use regular marshmallows instead of mini marshmallows?
Absolutely! You can use regular marshmallows, but mini marshmallows melt more quickly and evenly, making them easier to work with for the Mummy Rice Krispie Treats Recipe.
What if I don’t have white chocolate for the mummy wraps?
If white chocolate isn’t on hand, you can substitute with white candy melts or even vanilla frosting piped in a bandage pattern—just be sure it sets properly so your mummy design stays in place.
Are there healthier alternatives for this recipe?
This treat is all about indulgence, but if you want a healthier spin, try using whole grain puffed rice cereal or reducing the amount of marshmallows slightly. Just keep in mind that the texture and sweetness might be a little different from the classic version.
Can I make smaller or larger batches?
Yes! The recipe scales nicely. Just keep the proportions the same if you want to make more or fewer treats. Smaller batches are perfect for quick snacks; larger ones are great for parties or gifting.
How do I prevent the candy eyeballs from sliding off?
Placing the candy eyeballs onto the white chocolate while it is still wet helps them stick firmly. If needed, use a dab of melted chocolate or frosting as glue for extra security before the chocolate sets.
Final Thoughts
This Mummy Rice Krispie Treats Recipe is a total winner for adding some playful spirit to your dessert table. It’s easy, quick, and brings a smile to both kids and adults alike. Give it a try and watch your guests delight as these crispy, sweet mummies disappear bite by bite. You’ll find yourself wanting to make them again and again for every spooky celebration and beyond!
Print
Mummy Rice Krispie Treats Recipe
- Prep Time: 15 minutes
- Cook Time: 10 minutes
- Total Time: 25 minutes
- Yield: 24 servings
- Category: Desserts
- Method: Stovetop
- Cuisine: American
- Diet: Vegetarian
Description
These spooky and delicious Mummy Rice Krispie Treats are perfect for Halloween parties or festive fun. Crispy Rice Krispies coated in melted marshmallows are pressed into a pan, then decorated with white chocolate drizzles and candy eyeballs to resemble mummies. Easy to make and kid-friendly, these treats combine classic textures with a creative twist.
Ingredients
Main Ingredients
- 3 Tbsp butter
- 5 1/2 cups mini marshmallows (or 1 bag)
- 6 cups Rice Krispies cereal
- 8 oz white chocolate (melted)
- 20 candy eyeballs (or mini chocolate chips)
Instructions
- Melt Butter and Marshmallows: Melt the butter in a saucepan over medium heat. Add the mini marshmallows and stir continuously until completely melted and smooth, ensuring no lumps remain.
- Add Rice Krispies: Remove the saucepan from heat, then immediately mix in the Rice Krispies cereal until all the cereal is evenly coated with the marshmallow mixture.
- Press Mixture into Pan: Quickly press the mixture into a greased 9×13 inch baking pan, spreading it out evenly. Allow it to cool and set for about 10 minutes.
- Melt White Chocolate: Melt the white chocolate in a microwave-safe bowl by heating in short intervals, stirring between each, until fully melted and smooth.
- Decorate Treats: Drizzle the melted white chocolate over the cooled Rice Krispie treats in a zigzag or mummy-like pattern. While the chocolate is still wet, place candy eyeballs on top to create the mummy eyes. Allow the chocolate to set before cutting into approximately 24 squares.
Notes
- Use mini marshmallows for easier melting and better consistency.
- Grease the pan well or use parchment paper to prevent sticking.
- For a dairy-free version, substitute butter with coconut oil and use vegan white chocolate.
- Press the cereal mixture firmly but gently to avoid crushing the crispy texture.
- Candy eyeballs can be swapped with mini chocolate chips or edible decorations for decoration variety.


