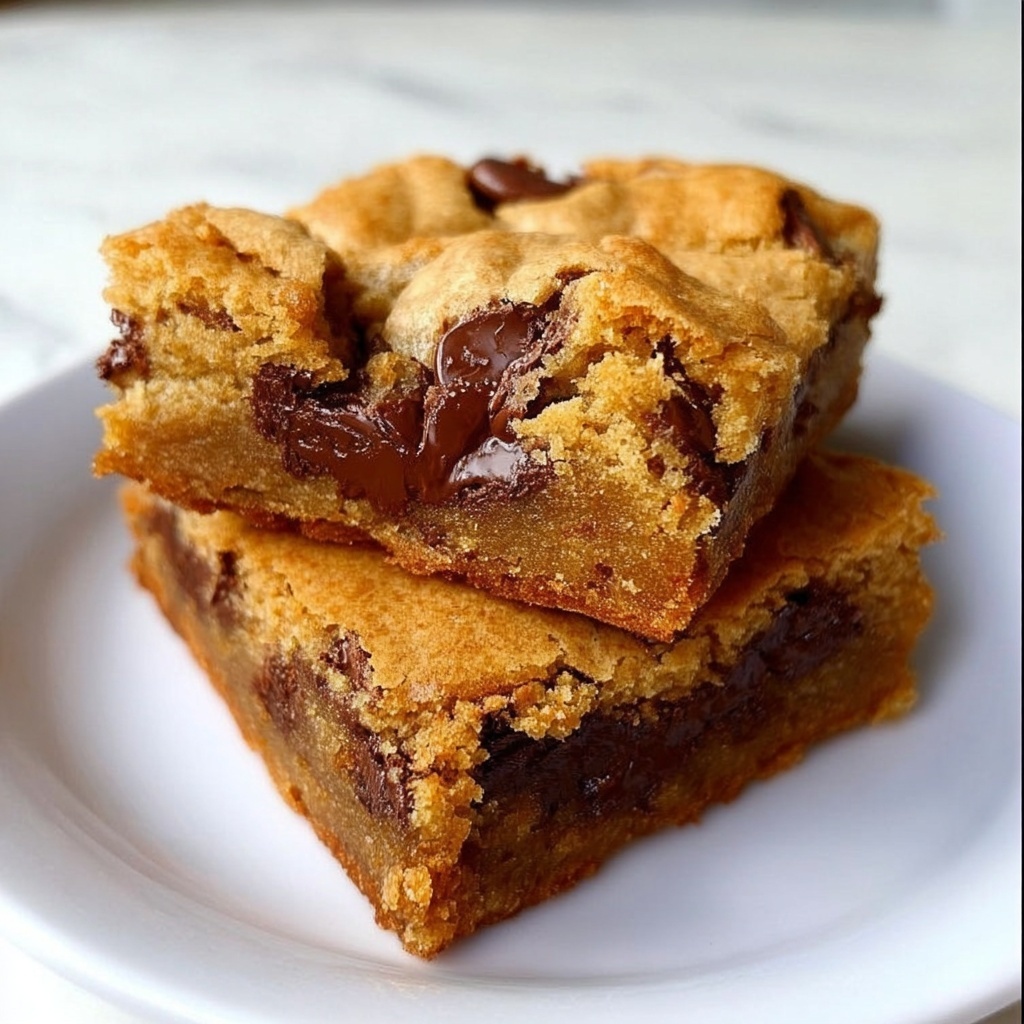
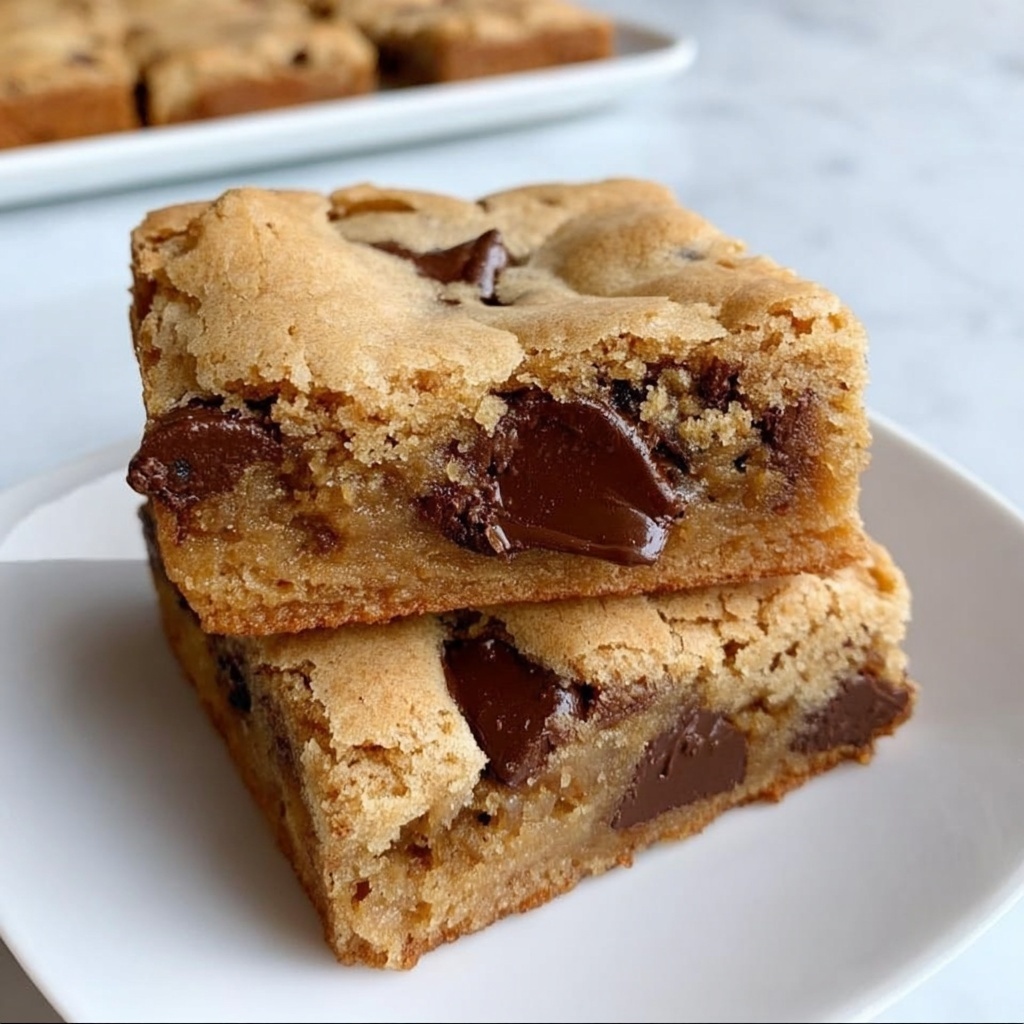
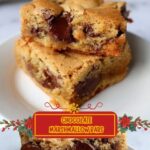
If you have a sweet tooth that loves a bit of nostalgia wrapped in gooey, buttery goodness, then you are absolutely going to adore this Mud Hen Bars (Chocolate Chip Marshmallow Meringue Bars) Recipe. These bars combine a tender, buttery crust, a luscious layer of melted chocolate chips and mini marshmallows, topped with a glossy, delicate meringue that has just the right touch of sweetness from brown sugar. Every bite is a fantastic mix of textures and flavors that feel like a warm, comforting hug. Once you try this recipe, it’s going to become one of your go-to desserts for gatherings or those cozy nights at home.

Ingredients You’ll Need
Simple ingredients often create the most magical results, and that’s so true with this Mud Hen Bars (Chocolate Chip Marshmallow Meringue Bars) Recipe. Each component plays its unique part in delivering the perfect balance of texture and flavor, from the buttery base to the fluffy meringue topping.
- Shortening: Helps create a tender, flaky crust that holds everything together with just the right texture.
- Butter (softened): Adds rich, creamy flavor and moisture essential for that classic buttery taste.
- Granulated sugar: Sweetens the dough and helps with the structure of the bars.
- Vanilla: Infuses a warm, aromatic note that lifts all the flavors beautifully.
- Whole egg + 2 eggs (separated): Eggs bind the ingredients and give the meringue its signature fluffiness.
- Flour: The base ingredient that provides structure to the bars.
- Baking powder: Gives a slight lift to keep the crust light and tender.
- Salt: Enhances all the flavors and balances the sweetness.
- Mini marshmallows: Melt into gooey pockets that add both softness and a fun chewy texture.
- Semi-sweet chocolate chips: Their melty richness contrasts perfectly with the marshmallows and meringue.
- Light brown sugar (packed): Adds moisture and a deep caramel flavor, especially important in the meringue topping.
How to Make Mud Hen Bars (Chocolate Chip Marshmallow Meringue Bars) Recipe
Step 1: Preheat and Prepare Your Pan
Start by heating your oven to 350°F. While that’s warming up, lightly spray a 9×13-inch baking pan with nonstick spray to ensure those bars release easily after baking. This step, though simple, is key to a smooth baking experience.
Step 2: Cream Together the Base Ingredients
In a large bowl or standing mixer, combine the shortening, softened butter, granulated sugar, one whole egg, and two egg yolks (make sure to save those egg whites!), along with the vanilla. Beat everything until the mixture is smooth and creamy. This creamy base is where the richness of the bars begins to build.
Step 3: Add the Dry Ingredients
Next, add the flour, baking powder, and salt to the wet mixture. Mix just until combined—overmixing can make the crust tough. Your dough will be a bit sticky, so dampen your fingers slightly to spread it evenly across the prepared pan. This tactile part is fun—don’t worry about perfection, just get it mostly level.
Step 4: Add Chocolate Chips and Marshmallows
Sprinkle the semi-sweet chocolate chips and mini marshmallows evenly over the crust. These toppings are the flavor stars of the dish, melding into the crust during baking to create those irresistibly sweet pockets we all crave.
Step 5: Whip the Meringue Topping
In a clean, dry mixing bowl with a whisk attachment, whip the reserved two egg whites on high speed until stiff peaks form—this usually takes about two minutes. Then, gently fold in the packed light brown sugar with a rubber spatula until it’s fully incorporated and smooth. This step transforms your meringue into a glossy, sweet cloud ready to crown the bars.
Step 6: Spread the Meringue and Bake
Carefully spread the meringue over the chocolate and marshmallow layer. It’s perfectly fine if it’s not entirely smooth—some rustic texture adds charm! Bake for 25 to 35 minutes until the top turns a lovely golden brown hue. Around 30 minutes is usually ideal for that perfect balance.
Step 7: Cool and Cut
After baking, allow the Mud Hen Bars (Chocolate Chip Marshmallow Meringue Bars) Recipe to cool completely before slicing. It is tempting to dive in immediately, but letting them cool ensures clean cuts and bars that hold their shape beautifully.
How to Serve Mud Hen Bars (Chocolate Chip Marshmallow Meringue Bars) Recipe
Garnishes
For a little extra wow factor, sprinkle a dusting of powdered sugar on top or add a few mini marshmallows and chocolate chips just before serving. A drizzle of melted chocolate or a sprinkle of chopped nuts like pecans or walnuts can also amp up the texture with delightful crunch.
Side Dishes
These bars shine as a decadent dessert, but they pair wonderfully with a scoop of vanilla ice cream or a dollop of whipped cream. A cup of coffee or a glass of cold milk is an excellent beverage companion, making each bite feel like a little celebration.
Creative Ways to Present
Want to impress guests? Serve these bars on a rustic wooden platter with fresh berries scattered around. For parties, cut them into bite-sized squares and arrange them with colorful toothpicks for easy grab-and-go treats that look as fabulous as they taste.
Make Ahead and Storage
Storing Leftovers
Mud Hen Bars (Chocolate Chip Marshmallow Meringue Bars) Recipe keeps beautifully in an airtight container at room temperature for up to three days. Storing them this way preserves that perfect balance between soft centers and slightly crisp edges.
Freezing
If you want to keep these bars longer, freeze them by first cutting into individual squares and wrapping each one tightly in plastic wrap. Store in a freezer-safe container or bag for up to two months. When the craving hits, simply thaw at room temperature.
Reheating
To enjoy these bars warm, briefly microwave a piece for about 10 to 15 seconds. You can also reheat in the oven at 300°F for 5 to 7 minutes to revive that fresh-baked texture and gooeyness. Just be careful not to overheat and dry them out!
FAQs
Can I use butter instead of shortening?
Yes, you can substitute all shortening with butter for a richer flavor, but using some shortening helps keep the crust tender and less greasy. A mix of both gives the best texture.
Why do I need to separate the eggs?
The egg yolks are mixed into the crust dough for richness, while the egg whites are whipped into a meringue to create that fluffy, light topping. This separation makes the bars uniquely layered and textured.
Can I use regular-sized marshmallows instead of mini ones?
Mini marshmallows melt and distribute more evenly throughout the bars, providing that perfect chewy touch. Regular-sized marshmallows might clump together and bake unevenly, but you can chop them smaller if needed.
How do I know when the bars are done baking?
Look for a golden brown top on the meringue and slightly golden edges. The bars should feel set when you gently press the surface, but not overly firm. The marshmallows and chocolate chips will be melted and bubbly underneath.
Can I make these bars gluten-free?
Absolutely! Replace the all-purpose flour with a gluten-free flour blend that measures the same. Sometimes adding a little extra binding agent like xanthan gum helps keep the structure intact.
Final Thoughts
Trying this Mud Hen Bars (Chocolate Chip Marshmallow Meringue Bars) Recipe is like inviting a delicious tradition into your kitchen. It’s straightforward enough for a weekday treat but special enough for celebrations. Once you bake a batch, it’s hard not to keep coming back to these warm, comforting, and utterly delightful bars. So pull out your ingredients, get cozy in the kitchen, and enjoy every magical bite of this scrumptious dessert!
Print
Mud Hen Bars (Chocolate Chip Marshmallow Meringue Bars) Recipe
- Prep Time: 10 minutes
- Cook Time: 30 minutes
- Total Time: 40 minutes
- Yield: 16 servings
- Category: Dessert
- Method: Baking
- Cuisine: American
Description
Mud Hen Bars are a delightful treat combining a buttery, shortbread-like base with gooey mini marshmallows, semi-sweet chocolate chips, and a light golden meringue topping sweetened with brown sugar. These bars offer a texture contrast of chewy marshmallows, rich chocolate, and a crisp, sweet meringue atop a soft buttery crust—perfect for a snack, dessert, or party treat.
Ingredients
Base and Dough
- 1/4 cup shortening
- 4 tablespoons butter, softened
- 1 cup granulated sugar
- 1 teaspoon vanilla extract
- 1 whole egg
- 2 egg yolks (from 2 eggs, whites reserved)
- 1 1/2 cups all-purpose flour
- 1 teaspoon baking powder
- 1/2 teaspoon salt
Toppings
- 1 cup mini marshmallows
- 1 cup semi-sweet chocolate chips
- 2 egg whites (from the 2 eggs separated)
- 1 cup light brown sugar, packed
Instructions
- Preheat Oven: Preheat your oven to 350°F (175°C) to prepare for baking the bars.
- Prepare Pan: Lightly spray a 9×13 inch baking pan with nonstick spray to prevent sticking.
- Mix Base Ingredients: In a large bowl or electric mixer, beat together the shortening, softened butter, granulated sugar, 1 whole egg, 2 egg yolks, and vanilla extract until the mixture is smooth and creamy.
- Add Dry Ingredients: Stir in the flour, baking powder, and salt and mix until just combined. Spread this dough evenly into the prepared 9×13 pan. Wetting your fingers slightly can help prevent sticking while spreading.
- Add Chocolate and Marshmallows: Evenly sprinkle the mini marshmallows and semi-sweet chocolate chips over the dough layer in the pan.
- Beat Egg Whites: In a clean, dry mixing bowl with a whisk attachment, beat the reserved 2 egg whites on high speed until stiff peaks form, which should take about 2 minutes.
- Incorporate Brown Sugar: Gently fold 1 cup of light brown sugar into the stiff egg whites using a rubber spatula. Stir carefully until smooth and no lumps remain.
- Spread Meringue Topping: Carefully spread this sweetened meringue mixture on top of the chocolate chips and marshmallows layer. It doesn’t have to be perfectly smooth.
- Bake: Bake in the preheated oven 25 to 35 minutes or until the top is golden brown (about 30 minutes is typical).
- Cool and Serve: Allow bars to cool completely in the pan before cutting into 16 squares for serving.
Notes
- Wet your fingers slightly when spreading the dough to prevent sticking.
- Be sure to use a clean and dry bowl to beat the egg whites to achieve proper stiff peaks.
- The baking time can vary; keep an eye on the top while baking to avoid over browning.
- Allow bars to cool thoroughly before slicing to maintain structure.
- These bars are rich and sweet—perfect with a glass of milk or coffee.
