
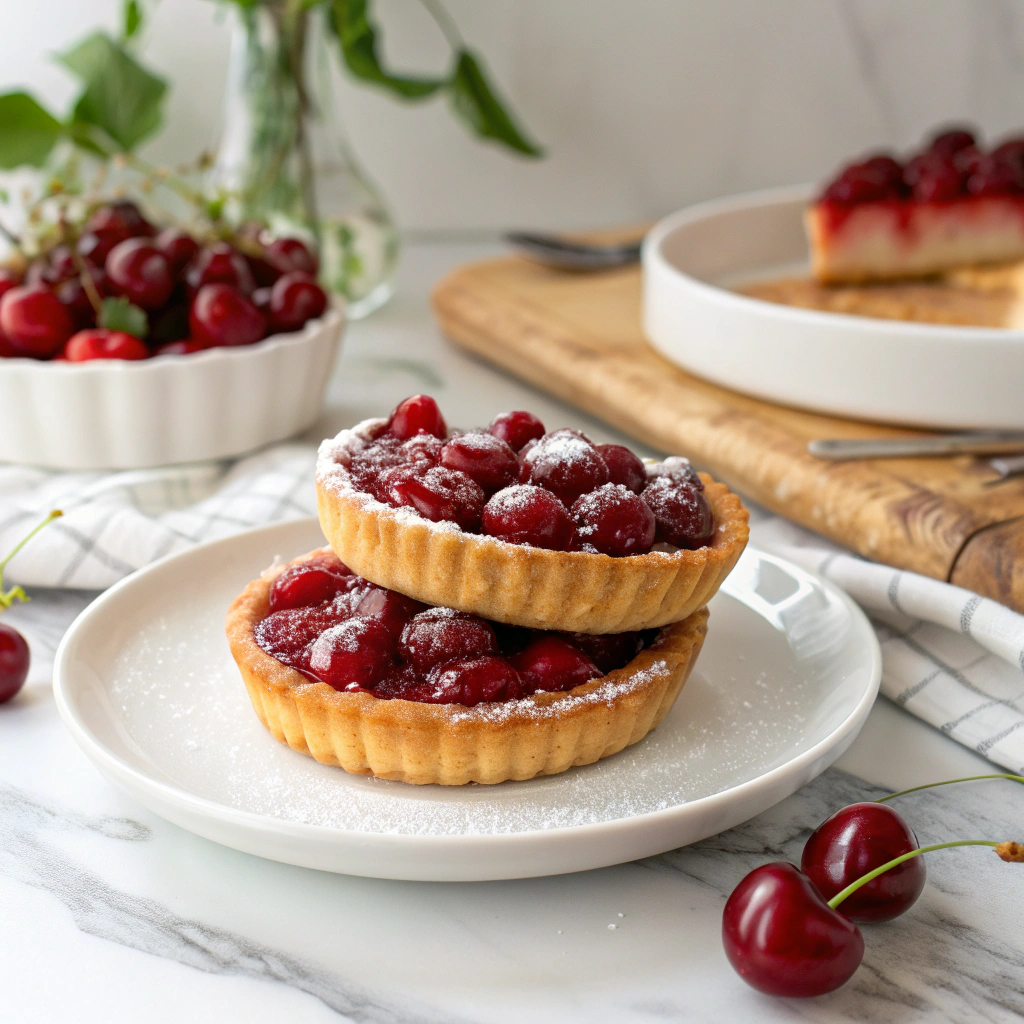
If you’ve been itching to bake something utterly charming and bursting with fresh fruit flavor, this Mini Cherry Pies Recipe is going to be your new obsession. These little hand pies are not just adorable—they deliver that perfect balance of sweet and tart cherries wrapped in flaky, buttery crusts that bake up golden and irresistible every time. Whether you’re making them for a casual weekend treat or a festive gathering, these pies pack so much joy in each bite, they’re sure to become a favorite you’ll want to make again and again.
Ingredients You’ll Need
This Mini Cherry Pies Recipe calls for simple, straightforward ingredients that come together beautifully to create a classic pie flavor with just the right amount of sweet and tangy punch. Each element plays a crucial role, from the fresh cherries providing vibrant color and juiciness to the flaky pie crust giving you that melt-in-your-mouth texture.
- 2 cups fresh cherries (pitted and halved): The star of the show, offering natural sweetness and a burst of color.
- 1/2 cup granulated sugar: Balances the tartness of the cherries with smooth sweetness.
- 2 tbsp cornstarch: Acts as a thickener, ensuring the filling isn’t runny and holds perfectly.
- 1 tbsp lemon juice: Adds brightness and enhances the cherry flavor with a subtle zing.
- 1 package (14 oz) pie crust: Provides that flaky, buttery base and top—store-bought is convenient, homemade elevates the experience.
- 1 egg (for egg wash): Gives the pies that beautiful golden sheen and a bit of crispiness on top.
How to Make Mini Cherry Pies Recipe
Step 1: Preheat the Oven
Start by preheating your oven to 375°F (190°C). This ensures it’s hot and ready to bake the pies evenly and get that gorgeous golden crust we all crave. A properly heated oven makes all the difference for flaky, perfectly baked mini pies.
Step 2: Prepare the Cherry Filling
In a mixing bowl, combine your halved fresh cherries, granulated sugar, cornstarch, and lemon juice. Stir everything together and let it rest for 10 minutes. This step allows the cherries to release some of their juices, and the cornstarch begins to absorb the liquid, creating that ideal filling texture.
Step 3: Cut the Pie Crust Circles
Roll out the chilled pie crust on a lightly floured surface until it’s about 1/8 inch thick. Using a round cutter around 4 inches in diameter, cut out circles. These will form the base and top of each mini pie, so aim for even sizes to get perfect little pockets of cherry goodness.
Step 4: Assemble the Mini Pies
Gently place one dough circle into each cup of a muffin tin, pressing it to fit the shape. Spoon approximately 1 tablespoon of the cherry filling into each crust. Then top with another dough circle and pinch or crimp the edges tightly to seal your pies, keeping all the delicious filling inside during baking.
Step 5: Add Egg Wash and Vent Holes
Brush the tops of each pie with the beaten egg to give them a shiny, enticing finish. Don’t forget to cut small slits in the tops of the pies—this little detail lets steam escape, so your crust doesn’t get soggy and the filling can bubble up beautifully.
Step 6: Bake Until Golden
Pop the muffin tin into your hot oven and bake for 20 to 25 minutes. Keep an eye out for golden brown tops and bubbling filling—this is when you know the mini cherry pies are perfectly baked and ready to come out. Let them cool slightly before enjoying.
How to Serve Mini Cherry Pies Recipe
Garnishes
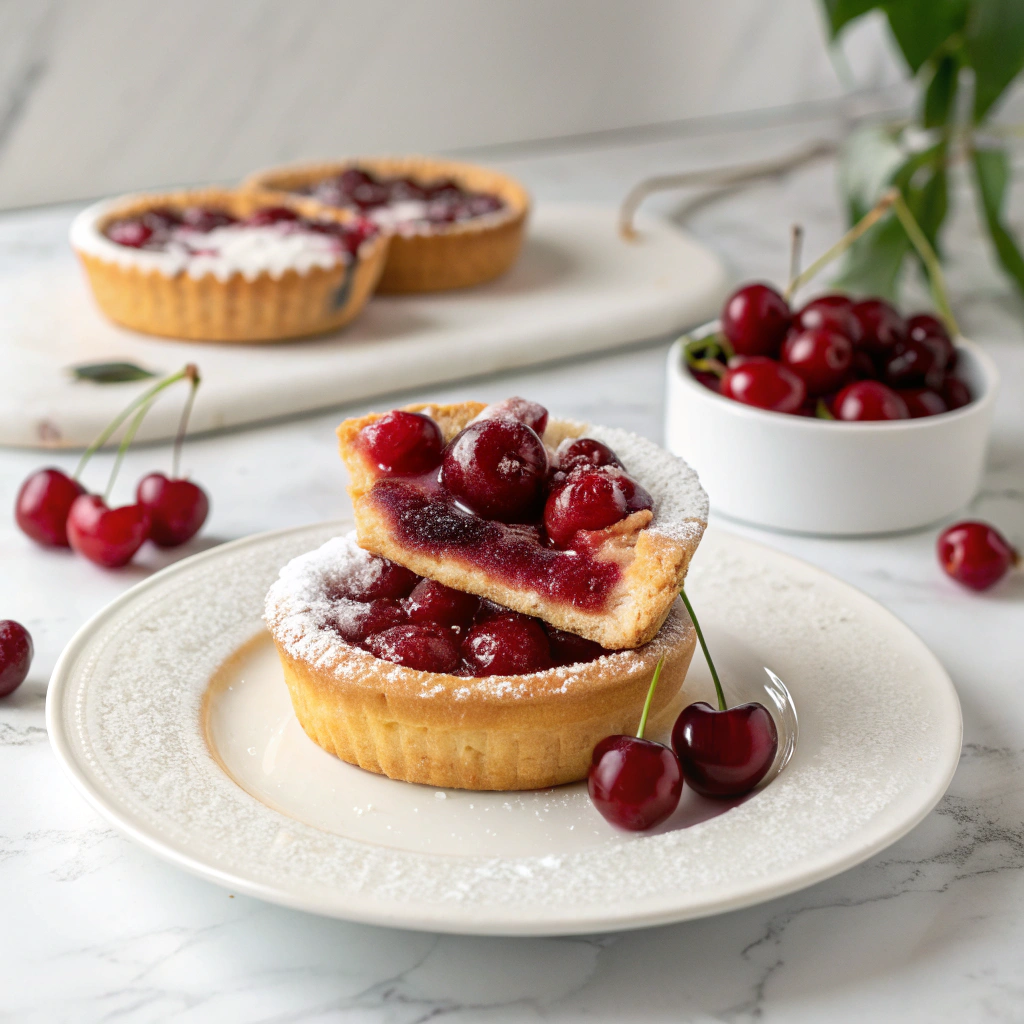
A scoop of vanilla ice cream or a dusting of powdered sugar can elevate your mini cherry pies instantly. Fresh mint leaves add a pop of green and enhance the aroma, making each bite feel extra special and inviting.
Side Dishes
Consider serving these pies alongside a simple dollop of whipped cream or a spoonful of crème fraîche. If you want to make it a full dessert experience, pair with a light, crisp white wine or a bold cup of coffee to complement the sweet-tart flavors.
Creative Ways to Present
For a charming touch, arrange the mini cherry pies on a rustic wooden board or tiered cake stand. Wrapping each pie in a small parchment paper liner or decorating with edible flowers can also add delightful visual interest perfect for parties or afternoon tea.
Make Ahead and Storage
Storing Leftovers
If you have any leftovers, store them in an airtight container at room temperature for up to two days to keep the crust crisp and the filling fresh. After that, refrigeration is best to maintain quality, but be aware the crust may soften.
Freezing
Mini cherry pies freeze beautifully. Wrap each pie tightly in plastic wrap and place them in a freezer-safe container or bag for up to three months. Freeze before baking for easiest storage or after baking for ready-to-eat convenience.
Reheating
Reheat your mini cherry pies in a 350°F (175°C) oven for about 10 minutes, or until warmed through and crisp again. Avoid microwave reheating if you want to retain that flaky crust texture, as it can turn soggy quickly.
FAQs
Can I use frozen cherries for this Mini Cherry Pies Recipe?
Absolutely! Frozen cherries work well—just be sure to thaw and drain excess liquid before mixing with sugar and cornstarch to prevent soggy crusts.
Is cornstarch necessary in the filling?
Yes, cornstarch acts as a thickener, helping the cherry juices gel up during baking so your pies hold their shape and aren’t too runny.
Can I make the pie crust from scratch?
Definitely! Homemade pie crust adds a wonderful buttery flavor and flakiness, but store-bought is a great time saver that still yields delicious results.
How big should the pie crust circles be?
Around 4 inches in diameter is ideal for these mini pies—it’s large enough to contain the filling with room for sealing edges without being too bulky.
Can I add spices to the cherry filling?
Of course! A pinch of cinnamon or nutmeg can add warm depth to the cherries, but the classic Mini Cherry Pies Recipe shines beautifully on its own.
Final Thoughts
Making these Mini Cherry Pies Recipe is pure joy, with each step bringing you closer to delicious little parcels of happiness. They are perfect for sharing with loved ones or indulging yourself on a cozy day. Trust me, once you try these pies, you’ll be hooked on how effortlessly delightful and tasty such a small treat can be. So preheat that oven and get ready to bake some magic!
Print
Mini Cherry Pies Recipe
- Prep Time: 20 minutes
- Cook Time: 25 minutes
- Total Time: 45 minutes
- Yield: 12 mini pies, approximately 12 servings
- Category: Dessert
- Method: Baking
- Cuisine: American
Description
These delightful Mini Cherry Pies feature a sweet, juicy cherry filling encased in flaky, golden pie crust. Perfectly portioned for individual servings, they make an adorable dessert for any occasion. With a simple preparation process and store-bought pie crust to save time, these mini pies bring a burst of fruity flavor and homemade charm to your table.
Ingredients
Filling
- 2 cups fresh cherries (pitted and halved)
- 1/2 cup granulated sugar
- 2 tbsp cornstarch
- 1 tbsp lemon juice
Crust & Topping
- 1 package (14 oz) pie crust (store-bought or homemade)
- 1 egg (for egg wash)
Instructions
- Preheat the oven: Preheat your oven to 375°F (190°C) to ensure it is ready for baking the mini cherry pies.
- Prepare the cherry filling: In a mixing bowl, combine the halved fresh cherries, granulated sugar, cornstarch, and lemon juice. Stir well and let the mixture sit for 10 minutes to macerate and thicken slightly.
- Roll and cut the pie crust: On a floured surface, roll out the chilled pie crust to about 1/8 inch thickness. Use a round cutter about 4 inches in diameter to cut out circles for the pie bases and tops.
- Assemble the mini pies: Place one dough circle into each cup of a muffin tin. Spoon approximately 1 tablespoon of the cherry mixture into each dough-lined cup. Then, top with another dough circle and crimp the edges firmly to seal the pies.
- Apply egg wash and vent: Brush the tops of each assembled mini pie with beaten egg to ensure a shiny, golden brown crust. Cut small slits in the top crusts to allow steam to escape while baking.
- Bake the pies: Bake in the preheated oven for 20-25 minutes, or until the crusts are golden brown and the cherry filling is bubbly.
Notes
- You can use fresh or frozen cherries; if using frozen, thaw and drain excess juice before mixing.
- For a sweeter crust, sprinkle a little sugar on top after applying the egg wash.
- Make sure to crimp the edges well to prevent filling leakage.
- Allow pies to cool slightly before removing them from the muffin tin to maintain their shape.

