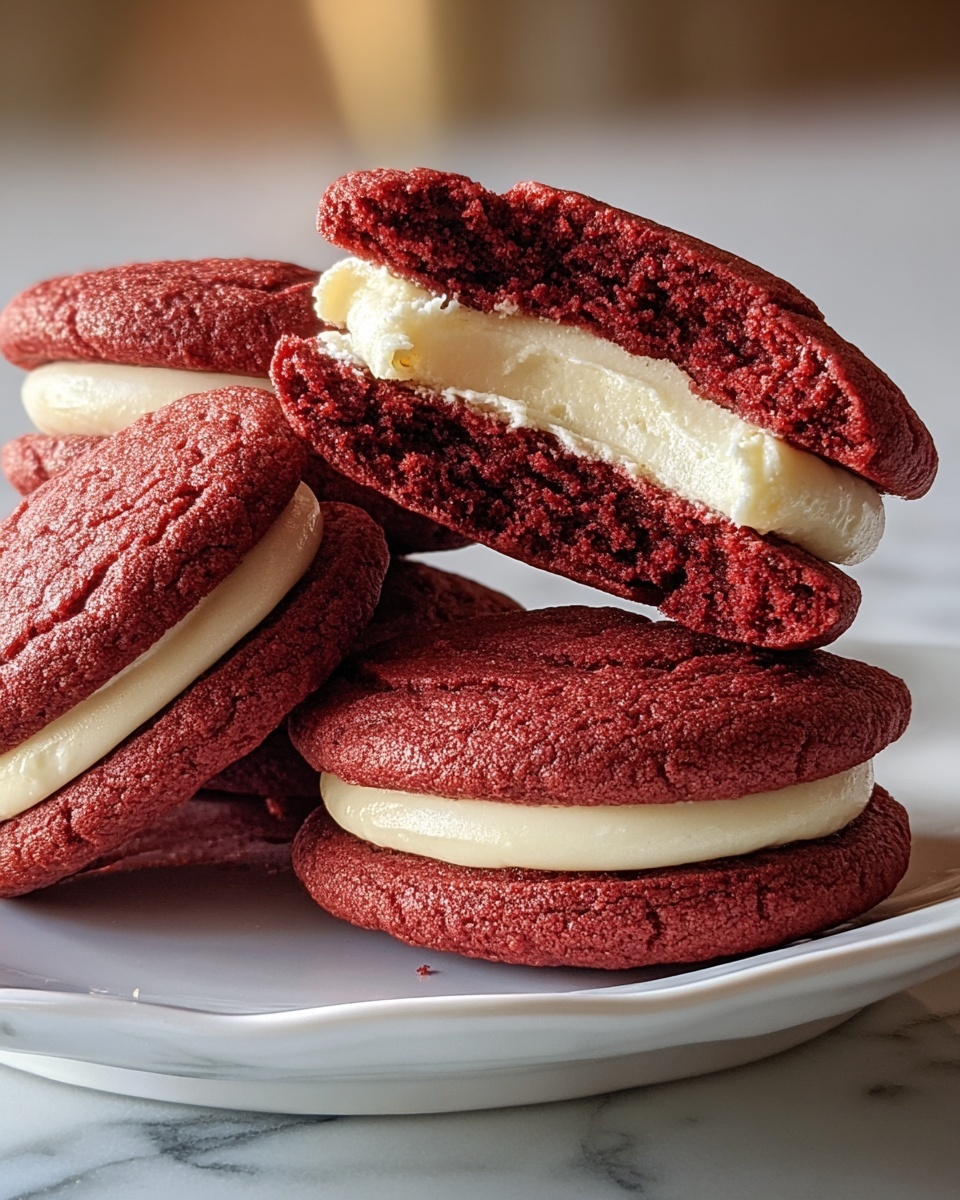
If you’ve ever dreamed of biting into something decadently soft with a rich twist hidden inside, you are going to fall head over heels for the Luscious Red Velvet Cookies with a Creamy Cheesecake Surprise Recipe. These cookies combine the timeless charm of red velvet’s tender crumb and subtle cocoa flavor with a luscious, creamy center that melts in your mouth. Each bite delivers a perfect balance of sweetness and tang from the dreamy cheesecake filling, making these cookies an irresistible treat perfect for any occasion, from cozy family nights to festive gatherings.
Ingredients You’ll Need
Gathering the right ingredients is the heart of baking these spectacular red velvet cookies. Each item is carefully selected to contribute to the ultimate texture, vibrant color, and unforgettable flavor. From classic cocoa to creamy cheese, these essentials come together to create magic.
- 2 1/2 cups all-purpose flour: Provides the perfect structure and softness for the cookie dough.
- 1 tablespoon cocoa powder: Adds that subtle chocolate depth unique to red velvet.
- 1 teaspoon baking soda: Helps the cookies rise, giving them that tender crumb.
- 1/2 teaspoon salt: Balances sweetness and enhances overall flavor.
- 1/2 cup unsalted butter, softened: Essential for a creamy, rich dough and moist texture.
- 1 cup granulated sugar: Sweetens and helps create a light, fluffy dough.
- 1 large egg: Binds ingredients and adds moisture.
- 2 teaspoons vanilla extract: Infuses warmth and complexity in both dough and filling.
- 1 tablespoon red food coloring: Brings the iconic, eye-catching red hue to the cookies.
- 1 tablespoon buttermilk (or milk): Adds tenderness and slight tang to complement the cocoa.
- 8 oz cream cheese, softened: Creates the luscious creamy cheesecake surprise inside each cookie.
- 1/4 cup powdered sugar: Sweetens the cream cheese filling smoothly for a perfect contrast.
- 1 teaspoon vanilla extract: Enhances the filling’s flavor with a delicate aromatic touch.
How to Make Luscious Red Velvet Cookies with a Creamy Cheesecake Surprise Recipe
Step 1: Prepare Your Oven and Baking Surface
Start by preheating your oven to 350°F (175°C). This ensures your oven reaches the perfect temperature for baking these delicate cookies. Lining a baking sheet with parchment paper prevents sticking and helps achieve even baking, setting you up for cookie success.
Step 2: Make the Cheesecake Filling
In a bowl, mix the softened cream cheese, powdered sugar, and vanilla extract until completely smooth and creamy. This luscious filling is the star surprise inside each cookie and should be set aside while you prepare the dough.
Step 3: Combine Dry and Wet Ingredients
Whisk together the flour, cocoa powder, baking soda, and salt in one medium bowl. In another bowl, cream the softened butter and granulated sugar until light and fluffy to create a perfect base. Then, add the egg, vanilla extract, red food coloring, and buttermilk, mixing thoroughly to unify the vibrant dough.
Step 4: Form the Cookie Dough
Gradually add your dry ingredient mixture to the wet ingredients, mixing until a cohesive dough forms. The dough should be soft but workable, rich with that characteristic red velvet color hinting at the deliciousness to come.
Step 5: Assemble the Cookies
Roll the dough into balls roughly one tablespoon each. Gently press a small amount of the cheesecake filling into the center of each ball, then fold and seal the dough around it. This step traps the creamy surprise inside, ensuring every bite is a happy discovery.
Step 6: Bake to Perfection
Place the cookies on the prepared baking sheet and bake for 10 to 12 minutes. Watch for edges that are just set while keeping soft, tender centers. Allow the cookies to cool on the sheet briefly before transferring them to a wire rack, where they finish cooling into gorgeous, luscious treats.
How to Serve Luscious Red Velvet Cookies with a Creamy Cheesecake Surprise Recipe
Garnishes
A simple dusting of powdered sugar or a drizzle of melted white chocolate can elevate the visual appeal and add a delicate sweetness on top. For an extra festive touch, sprinkle some edible red glitter or finely chopped nuts to complement the silky texture of the cheesecake center.
Side Dishes
Pair these cookies with a cold glass of milk, a frothy cup of hot cocoa, or even a smooth coffee blend. Their rich texture and sweet-tangy cheesecake core beautifully balance creamy drinks, making snack time feel like a cozy celebration.
Creative Ways to Present
Try arranging your cookies on a decorative plate surrounded by fresh berries for a burst of color contrast. You can also stack them with parchment paper in between for a charming homemade gift box. Serving these at parties? Add small toothpicks to each cookie for easy handling and a fun, bite-sized treat.
Make Ahead and Storage
Storing Leftovers
Once completely cooled, store your red velvet cookies in an airtight container at room temperature for up to 3 days. Keeping them sealed preserves their soft texture and the luscious creamy filling’s fresh flavor.
Freezing
You can freeze these cookies either baked or as dough balls. For baked cookies, place them in an airtight container layered with parchment paper and freeze for up to 2 months. For dough balls, freeze on a tray before transferring to a freezer bag; bake from frozen adding a couple minutes to baking time.
Reheating
To enjoy freshly baked warmth, gently reheat cookies in a 300°F oven for about 5 minutes or pop them in the microwave for 10-15 seconds. The creamy cheesecake center softens delightfully, reviving that fresh-from-the-oven joy.
FAQs
Can I use regular milk instead of buttermilk in the recipe?
Yes, you can substitute regular milk if you don’t have buttermilk. Adding a teaspoon of lemon juice or vinegar to the milk and letting it sit for 5 minutes helps mimic the tanginess of buttermilk, which enhances the red velvet flavor.
Do I need to use red food coloring? Can I make these cookies naturally red?
Red food coloring is key for the iconic vibrant red color in this recipe. If you prefer natural alternatives, beet juice or powder can be used, but keep in mind that color intensity may vary and the flavor might be slightly different.
How do I prevent the cream cheese filling from leaking out during baking?
Make sure to fully enclose the cream cheese filling with dough and pinch the edges tightly to seal. Chilling the dough balls briefly before baking can also help the filling stay inside.
Can I make mini versions of these cookies?
Absolutely! Just reduce dough ball size to about a teaspoon each and decrease baking time slightly. Mini cookies make delightful bite-sized treats perfect for parties or sharing.
Will these cookies keep well if made ahead for a celebration?
Yes, you can prepare the dough or bake the cookies a day in advance. Just store them properly in airtight containers to maintain freshness and soft texture until you’re ready to serve.
Final Thoughts
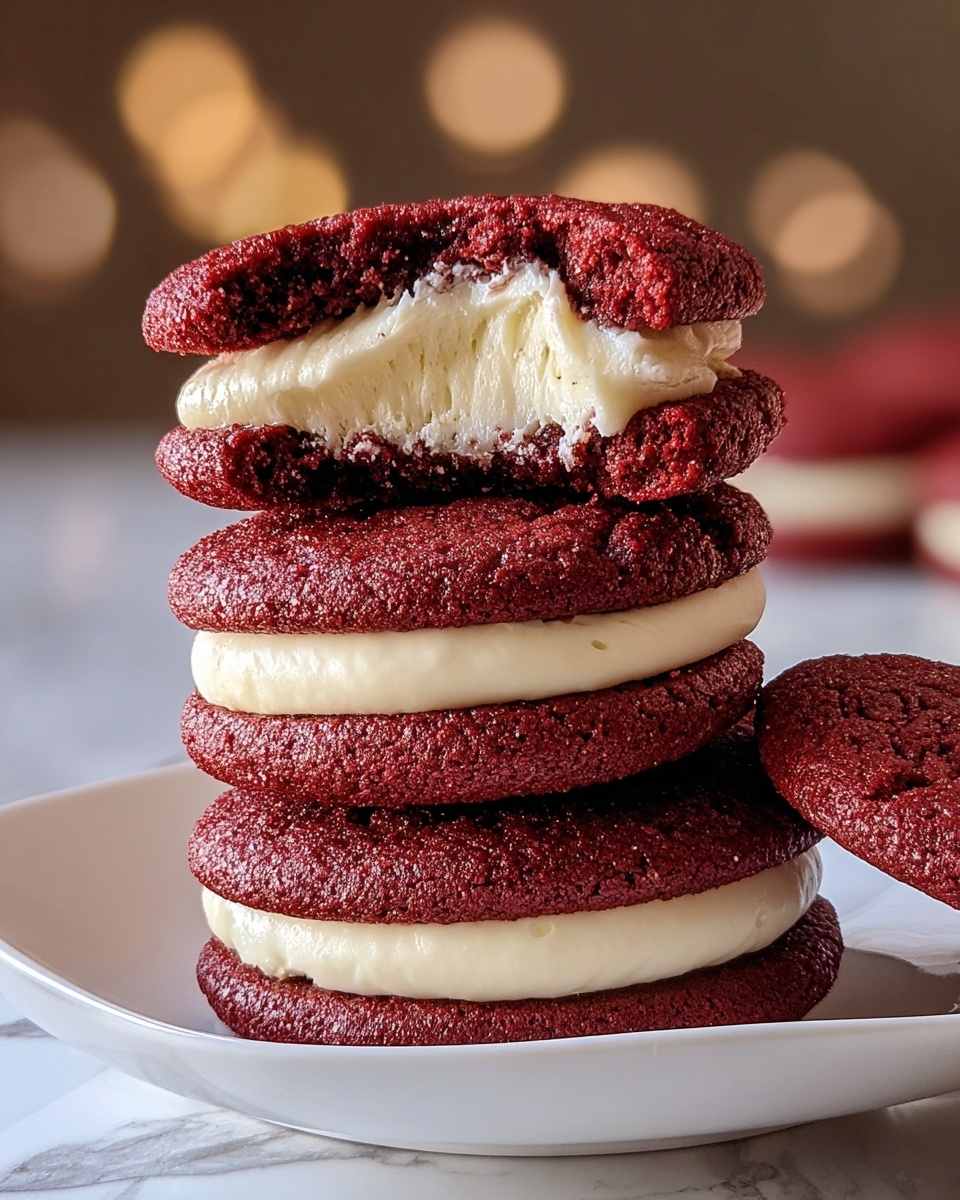
These Luscious Red Velvet Cookies with a Creamy Cheesecake Surprise Recipe are pure joy wrapped in a soft, colorful package with a delightful, cheesy heart. Baking them is as rewarding as eating them because every step builds up to an unforgettable treat that feels like a warm hug. I honestly can’t wait for you to try this recipe and fall in love with red velvet all over again, cookie style!
Print
Luscious Red Velvet Cookies with a Creamy Cheesecake Surprise Recipe
- Prep Time: 20 minutes
- Cook Time: 12 minutes
- Total Time: 32 minutes
- Yield: 24 cookies
- Category: Dessert
- Method: Baking
- Cuisine: American
Description
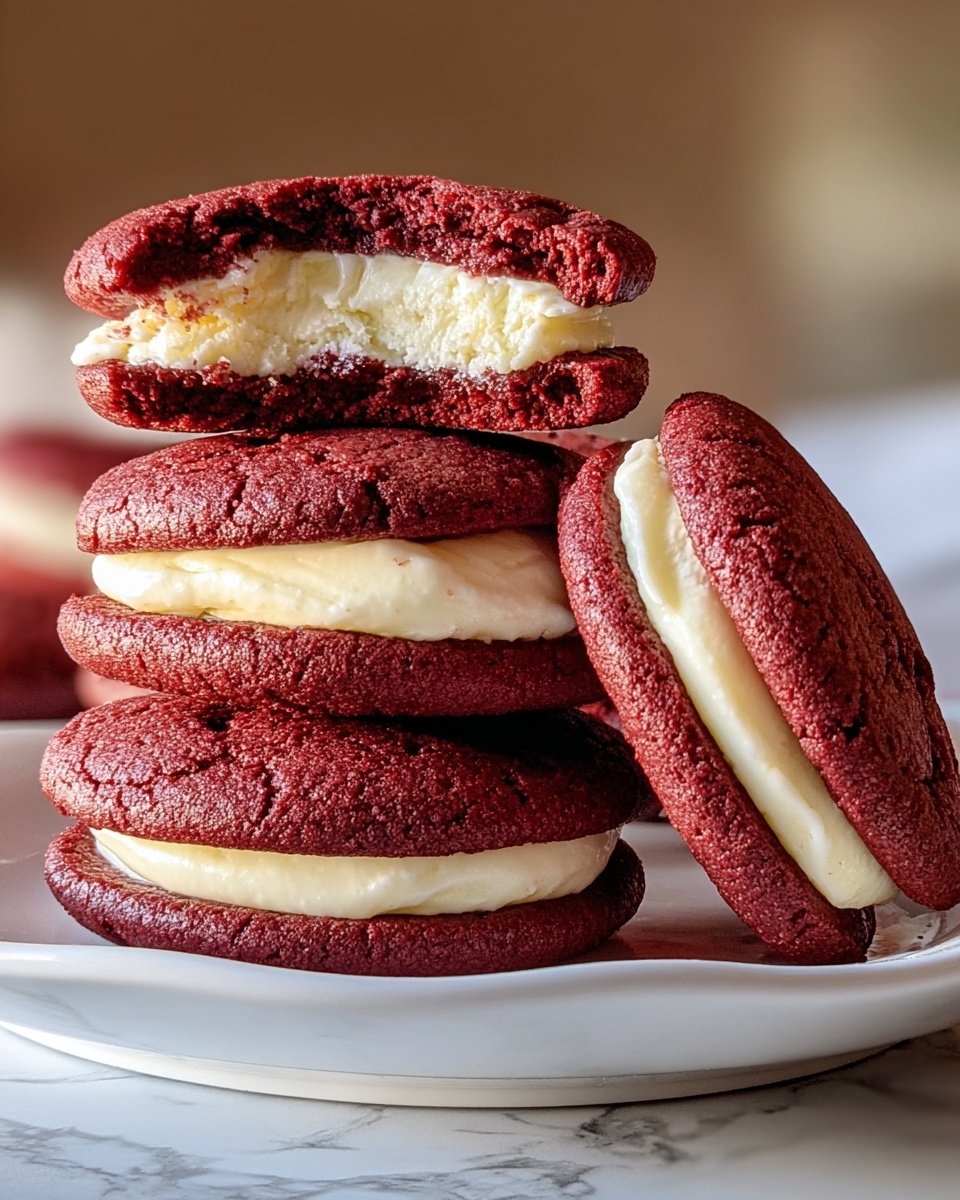
These luscious red velvet cookies feature a rich, cocoa-infused dough with a vibrant red hue and a delightful surprise creamy cheesecake filling inside. Perfectly soft and chewy with a slight tang from buttermilk and the smooth cream cheese center, these cookies are ideal for special occasions or anytime you crave a decadent treat.
Ingredients
Dry Ingredients
- 2 1/2 cups all-purpose flour
- 1 tablespoon cocoa powder
- 1 teaspoon baking soda
- 1/2 teaspoon salt
Wet Ingredients
- 1/2 cup unsalted butter, softened
- 1 cup granulated sugar
- 1 large egg
- 2 teaspoons vanilla extract
- 1 tablespoon red food coloring
- 1 tablespoon buttermilk (or milk)
Cream Cheese Filling
- 8 oz cream cheese, softened
- 1/4 cup powdered sugar
- 1 teaspoon vanilla extract
Instructions
- Preheat and prepare: Preheat the oven to 350°F (175°C) and line a baking sheet with parchment paper to prevent sticking and ensure even baking.
- Make cream cheese filling: In a bowl, combine the softened cream cheese, powdered sugar, and vanilla extract. Mix until smooth and creamy, then set aside to use as the filling.
- Mix dry ingredients: In a medium bowl, whisk together the flour, cocoa powder, baking soda, and salt to evenly distribute the leavening agents and cocoa.
- Cream butter and sugar: In a separate large bowl, cream the softened butter and granulated sugar until light and fluffy, which adds air for a tender texture.
- Add wet ingredients: Beat in the egg, vanilla extract, red food coloring, and buttermilk until the mixture is well combined and vibrant red in color.
- Combine dry and wet: Gradually add the dry ingredient mixture to the wet ingredients, stirring until a cohesive cookie dough forms without overmixing.
- Form filled cookie balls: Roll the dough into approximately 1 tablespoon-sized balls. Flatten each slightly, add a small dollop of cream cheese filling in the center, then cover and seal the filling with additional dough, shaping into balls again to encase the cheesecake.
- Bake the cookies: Place the filled cookie balls on the prepared baking sheet spaced apart, and bake for 10-12 minutes until the edges are set but the centers remain soft.
- Cool: Let cookies cool on the baking sheet for 5 minutes to firm up, then transfer to a wire rack to cool completely before serving to prevent breaking and maintain shape.
Notes
- Use full-fat cream cheese for the creamiest filling and best flavor.
- Be careful not to overbake to keep the cookies soft and chewy with gooey centers.
- Red food coloring intensity can be adjusted to preference; gel food coloring works well for a vibrant color without altering dough consistency.
- Chill the dough for 15 minutes if it’s too soft to handle easily.
- Store cookies in an airtight container at room temperature for up to 3 days, or refrigerate for up to a week.


