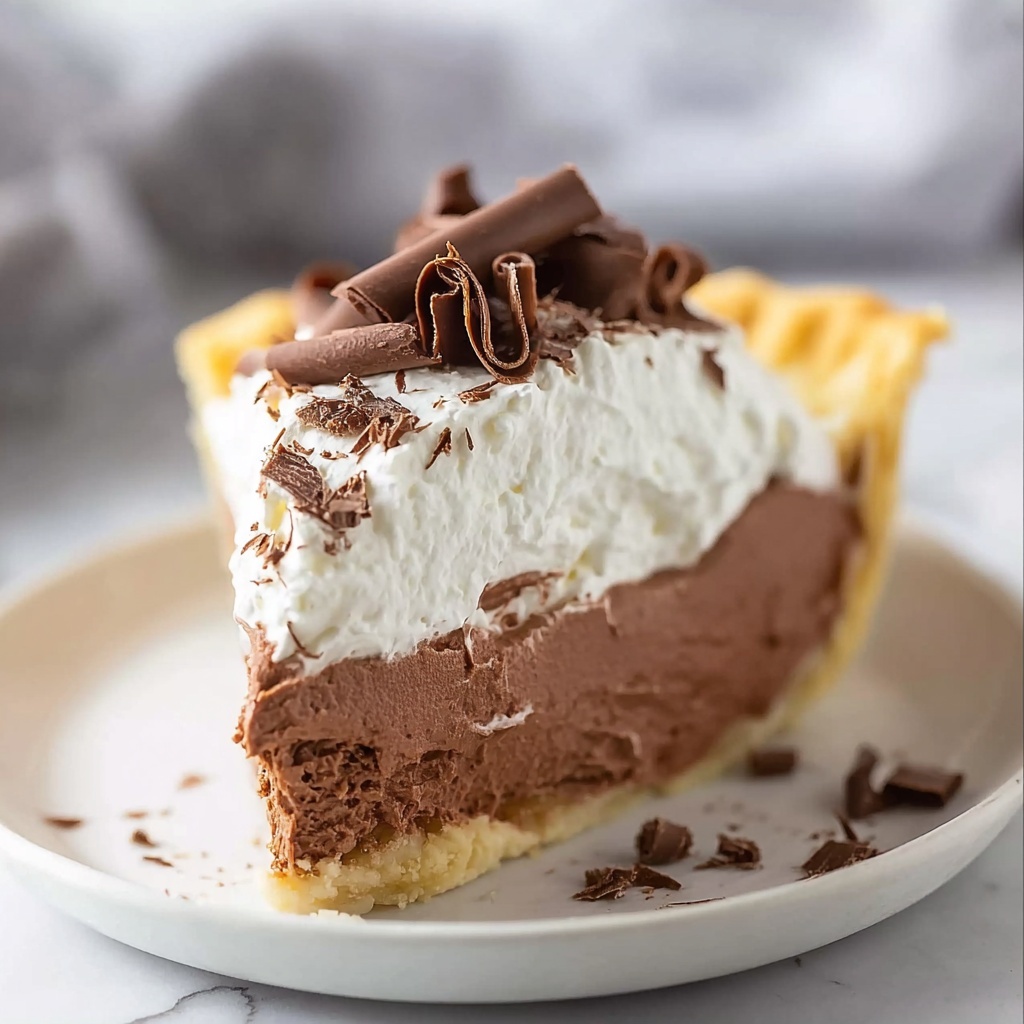
If you’re craving a dessert that’s rich, velvety, and seriously indulgent, look no further than this classic French Silk Pie Recipe. It’s a luscious chocolate pie with a silky smooth filling that melts in your mouth, paired perfectly with a buttery crust and topped with fluffy cream and chocolate shavings. Every bite is like a little slice of chocolate heaven that’s perfect for impressing guests or treating yourself to a decadent moment.
Ingredients You’ll Need
The beauty of this French Silk Pie Recipe is how straightforward the ingredients are, yet how each one plays a vital role in creating the pie’s delectable taste and texture. From the creamy butter that forms the base to the rich blend of chocolates that gives it its signature depth, every ingredient matters.
- 9″ refrigerated pie crust: A convenient, flaky base that holds the silky filling perfectly.
- German baking chocolate (2 oz.): Adds a robust and slightly bitter complexity to balance the sweetness.
- Semi-sweet baking chocolate (2 oz.): Brings a smooth chocolate flavor and rich texture.
- Peanut butter or milk chocolate baking chips (¼ cup): Adds a hint of creaminess and subtle sweetness for extra dimension.
- Unsalted butter (1 cup, room temperature): Essential for a silky, smooth filling and a luscious mouthfeel.
- Superfine (caster) sugar (1½ cups): Dissolves quickly to give the filling its perfect sweetness without grittiness.
- Kosher salt (⅛ tsp): Enhances all the flavors, balancing the richness of the chocolate.
- Pure vanilla extract (1 tsp): Adds warmth and depth to the chocolate filling.
- Large eggs (4, pasteurized): Provide structure and a creamy consistency to the filling.
- Cool Whip: Perfect for a light, airy topping without fuss.
- Milk chocolate shavings: A pretty finishing touch that adds texture and extra chocolate flair.
How to Make French Silk Pie Recipe
Step 1: Blind-bake the Pie Crust
Start by blind-baking your chilled pie crust to ensure it’s perfectly crisp and golden before adding any filling. Follow the package directions, usually about 10 minutes until the edges turn a lovely golden brown. This step ensures your crust won’t be soggy once the luscious filling goes in.
Step 2: Melt the Chocolate
Carefully melt your German baking chocolate, semi-sweet chocolate, and baking chips together in a microwave-safe bowl. Heat on high for 1 to 1½ minutes, stirring frequently every 15 seconds after the first 45 seconds to prevent overheating. The goal is smooth, melted chocolate that remains pourable but not scorching hot.
Step 3: Cream Butter and Sugar
Using a stand mixer with the paddle attachment, beat the room temperature butter and superfine sugar together on medium-high speed until the mixture is lighter in color and fluffy—about 3 minutes. This step is critical to dissolve all the sugar, which you can test by rubbing a small amount between your fingers; it should feel smooth, not gritty.
Step 4: Add Salt, Vanilla, and Melted Chocolate
Mix in the salt and vanilla extract, then slowly pour in the cooled but still liquid melted chocolate. This blend of ingredients forms the decadent base of your filling, combining luscious chocolate with aromatic vanilla and a pinch of salt to intensify the flavors.
Step 5: Whisk Until Combined
Switch to the whisk attachment and mix on medium speed for about 2 minutes until everything is fully incorporated and beautifully smooth. This step aerates the filling slightly, creating that classic silkiness.
Step 6: Add Eggs One at a Time
While the mixer is running at medium speed, add the pasteurized eggs one by one, whisking for 5 minutes after each addition. This slow, steady process ensures the filling thickens perfectly without becoming runny. Patience here is key to achieving that signature silky texture.
Step 7: Fill the Pie Shell and Chill
Pour your heavenly chocolate filling into the cooled pie crust and smooth the top evenly. Cover and refrigerate for at least 3 hours to allow the filling to set and develop that luscious, firm yet creamy consistency.
Step 8: Add Toppings and Serve
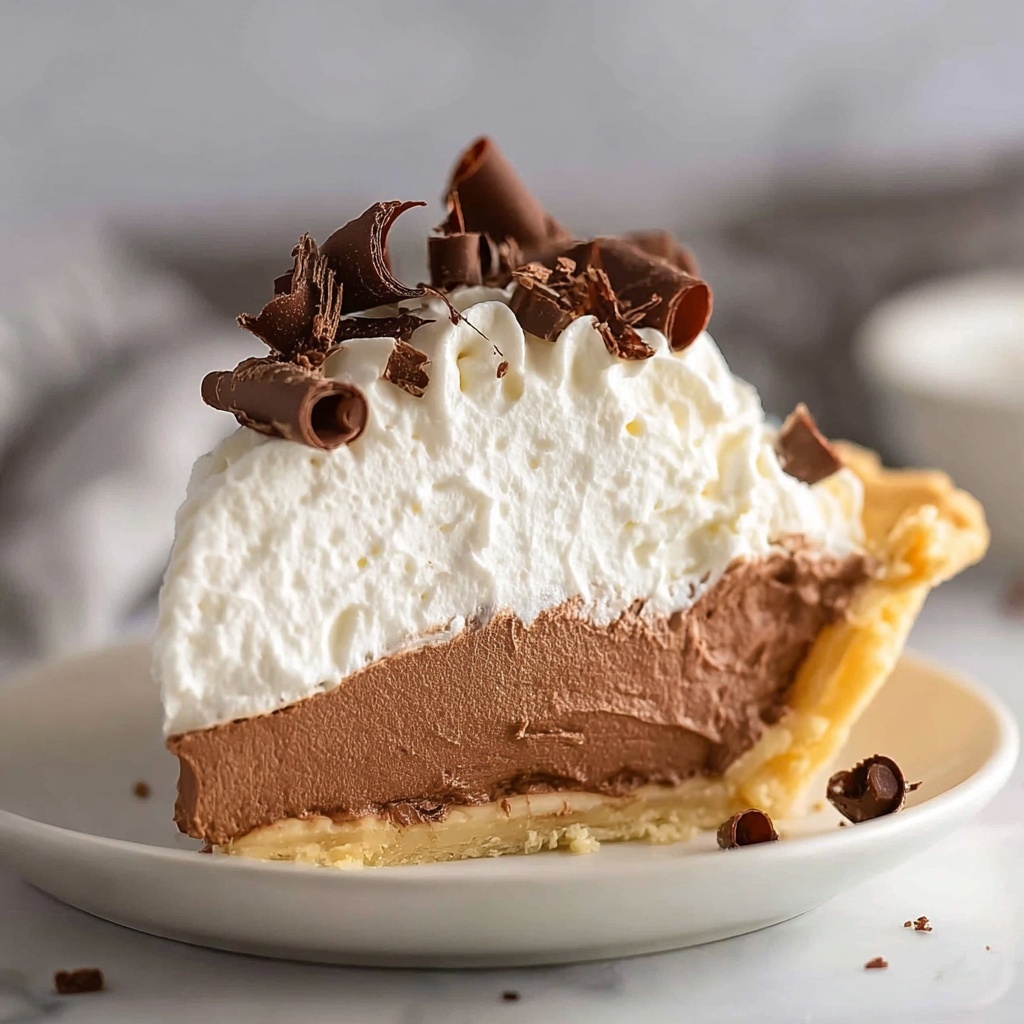
Before serving, top your pie with fluffy Cool Whip or freshly whipped cream and garnish with delicate milk chocolate shavings for an elegant touch that hints at the rich chocolate waiting beneath.
How to Serve French Silk Pie Recipe
Garnishes
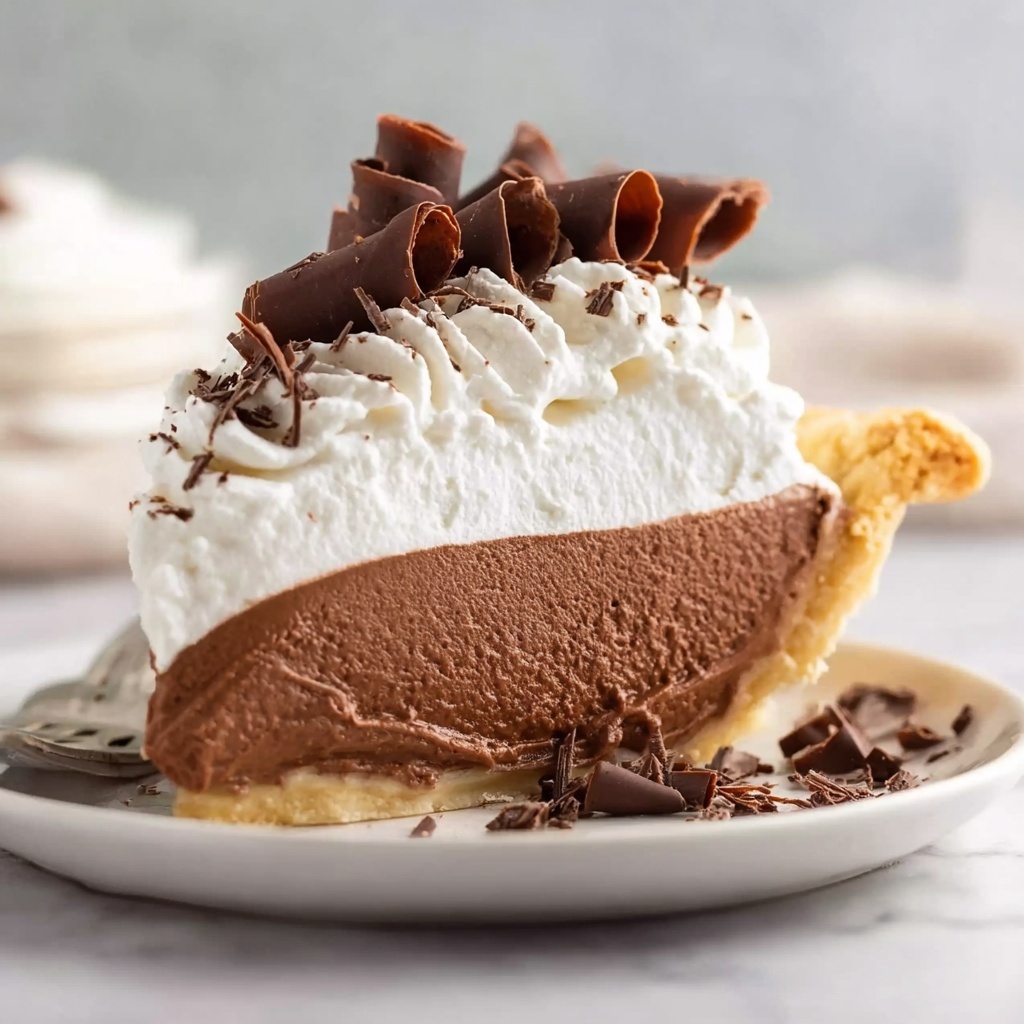
Classic is always best here: a generous dollop of whipped cream or Cool Whip garnished with fine milk chocolate shavings adds both texture and a lovely contrast to the smooth pie. For an extra special touch, sprinkle a pinch of cocoa powder or add a few fresh raspberries to brighten the flavors.
Side Dishes
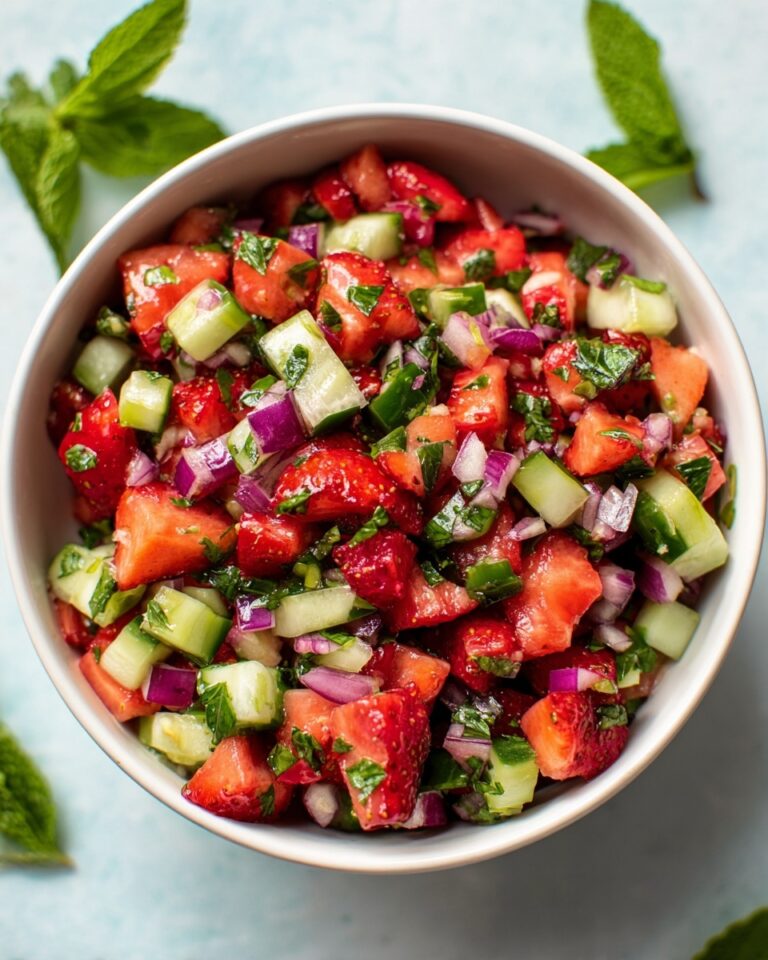
This French Silk Pie Recipe shines as the star dessert after a hearty meal. Pair it with a light green salad or fresh fruit to balance the richness. A cup of strong coffee or a crisp glass of dessert wine complements the chocolate beautifully.
Creative Ways to Present
Want to impress? Serve individual mini French Silk Pies in coupe glasses or ramekins, layered with whipped cream and chocolate curls. You can also dust the top with a little instant espresso powder to add a mocha twist that deepens the flavor profile.
Make Ahead and Storage
Storing Leftovers
Once chilled and set, cover your French Silk Pie tightly with plastic wrap and store it in the refrigerator. It will stay wonderfully fresh and creamy for up to 3 days. This makes it an excellent make-ahead dessert for weekend gatherings.
Freezing
If you need to store your pie longer, you can freeze it after chilling. Wrap it in airtight plastic and foil for up to 1 month. Thaw in the refrigerator overnight before serving to preserve the perfect texture and flavor.
Reheating
Since this pie is best enjoyed chilled, reheating is not recommended. Instead, simply take the pie out of the fridge about 15 minutes before serving to soften the silk filling for the best experience.
FAQs
Can I use a homemade pie crust instead of store-bought?
Absolutely! A homemade buttery pie crust works beautifully with this French Silk Pie Recipe and adds a wonderful personal touch to the dessert.
What can I substitute for pasteurized eggs?
Pasteurized eggs are recommended for safety since the filling is not cooked. If unavailable, you can use pasteurized egg products or egg substitutes, but the texture might vary slightly.
Can I make this pie dairy-free?
With some adjustments, you can substitute dairy-free butter and chocolate to make a vegan-friendly version. Just keep in mind the texture and flavor might differ slightly from the classic recipe.
How long should the pie chill before serving?
At least 3 hours is ideal to let the filling set properly. For best results, chill it overnight so the silky texture can fully develop.
Is it necessary to use a stand mixer?
While a stand mixer makes the process easier and helps achieve the perfect silky texture, you can use a hand mixer if you beat the ingredients thoroughly and patiently.
Final Thoughts
This French Silk Pie Recipe is a timeless dessert that everyone should have in their baking repertoire. Its luxurious texture and rich chocolate flavor make it a crowd-pleaser for any occasion. I promise, once you try this pie, it’ll become one of your favorite go-to treats to impress friends and enjoy yourself. So grab those simple ingredients and start whisking up some silky chocolate magic today!
Print
French Silk Pie Recipe
- Prep Time: 30 minutes
- Cook Time: 10 minutes
- Total Time: 3 hours 40 minutes
- Yield: 8 servings (8 slices)
- Category: Dessert
- Method: Baking
- Cuisine: American
Description
This French Silk Pie recipe features a rich, velvety chocolate filling made from a blend of German and semi-sweet baking chocolates, whipped butter, sugar, eggs, and a hint of peanut butter or milk chocolate chips. Set in a crisp refrigerated pie crust and chilled until firm, this decadent dessert is topped with whipped cream and chocolate shavings for an indulgently smooth and creamy treat perfect for chocolate lovers.
Ingredients
Pie Crust
- 1 9″ refrigerated pie crust (213g, store-bought or homemade)
Chocolate Filling
- 2 oz. German baking chocolate (57g, chopped)
- 2 oz. semi-sweet baking chocolate (57g, chopped)
- ¼ cup peanut butter or milk chocolate baking chips (43g)
- 1 cup unsalted butter (226g, room temperature, 2 sticks)
- 1½ cups superfine (caster) sugar (300g)
- ⅛ tsp kosher salt
- 1 tsp pure vanilla extract (4g)
- 4 large eggs (200g, pasteurized)
Toppings
- Cool Whip or freshly whipped cream
- Milk chocolate shavings
Instructions
- Blind-bake Pie Crust: Preheat your oven and blind-bake the 9″ refrigerated pie crust according to package directions until the edges are golden brown, approximately 10 minutes. Remove it from the oven and allow it to cool completely before filling.
- Melt Chocolates and Chips: Place the German baking chocolate, semi-sweet baking chocolate, and peanut butter or milk chocolate baking chips into a medium microwave-safe bowl. Melt on HIGH in the microwave for 1 to 1½ minutes, stirring after 45 seconds and then every 15 seconds until fully melted. Be careful not to overheat to avoid chocolate seizing. Let the melted chocolate cool until pourable but not hot.
- Beat Butter and Sugar: In the bowl of a stand mixer fitted with the paddle attachment, beat the unsalted butter and superfine sugar on medium-high speed for about 3 minutes until the mixture is light in color, fluffy, and the sugar is completely dissolved. Test by rubbing a small amount between your fingers to confirm no grittiness remains.
- Add Salt, Vanilla, and Chocolate: Incorporate the kosher salt, pure vanilla extract, and the cooled melted chocolate into the butter and sugar mixture.
- Whisk Mixture: Switch to the whisk attachment and whisk the combined mixture for about 2 minutes to thoroughly incorporate the ingredients and add air for smoothness.
- Add Eggs Slowly: On medium speed, add the pasteurized eggs one at a time, whisking for 5 minutes after each addition. Maintain medium speed to ensure the filling thickens properly without becoming runny.
- Fill and Chill Pie: Pour the chocolate filling into the cooled pie crust, smoothing the top with a spatula. Cover the pie and refrigerate for at least 3 hours, or until set firmly.
- Serve: Before serving, top the chilled pie with freshly whipped cream or Cool Whip and garnish with milk chocolate shavings for an elegant finish.
Notes
- Use pasteurized eggs for safety since the pie is not baked after adding eggs.
- Casting sugar rather than granulated sugar helps dissolve it completely for a silky texture.
- Do not overheat chocolate while melting to prevent it from seizing.
- Be sure to chill the pie for at least 3 hours to achieve the ideal firm texture.
- This pie is best served cold and consumed within 2-3 days for freshness.


