
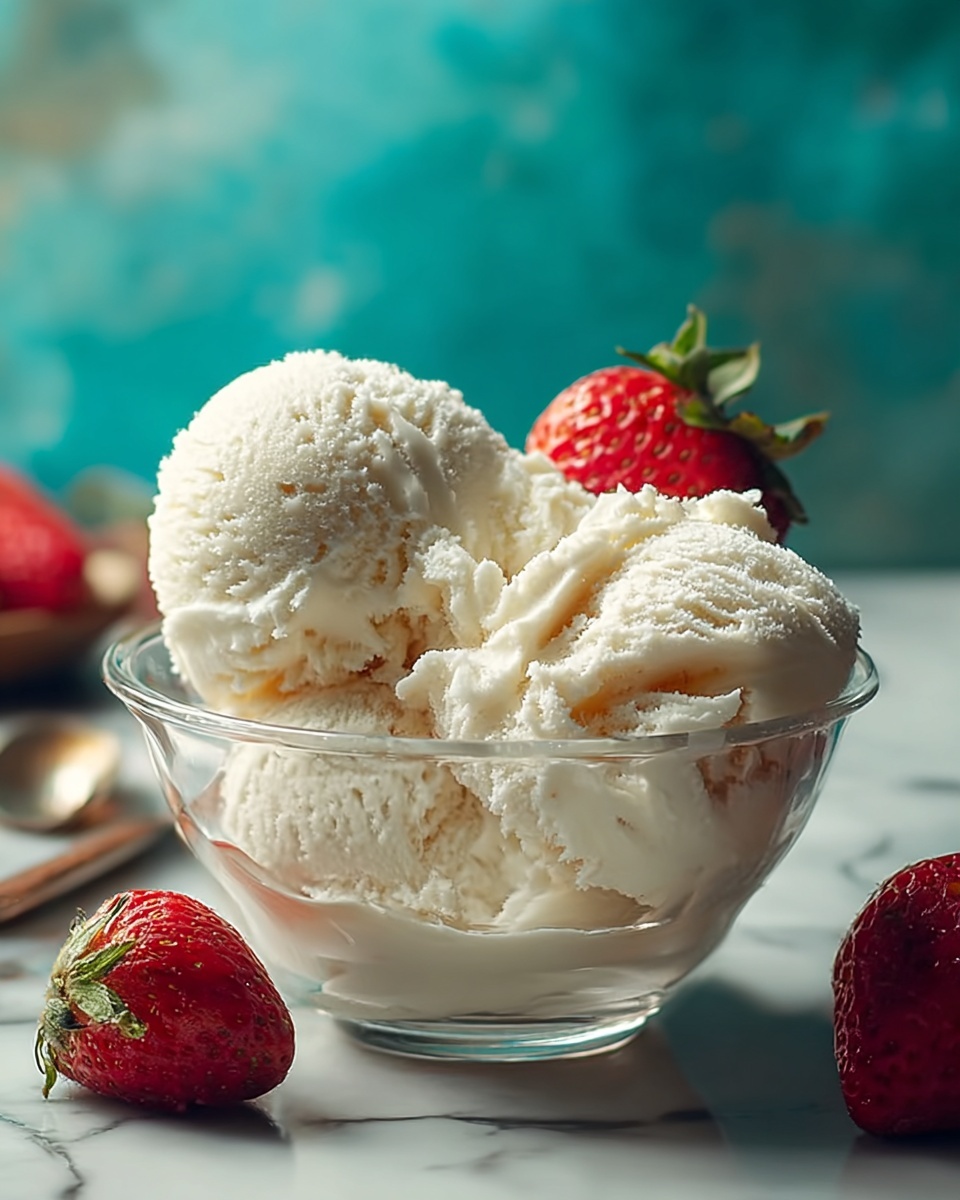
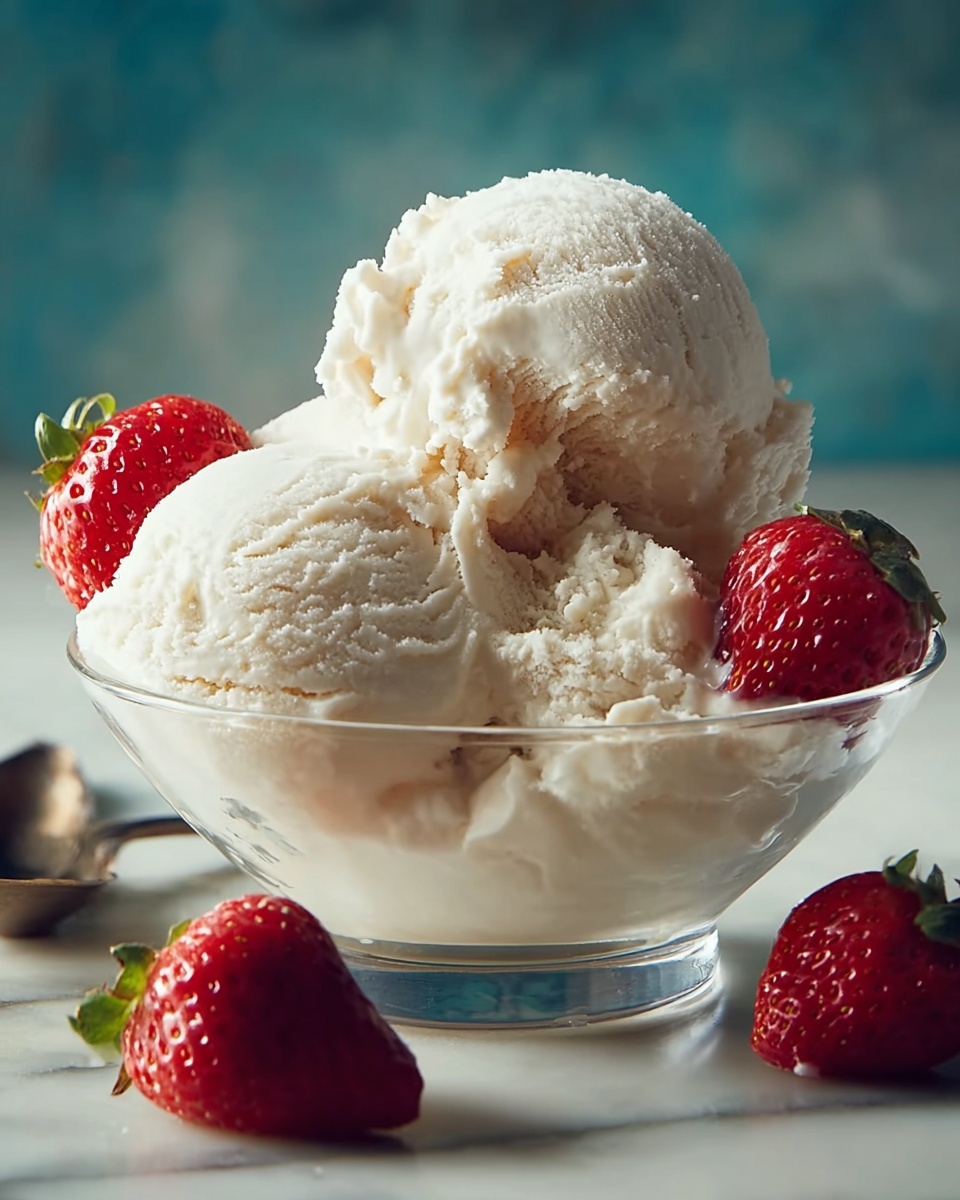
If you’ve ever dreamed of crafting the perfect creamy treat in your own kitchen, you are going to love this Easy Homemade Vanilla Ice Cream Recipe. It’s the ultimate comfort dessert, combining rich, velvety cream with the warm aroma of pure vanilla, yielding a delightfully smooth ice cream that feels like you brought the ice cream parlor right home. Whether you’re serving it on a sunny afternoon or as a sweet finish to dinner, this recipe is simple enough to whip up anytime yet impressive in its luscious flavors and texture.
Ingredients You’ll Need
These ingredients are straightforward and pantry-friendly, yet each plays an essential role in creating the creamy texture and classic vanilla flavor that makes this ice cream so irresistible.
- 2 cups heavy cream: The richness of the cream gives the ice cream its luscious, velvety mouthfeel.
- 1 cup whole milk: Adds a lighter creaminess and keeps the ice cream from being too dense.
- 3/4 cup granulated sugar: Sweetens the ice cream while helping to keep it smooth and scoopable.
- 1 tablespoon pure vanilla extract: Provides that unmistakable, warm vanilla aroma and flavor that makes this ice cream a classic.
- Pinch of salt: Enhances the sweetness and balances the flavors perfectly.
- Optional add-ins (1/2 cup chocolate chips, crushed cookies, or fruit): For a personalized twist, add your favorite mix-ins once the base is ready.
How to Make Easy Homemade Vanilla Ice Cream Recipe
Step 1: Dissolve the Sugar
Start by whisking together the granulated sugar, whole milk, and a pinch of salt in a bowl. The goal here is to completely dissolve the sugar so that your ice cream will have a perfectly smooth texture without any graininess. This simple step is key to ensuring that every bite melts delightfully on your tongue.
Step 2: Add Cream and Vanilla
Next, gently stir in the heavy cream and the pure vanilla extract. The cream brings the luxurious body of the ice cream, while the vanilla infuses that signature comforting flavor. At this point, your mixture is starting to become the base for something truly special.
Step 3: Chill the Mixture
Cover the bowl and pop it into the fridge for at least 2 hours. This chilling step is crucial because a cold base churns more smoothly, helping to create that velvety texture we all crave. If you’re planning ahead, this step can be done overnight, making your ice cream-making even easier when the time comes.
Step 4: Churn or Prep for Freezing
If you have an ice cream maker, follow the manufacturer’s instructions to churn the chilled mixture until it reaches a thick, soft-serve consistency. Don’t have a machine? No worries – just pour the mixture into a freezer-safe container and get ready for the manual method. Either way, you’re one step closer to perfection.
Step 5: Manual Freezing and Stirring
For those skipping the machine, place your container in the freezer and stir vigorously every 30 minutes for 2 to 3 hours. This breaks up ice crystals as they form, keeping the ice cream creamy and preventing it from turning icy. It’s a little extra effort, but so worth the creamy payoff.
Step 6: Add Mix-Ins
Once your ice cream reaches that beautiful soft-serve texture, it’s time to get creative! Gently fold in your favorite extras like chocolate chips, crushed cookies, or fresh fruit, giving each bite an exciting twist without compromising the smooth vanilla base.
Step 7: Freeze Until Firm
After mixing in add-ins, let your ice cream set in the freezer for another 2 to 3 hours, allowing it to firm up nicely. This step ensures you get perfect scoops that hold their shape beautifully when served.
Step 8: Soften Before Serving
When you’re ready to enjoy, take the ice cream out of the freezer and let it sit at room temperature for 5 to 10 minutes. This brief rest softens the ice cream enough to scoop easily, letting all those creamy, vanilla flavors shine in every spoonful.
How to Serve Easy Homemade Vanilla Ice Cream Recipe
Garnishes
Elevate your homemade vanilla ice cream with beautiful and tasty garnishes. Consider fresh berries, a drizzle of warm caramel or chocolate sauce, chopped nuts for crunch, or even a sprinkle of cinnamon for a cozy touch. These simple additions highlight the ice cream’s creamy sweetness perfectly.
Side Dishes
Pairing your Easy Homemade Vanilla Ice Cream Recipe with other desserts can create a decadent spread. Think warm apple pie, rich brownies, or a slice of spiced cake. The cool, smooth ice cream balances warm, dense desserts beautifully, making every bite a harmonious experience.
Creative Ways to Present
Impress your guests by serving your vanilla ice cream in waffle cones, chocolate-dipped bowls, or alongside fresh fruit cups. You can even layer it in parfait glasses with granola and fruit for a delightful breakfast treat. Presentation can add fun and flair, making this recipe even more memorable.
Make Ahead and Storage
Storing Leftovers
Any leftover ice cream should be stored in an airtight container to prevent it from absorbing freezer odors and to keep it fresh. Pressing a piece of parchment paper on the surface before sealing helps avoid ice crystals forming, preserving that smooth taste you worked hard to achieve.
Freezing
You can keep your homemade vanilla ice cream in the freezer for up to 2 weeks. Beyond that, the quality might start to degrade as ice crystals build up, so try to enjoy it sooner for the best flavor and texture experience.
Reheating
Reheating ice cream isn’t the goal here, but allowing it to soften slightly at room temperature before scooping is key. Avoid microwaving, as that can quickly turn your ice cream into a melted mess instead of the creamy treat you intended.
FAQs
Can I make this Easy Homemade Vanilla Ice Cream Recipe without an ice cream maker?
Absolutely! While an ice cream maker makes the process easier and quicker, you can still achieve fantastic results by freezing the mixture in a container and stirring every 30 minutes to break up ice crystals.
How can I make this ice cream dairy-free?
To make a dairy-free version, substitute the heavy cream and whole milk with coconut cream and coconut milk, respectively. The flavor will be different but still creamy and delicious with that classic vanilla scent.
Can I add other flavors to this vanilla ice cream base?
Yes! The vanilla ice cream base is incredibly versatile. You can swirl in caramel, mix in nuts, or fold in fresh fruit once the mixture reaches the soft-serve phase for exciting variations.
How long does it take to churn ice cream with a machine?
Most ice cream makers will churn the mixture in about 20 to 30 minutes, depending on the model and quantity. Always check your manufacturer’s instructions for the best results.
Why is my homemade ice cream icy instead of creamy?
Icy texture usually means ice crystals weren’t broken up enough during freezing. Make sure to stir the mixture regularly if not using a machine and keep the base properly chilled before freezing to maximize creaminess.
Final Thoughts
This Easy Homemade Vanilla Ice Cream Recipe is one of those simple pleasures that brings pure joy every time you make it. With minimal ingredients and a little bit of patience, you can create something truly special that your family and friends will rave about. So go ahead, grab your whisk and freezer, and treat yourself to this classic delight made with love right in your kitchen.
Print
Easy Homemade Vanilla Ice Cream Recipe
- Prep Time: 15 minutes
- Cook Time: 0 minutes
- Total Time: 2 hours 15 minutes (plus additional freezing time)
- Yield: 6 servings
- Category: Dessert
- Method: No-Cook
- Cuisine: American
- Diet: Vegetarian
Description
This easy homemade ice cream recipe creates a creamy and delicious treat using simple ingredients like heavy cream, whole milk, sugar, and vanilla extract. Whether you have an ice cream maker or not, you can enjoy smooth, flavorful ice cream at home with optional mix-ins like chocolate chips or crushed cookies for extra fun.
Ingredients
Base Ingredients
- 2 cups heavy cream
- 1 cup whole milk
- 3/4 cup granulated sugar
- 1 tablespoon pure vanilla extract
- Pinch of salt
Optional Mix-Ins
- 1/2 cup chocolate chips
- 1/2 cup crushed cookies
- 1/2 cup fruit mix-ins
Instructions
- Mix Sugar, Milk, and Salt: In a mixing bowl, whisk together the sugar, whole milk, and a pinch of salt until the sugar is fully dissolved, creating a smooth base for your ice cream.
- Add Cream and Vanilla: Stir in the heavy cream and pure vanilla extract thoroughly to combine all the flavors evenly.
- Chill the Mixture: Cover the bowl and refrigerate the mixture for at least 2 hours, ensuring it’s well chilled for optimal churning and texture.
- Churn or Freeze: If using an ice cream maker, pour the chilled mixture into it and churn according to the manufacturer’s instructions until it reaches a soft-serve consistency. If you don’t have an ice cream maker, transfer the mixture to a freezer-safe container.
- Manual Freezing Method: For the freezer method, stir the mixture every 30 minutes for 2 to 3 hours to break up ice crystals and keep the texture smooth.
- Add Mix-Ins: Once the mixture has thickened to a soft-serve texture, fold in any optional mix-ins such as chocolate chips, crushed cookies, or fruit gently but evenly.
- Final Freeze: Return the ice cream to the freezer and freeze for an additional 2 to 3 hours or until it firms up to the desired consistency.
- Serve: Before serving, let the ice cream sit at room temperature for 5 to 10 minutes to soften slightly, making it easier to scoop and enjoy.
Notes
- For the best texture, make sure to dissolve the sugar completely in the milk before adding the cream.
- Use full-fat dairy ingredients for a rich and creamy result.
- Chilling the base mixture is essential to speed up the churning process and improve ice cream texture.
- If you don’t have an ice cream maker, stirring during freezing is crucial to prevent large ice crystals and maintain creaminess.
- Experiment with different mix-ins like nuts, caramel swirls, or berries to customize your ice cream.
- Letting the ice cream soften slightly before scooping makes serving easier and improves mouthfeel.


