If you’re craving a dish that delivers that perfect crunch with every bite and tender, juicy chicken inside, look no further than this Crispy Chicken Cutlets Recipe. It’s a simple yet incredible way to elevate everyday chicken breasts into something truly special. With its golden exterior, a hint of Parmesan cheese, and just the right amount of seasoning, this recipe brings together textures and flavors that will have you reaching for seconds. Whether you’re making a quick weeknight dinner or impressing guests, this Crispy Chicken Cutlets Recipe is guaranteed to become one of your favorites.
Ingredients You’ll Need
These ingredients are the building blocks of the Crispy Chicken Cutlets Recipe. Each one plays a crucial role—from the seasoned flour that helps the coating stick, to the Parmesan in the breadcrumbs adding a subtle depth of flavor and color.
- Chicken breasts (2 pounds, thinly sliced): Ensures quick, even cooking with tender results.
- All-purpose flour (1 cup): Acts as the base layer to help the coating adhere perfectly.
- Seasoned salt (1 tablespoon): Adds well-rounded seasoning to the flour for enhanced flavor.
- Large eggs (2): Provides moisture and acts as a glue for the breadcrumbs.
- Water (1 tablespoon): Lightens the egg mixture for easier coating.
- Hot sauce (1 teaspoon): Kickstarts a subtle heat that wakes up the taste buds.
- Panko breadcrumbs (2 cups): The secret to that extra crispy, airy crunch.
- Garlic powder (1 teaspoon): Brings gentle aromatic warmth to the crust.
- Kosher salt (1 teaspoon): Ensures the coating seasons the cutlets properly.
- Black pepper (½ teaspoon): Adds a mild spiciness that rounds out the flavors.
- Grated Parmesan cheese (¼ cup): Fuses with the breadcrumbs to deliver savory richness and golden color.
- Light oil (1 cup, such as light olive, canola, or vegetable oil): Perfect for frying with a clean flavor and high smoke point.
How to Make Crispy Chicken Cutlets Recipe
Step 1: Prep the Chicken
Start by trimming any excess fat from your chicken breasts and patting them dry with paper towels. This step is important because it helps the coating stick better and ensures the chicken fries up nice and crispy without steaming in moisture.
Step 2: Set Up Your Breading Stations
Prepare three shallow bowls to make the breading process smooth and efficient. In the first bowl, mix the all-purpose flour with seasoned salt. The second bowl holds the eggs beaten together with water and hot sauce. The third bowl contains the panko breadcrumbs combined with garlic powder, kosher salt, black pepper, and Parmesan cheese. This layered setup means each cutlet gets perfectly coated in every step.
Step 3: Bread the Chicken
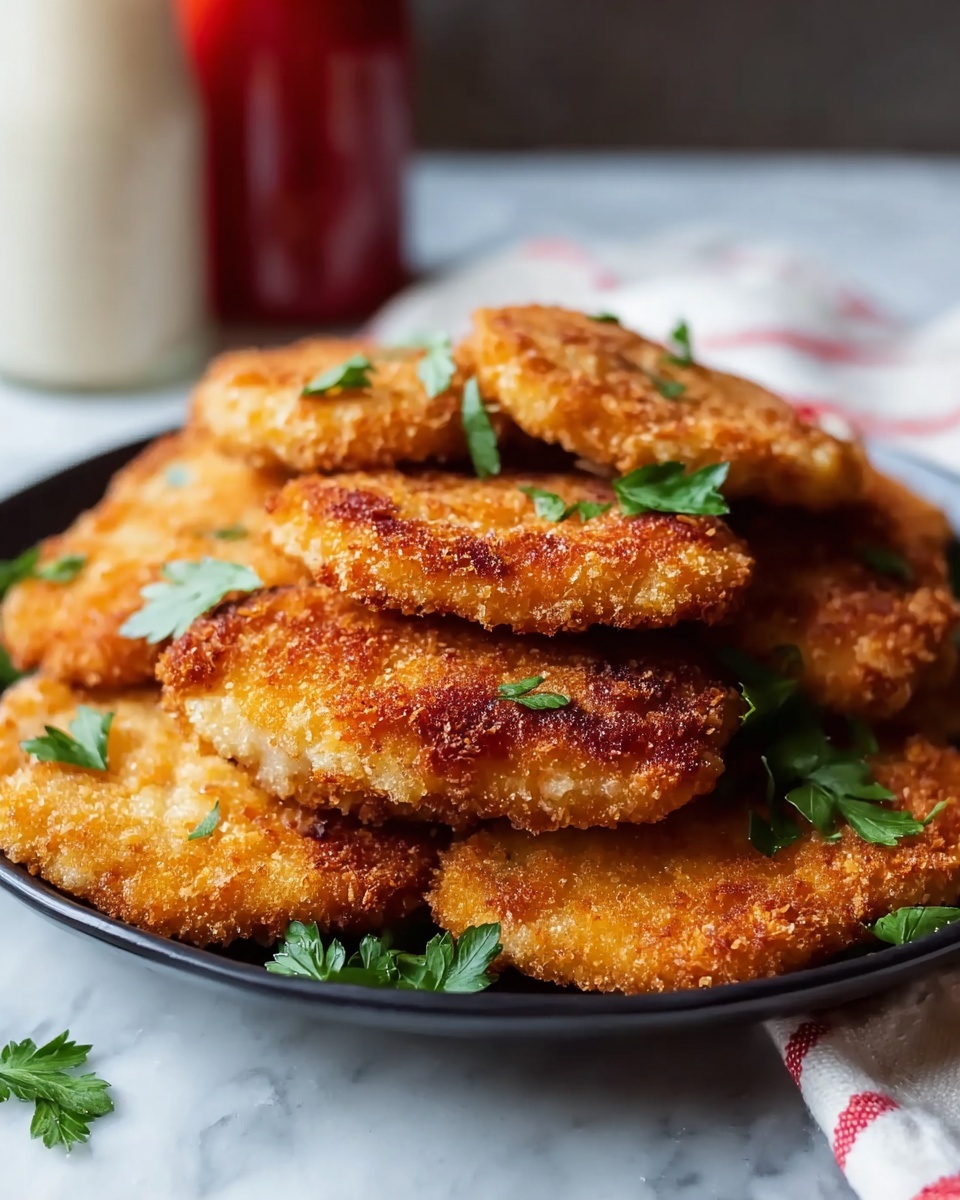
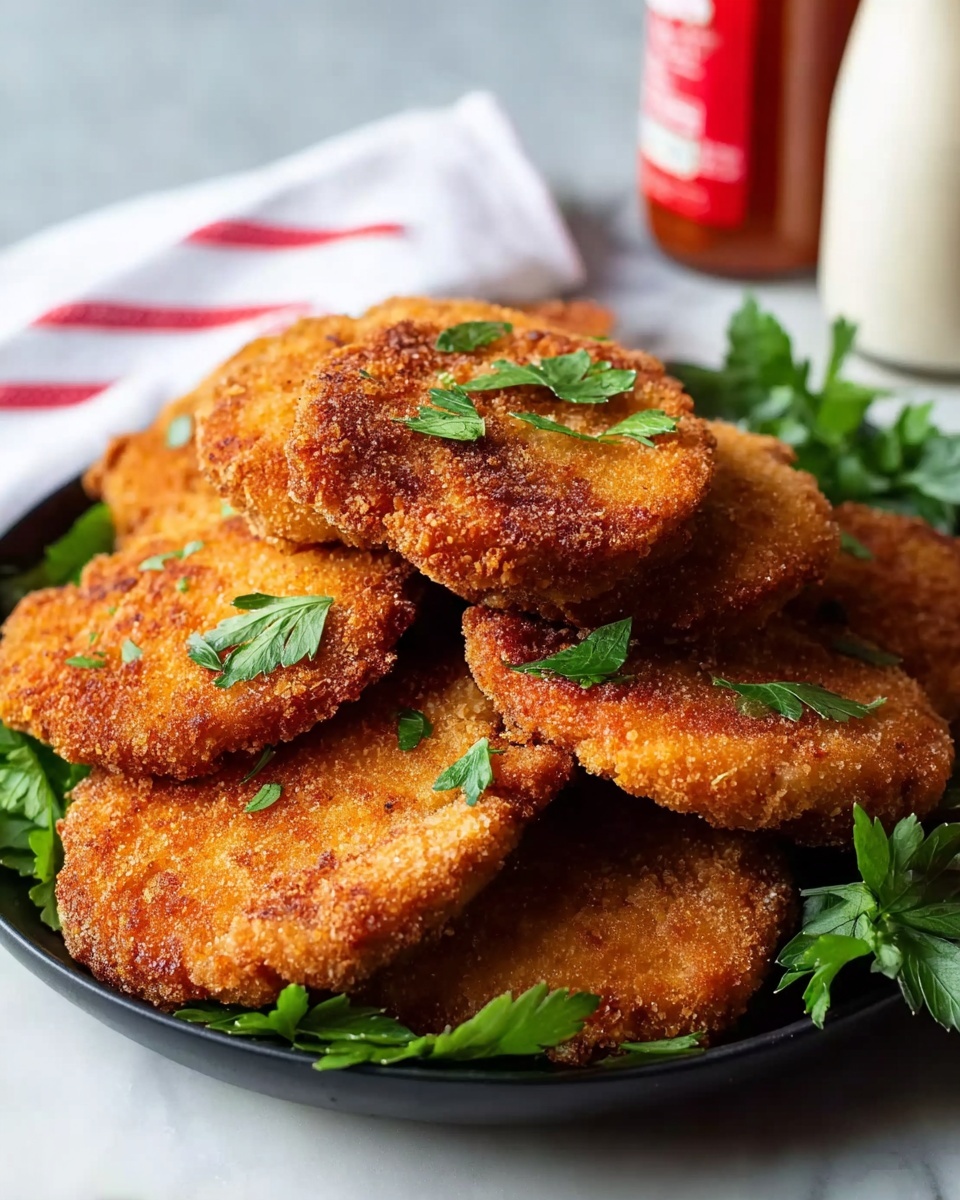
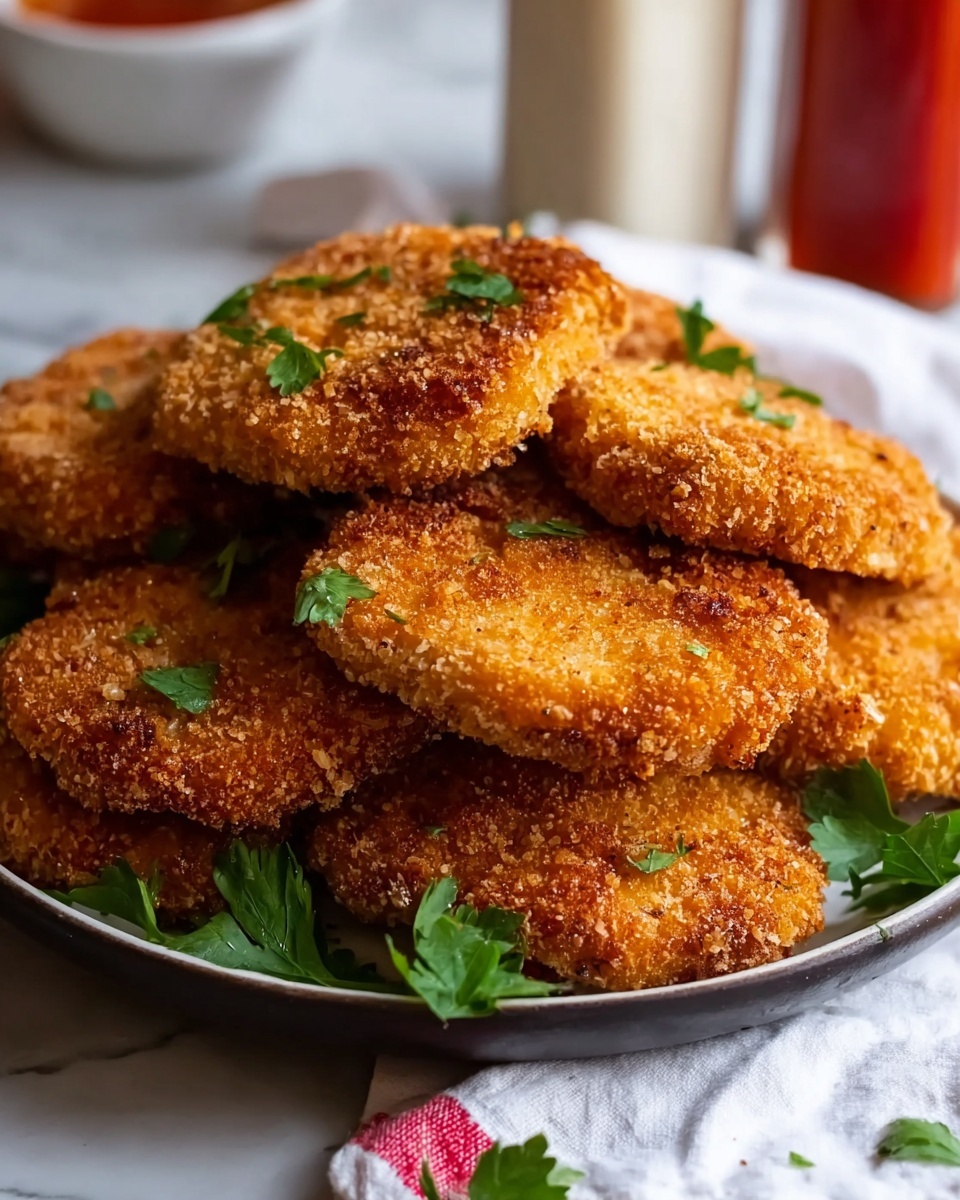
Dredge each chicken breast first in the flour mixture, making sure it’s fully covered. Then dip it into the egg wash, allowing any excess to drip off so the coating doesn’t get soggy. Finally, press it into the seasoned panko mixture until it’s generously coated on all sides. Place the breaded cutlets on a plate to wait for frying. This triple-layer breading is what creates the iconic crispiness in this Crispy Chicken Cutlets Recipe.
Step 4: Fry to Golden Perfection
Heat the oil in a 10-inch skillet over medium heat until it reaches about 350°F (177°C). If you don’t have a thermometer, test the oil by dipping the end of a wooden spoon; if bubbles form around it immediately, you’re good to go. Fry your cutlets in batches for 2 to 3 minutes on each side, or until they’re golden brown and cooked through. Keep an eye on the heat so the cutlets don’t burn but still get that irresistible crust.
Step 5: Drain and Serve
Once the cutlets are cooked, transfer them to a plate lined with paper towels to soak up the excess oil. This final step keeps them from getting greasy while preserving that satisfying crunch. Serve your Crispy Chicken Cutlets Recipe warm to enjoy the full flavor and texture experience.
How to Serve Crispy Chicken Cutlets Recipe
Garnishes
Adding the right garnish can take your Crispy Chicken Cutlets Recipe from delicious to spectacular. Fresh lemon wedges squeezed over the top add a bright, zesty contrast to the crispy exterior. A sprinkle of chopped fresh parsley or basil not only adds a pop of color but also brings a fresh herbal note that complements the garlic and Parmesan in the crust.
Side Dishes
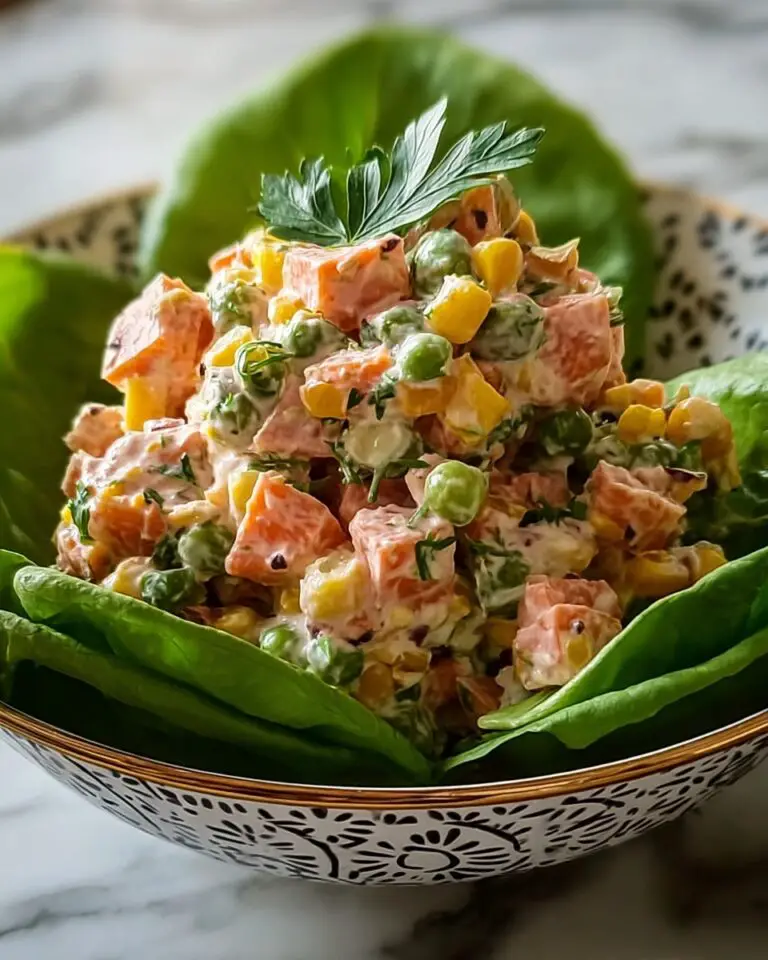
Pair these crispy cutlets with light, vibrant sides to balance the richness. A crisp green salad tossed with a tangy vinaigrette is a classic choice. Roasted vegetables, garlic mashed potatoes, or simple buttered pasta also make fantastic companions, creating a complete and satisfying meal that’s perfect for any occasion.
Creative Ways to Present
Looking to impress? Turn these cutlets into a gourmet sandwich by layering them in a crusty baguette with lettuce, tomato, and a drizzle of aioli or spicy mayo. You can also slice the cutlets and serve them atop a fresh arugula salad with shaved Parmesan and cherry tomatoes for a lighter, elegant presentation that’s as beautiful as it is tasty.
Make Ahead and Storage
Storing Leftovers
If you have leftovers from your Crispy Chicken Cutlets Recipe, store them in an airtight container in the refrigerator. They’ll stay fresh for up to 3 days, making them a great option for quick lunches or dinners later in the week.
Freezing
You can freeze cooked cutlets by laying them flat on a baking sheet to freeze individually, then transferring them to a freezer-safe container or bag. They’ll keep well for up to 2 months. Just be sure to thaw them in the fridge overnight before reheating for best texture.
Reheating
Reheat your cutlets in a preheated oven at 375°F (190°C) on a wire rack over a baking sheet to maintain crispiness. Avoid microwaving if possible, as it tends to make the coating soggy. A quick 10-15 minutes in the oven is usually enough to bring back that golden crunch.
FAQs
Can I use chicken thighs instead of breasts?
Absolutely! Boneless, skinless chicken thighs can be used and will yield a juicier cutlet, though the cooking time might be slightly longer due to their thickness. Just be sure to pound them to an even thickness for best results.
What’s the secret to extra crispy cutlets?
The key is using panko breadcrumbs combined with Parmesan cheese and frying at the right temperature. Make sure your oil is hot enough so the coating crisps up quickly without absorbing too much oil.
Can I bake these instead of frying?
You can bake the cutlets in a preheated oven at 400°F (205°C) for about 20 minutes, flipping halfway through. While baking is healthier, frying does give the Crispy Chicken Cutlets Recipe that unbeatable texture.
Is it okay to double the recipe?
Definitely! The recipe scales well, just be sure to fry in batches so you don’t overcrowd the pan, which can lower the oil temperature and result in soggy cutlets.
What kind of oil is best for frying?
Use a light oil with a high smoke point such as light olive oil, canola, or vegetable oil. These oils won’t overpower the flavor and are perfect for achieving that golden, crispy crust.
Final Thoughts
This Crispy Chicken Cutlets Recipe is one of those dishes that feels like a warm hug on a plate. The satisfying crunch, the juicy tenderness, and the mix of flavors all come together in a way that’s simply irresistible. I hope you give this recipe a try at home—you might just find it becomes your go-to comfort food that brings joy to your table again and again.
Print
Crispy Chicken Cutlets Recipe
- Prep Time: 10 minutes
- Cook Time: 20 minutes
- Total Time: 30 minutes
- Yield: 4-6 servings
- Category: Main Course
- Method: Frying
- Cuisine: American
Description
This Crispy Chicken Cutlets recipe features thinly sliced chicken breasts coated in a flavorful seasoned flour, dipped in a spiced egg wash, and encrusted with a crunchy panko breadcrumb and Parmesan cheese mixture. Fried to golden perfection in light oil, these cutlets deliver a crispy exterior with juicy, tender meat inside—perfect for a quick dinner or a satisfying meal served with your favorite sides.
Ingredients
For the Chicken and Coating
- 2 pounds thinly sliced chicken breasts
- 1 cup all-purpose flour
- 1 tablespoon seasoned salt
- 2 large eggs
- 1 tablespoon water
- 1 teaspoon hot sauce
- 2 cups panko breadcrumbs
- 1 teaspoon garlic powder
- 1 teaspoon kosher salt
- ½ teaspoon black pepper
- ¼ cup grated Parmesan cheese
For Frying
- 1 cup light oil (such as light olive oil, canola oil, or vegetable oil)
Instructions
- Prepare the Chicken: Trim any excess fat from the chicken breasts and pat them dry with paper towels to ensure the coating sticks well.
- Set up the Coating Stations: Arrange three shallow bowls – one with all-purpose flour mixed with seasoned salt, the second with eggs whisked together with water and hot sauce, and the third with panko breadcrumbs combined with garlic powder, kosher salt, black pepper, and grated Parmesan cheese.
- Bread the Cutlets: Dip each chicken breast first into the flour mixture, coating it evenly. Then dip into the egg wash, allowing excess to drip off, and finally coat with the panko breadcrumb mixture, pressing lightly to adhere. Place the breaded cutlets on a plate ready for frying.
- Heat the Oil: Pour the light oil into a 10-inch skillet and heat over medium heat until it reaches approximately 350°F (177°C). Test readiness by dipping a wooden spoon into the oil—rapid bubbling indicates it’s ready for frying.
- Fry the Cutlets: Fry the chicken cutlets in batches to avoid overcrowding, cooking each side for 2-3 minutes until they turn golden brown and are cooked through. Adjust the heat as necessary to prevent burning and ensure an even crispy crust.
- Drain and Serve: Remove the cutlets from the skillet and place them on a paper towel-lined plate to absorb excess oil. Serve warm and enjoy your crispy, flavorful chicken cutlets.
Notes
- For evenly cooked cutlets, ensure they are of uniform thickness before breading.
- Do not overcrowd the pan to maintain oil temperature and crispiness.
- Use a thermometer to keep oil temperature around 350°F for best frying results.
- If desired, substitute panko breadcrumbs with regular breadcrumbs, though panko offers better crispiness.
- Leftover cutlets can be reheated in an oven to re-crisp the coating.


