
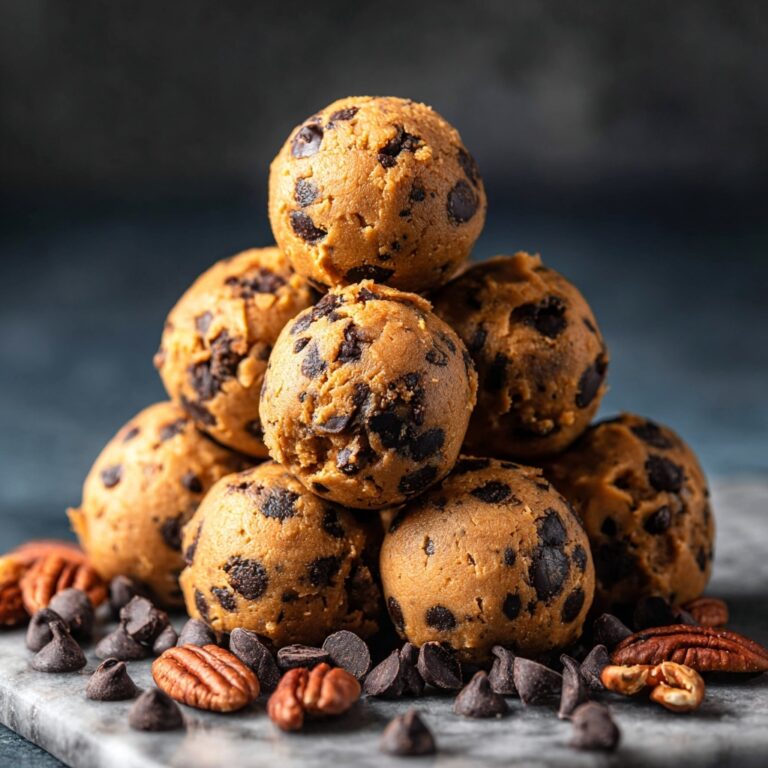
If you are hunting for a delightfully spooky treat to impress your friends and family this October, the Chocolate Monster Halloween Cookies Recipe is your new best friend. These rich, chocolatey cookies are irresistibly soft and packed with festive candy that makes each bite a fun surprise. Imagine biting into a perfectly baked cookie full of gooey chocolate chips and speckled with vibrant Halloween-colored M&M’s and silly candy eyeballs that bring a monster to life right in your hand. It’s the ultimate Halloween party dessert that feels like a celebration in every bite.
Ingredients You’ll Need
Each ingredient in this recipe plays a crucial role in creating the ideal texture and flavor, turning simple pantry staples into an enchanting Halloween treat. From creamy butter for softness to bright candies for that perfect spooky finish, let’s take a closer look.
- 1 cup unsalted butter (softened): Provides rich moisture and a tender crumb essential for chewy cookies.
- 1 cup granulated sugar: Adds sweetness and helps in achieving a slight crisp edge.
- ½ cup brown sugar: Contributes a touch of caramel flavor and enhances moisture.
- 2 large eggs: Bind all ingredients and add structure to your cookies.
- 1 teaspoon vanilla extract: Elevates flavor with warm, sweet notes that complement chocolate beautifully.
- 2 cups all-purpose flour: The backbone of your cookies, creating the right density and texture.
- ⅔ cup unsweetened cocoa powder: Delivers deep, intense chocolate flavor without extra sweetness.
- 1 teaspoon baking soda: Helps the cookies rise while keeping a soft center.
- ½ teaspoon salt: Balances sweetness and enhances overall flavor.
- 1½ cups chocolate chips: Adds melty pockets of pure chocolate throughout each cookie.
- ½ cup Halloween-colored M&M’s or candy-coated chocolates: Brings festive color and crunch to the cookies.
- Candy eyeballs for decorating: The critical element for turning cookies into charming little monsters.
How to Make Chocolate Monster Halloween Cookies Recipe
Step 1: Prepare Your Oven and Baking Sheets
Start by preheating your oven to 350°F (175°C) and lining two baking sheets with parchment paper. This setup ensures your cookies bake evenly and don’t stick, making cleanup easier and helping your cookies keep their perfect monster shape.
Step 2: Cream Butter and Sugars
In a large bowl, cream together the softened butter, granulated sugar, and brown sugar until the mixture is light and fluffy. This step is key to a tender texture, as it incorporates air and helps dissolve the sugars perfectly.
Step 3: Add Eggs and Vanilla
Beat in the eggs one at a time to fully incorporate them, followed by the vanilla extract. This combination creates that irresistible cookie base flavor everyone loves and improves the batter’s consistency.
Step 4: Mix Dry Ingredients Separately
Whisk together the all-purpose flour, unsweetened cocoa powder, baking soda, and salt in another bowl. Combining these dry ingredients ahead ensures an even distribution throughout your dough without clumps, which is essential for uniform flavor and texture.
Step 5: Combine Wet and Dry Ingredients
Gradually add the dry mixture into the wet ingredients, stirring just until combined. Overmixing can make cookies tough, so a gentle fold keeps them soft and tender.
Step 6: Fold in Chocolates and Candy
Gently fold in the chocolate chips and Halloween-colored M&M’s or candy-coated chocolates. This step is where the cookies start taking their monster personality, dotted with colorful treats that add bursts of flavor and delightful crunch.
Step 7: Shape and Decorate Your Cookies
Scoop tablespoon-sized portions of dough onto your prepared baking sheets, spacing them about 2 inches apart to allow room for spreading. Press a few candy eyeballs gently into each dough ball to create those iconic monster faces that will surely wow your guests.
Step 8: Bake to Perfection
Bake in your preheated oven for 10 to 12 minutes until the edges are set but the centers remain soft. This balance keeps your cookies chewy and moist with just the right amount of structure.
Step 9: Cool and Enjoy
Let the cookies cool on the baking sheet for 5 minutes before transferring them to a wire rack to cool completely. Cooling allows the cookies to firm up slightly while holding onto their soft, monster-worthy center.
How to Serve Chocolate Monster Halloween Cookies Recipe

Garnishes
Elevate your presentation by adding extra candy eyeballs or a drizzle of white chocolate to mimic spooky spider webs. You can even toss in some colored sugar sprinkles to brighten the monsters’ personalities before serving.
Side Dishes
These cookies are fantastic on their own but pair beautifully with a glass of cold milk, hot chocolate, or even a pumpkin spice latte to complement those chocolatey, festive flavors.
Creative Ways to Present
Get playful and serve your Chocolate Monster Halloween Cookies Recipe on a platter decorated with fake spider webs, mini pumpkins, or Halloween confetti. Wrapping individual cookies in clear bags tied with orange and black ribbons makes charming party favors or trick-or-treat surprises.
Make Ahead and Storage
Storing Leftovers
Simply store leftover cookies in an airtight container at room temperature, where they’ll stay fresh and chewy for up to a week. This way, your spooky treats remain ready when a monster craving strikes.
Freezing
You can freeze baked cookies or cookie dough balls. For baked cookies, place them in a single layer on a baking sheet to freeze, then transfer them to a freezer bag for up to three months. To bake from frozen dough, just add a couple extra minutes to the bake time.
Reheating
Warm your leftover cookies for 10 to 15 seconds in the microwave to regain that soft, just-baked texture. This makes every bite taste freshly baked, like you just pulled a batch out of the oven.
FAQs
Can I use a different type of chocolate instead of chocolate chips?
Absolutely! Feel free to use chunks of your favorite chocolate bars or even white chocolate chips to switch up the look and flavor. Just keep the quantity similar to maintain the perfect balance.
Are these cookies safe for kids with nut allergies?
This recipe does not include nuts, but always double-check your candy ingredients for potential cross-contamination if severe allergies are a concern.
How do I make these cookies more festive for a Halloween party?
Add extra candy eyeballs on top and sprinkle with orange and black colored sugars right before baking. You can also use themed cookie cutters for a fun shape variation.
Can I make these cookies gluten-free?
Yes, swap the all-purpose flour with a gluten-free baking blend that can be used cup-for-cup. Be sure to check your baking powder and candy ingredients for any gluten content.
How many cookies does this Chocolate Monster Halloween Cookies Recipe make?
This recipe yields about 24 deliciously spooky cookies, perfect for sharing at Halloween gatherings or packing into treat bags for little monsters.
Final Thoughts
There is nothing quite like the joy of biting into a warm, chocolate-packed cookie decorated with cute candy eyes to get you into the Halloween spirit. This Chocolate Monster Halloween Cookies Recipe is a family-friendly, easy-to-make treat that fills your kitchen with warmth and fun. Whether you’re hosting a spooky soiree or looking for a creative baking project, these cookies are sure to become your seasonal favorite. So grab your mixing bowl and candy stash, and get ready to make some monster magic!
Print
Chocolate Monster Halloween Cookies Recipe
- Prep Time: 15 minutes
- Cook Time: 12 minutes
- Total Time: 27 minutes
- Yield: 24 cookies
- Category: Dessert
- Method: Baking
- Cuisine: American
- Diet: Vegetarian
Description
Delightfully spooky and rich, Chocolate Monster Halloween Cookies are perfect for celebrating the season. These soft and chewy chocolate cookies are loaded with chocolate chips, festive Halloween M&M’s, and topped with candy eyeballs to create a fun, monster-inspired treat that’s great for parties or trick-or-treat bags.
Ingredients
Wet Ingredients
- 1 cup unsalted butter (softened)
- 1 cup granulated sugar
- ½ cup brown sugar
- 2 large eggs
- 1 teaspoon vanilla extract
Dry Ingredients
- 2 cups all-purpose flour
- ⅔ cup unsweetened cocoa powder
- 1 teaspoon baking soda
- ½ teaspoon salt
Add-ins and Decorations
- 1½ cups chocolate chips
- ½ cup Halloween-colored M&M’s or candy-coated chocolates
- Candy eyeballs for decorating
Instructions
- Preheat Oven and Prepare Baking Sheets: Preheat your oven to 350°F (175°C) and line two baking sheets with parchment paper to prevent sticking and ensure even baking.
- Cream Butter and Sugars: In a large mixing bowl, cream together the softened butter, granulated sugar, and brown sugar until the mixture is light and fluffy, which will create a tender texture for the cookies.
- Add Eggs and Vanilla: Beat in the eggs one at a time to incorporate air and moisture, then mix in the vanilla extract for flavor enhancement.
- Combine Dry Ingredients: In a separate bowl, whisk together the all-purpose flour, unsweetened cocoa powder, baking soda, and salt to evenly distribute the leavening agent and cocoa flavor.
- Mix Dry Into Wet Ingredients: Gradually add the dry ingredients into the wet mixture, stirring until just combined to avoid overmixing, which could make the cookies tough.
- Fold in Chocolate Chips and M&M’s: Gently fold in the chocolate chips and Halloween-colored M&M’s to embed the fun candies throughout the dough.
- Scoop and Decorate Dough: Using a tablespoon, scoop portions of dough onto the lined baking sheets, spacing each about 2 inches apart. Press a few candy eyeballs gently into the top of each dough ball for a festive monster effect.
- Bake the Cookies: Bake the cookies in the preheated oven for 10 to 12 minutes until the edges are set but the centers remain soft and slightly underbaked for that chewy texture.
- Cool: Let the cookies cool on the baking sheet for 5 minutes, which allows them to firm up, then transfer them to a wire rack to cool completely and set before serving or storing.
Notes
- Add a few extra M&M’s and candy eyeballs on top of the dough balls before baking for a more colorful and spooky look.
- These cookies freeze well, making them perfect for Halloween parties or preparing goodie bags ahead of time.

