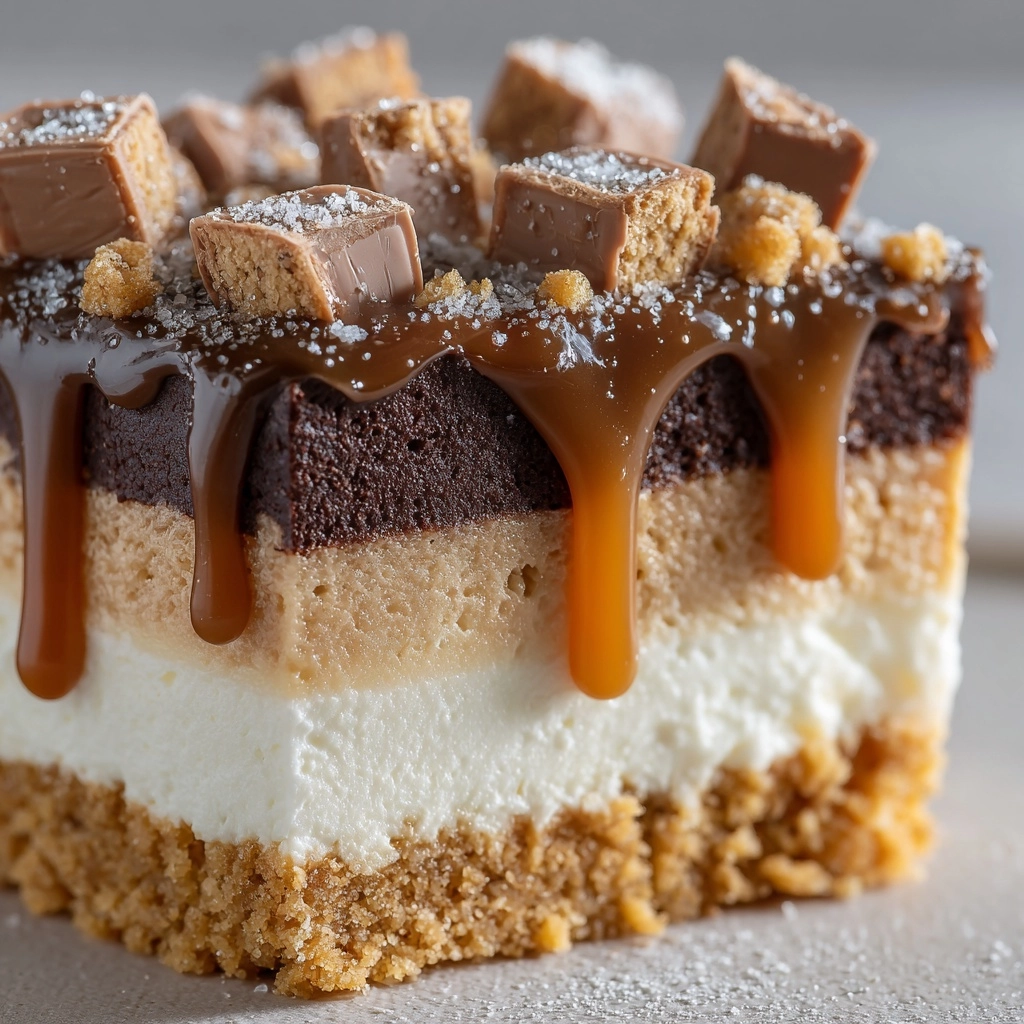
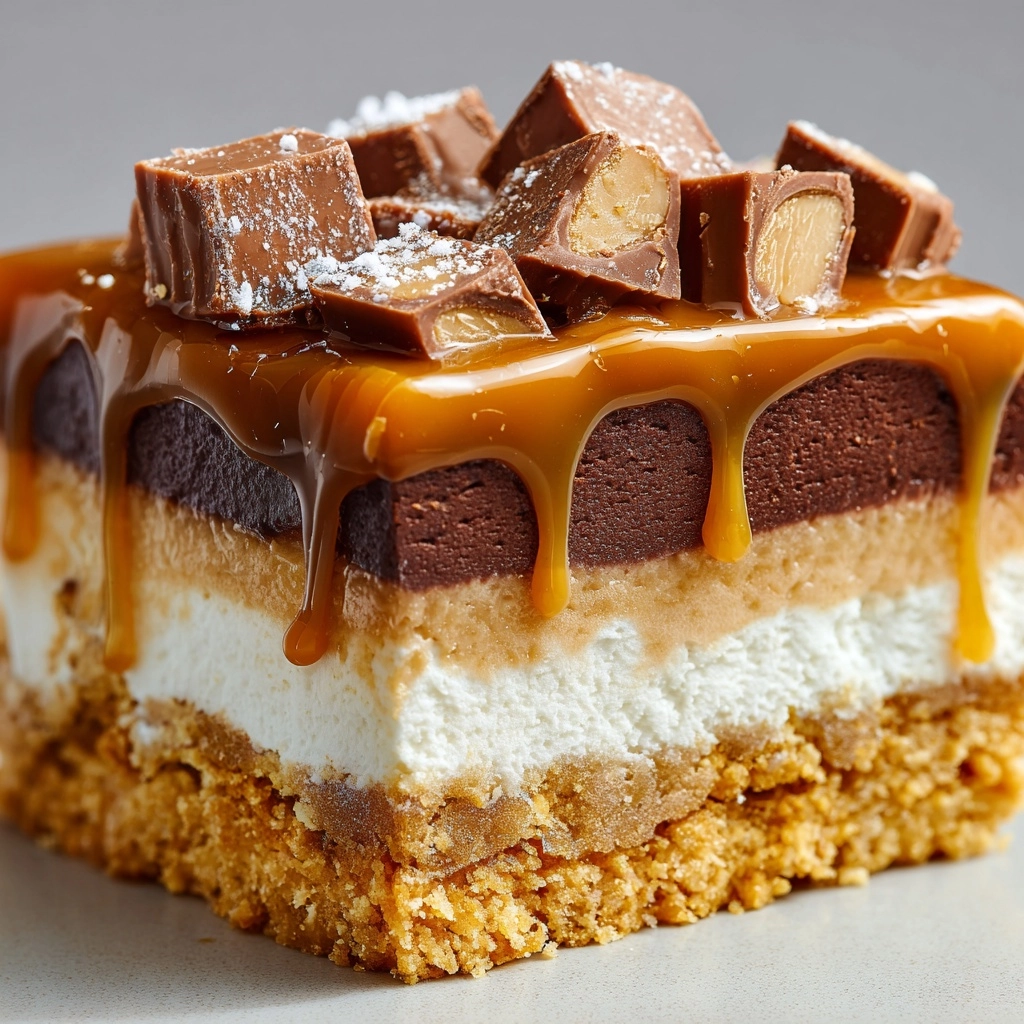
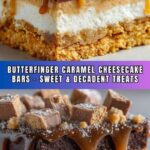
If you love the irresistible crunch of Butterfinger candy bars combined with creamy cheesecake and luscious caramel, then you are in for a treat with this Butterfinger Caramel Cheesecake Bars Recipe. This dessert brings together a buttery graham cracker crust, a velvety caramel-infused cheesecake filling, and generous chunks of crunchy Butterfinger candy, creating a perfect harmony of flavors and textures. Whether you’re making it for a special occasion or just because you deserve a decadent indulgence, these bars are guaranteed to become a fast favorite in your dessert rotation.
Ingredients You’ll Need
Gathering simple, quality ingredients is the secret to bringing out the best in this Butterfinger Caramel Cheesecake Bars Recipe. Each component plays a pivotal role — from the buttery crust providing structure to the creamy cheesecake layered with sweet caramel and crunchy candy bits that deliver bursts of flavor.
- Graham cracker crumbs: Provide a buttery, slightly crunchy base that forms the perfect crust.
- Unsalted butter (melted): Helps bind the crust ingredients and adds rich flavor without overpowering.
- Cream cheese (softened): Delivers the smooth, creamy texture fundamental to cheesecake perfection.
- Granulated sugar: Sweetens the cheesecake filling for balanced flavor.
- Large eggs: Help set the cheesecake while keeping it tender and moist.
- Vanilla extract: Adds a warm, aromatic note that enhances the overall taste.
- Caramel sauce: Infuses the filling with rich, buttery sweetness and adds luscious moisture.
- Chopped Butterfinger candy bars: Give unexpected crunch and chocolatey almond flavor that makes these bars truly unique.
- Pinch of salt: Balances sweetness and brings out the depth of flavors.
How to Make Butterfinger Caramel Cheesecake Bars Recipe
Step 1: Prepare the crust
Start by preheating your oven to 325°F (160°C) and lining an 8×8-inch baking pan with parchment paper, leaving some overhang for easy removal later. In a mixing bowl, combine the graham cracker crumbs and melted butter until the mixture is evenly moistened. Press this mixture firmly into the bottom of your prepared pan to create an even, compact crust that will hold up beautifully to the cheesecake topping.
Step 2: Make the cheesecake batter
In a large bowl, beat the softened cream cheese and granulated sugar together until silky smooth. This step is key for avoiding any lumps and ensuring a creamy finish. Then add the eggs one at a time, mixing well after each addition to keep the batter light and airy. Stir in the vanilla extract and a pinch of salt for amplified flavor, followed by the caramel sauce, blending everything until the filling is wonderfully smooth and caramel-infused.
Step 3: Incorporate Butterfinger pieces
Gently fold half of the chopped Butterfinger candy bars into the cheesecake batter. This distributes the crunchy candy evenly throughout, giving every bite a delightful surprise. Be sure to fold carefully to keep the texture intact and avoid overmixing.
Step 4: Assemble and bake
Pour the luscious cheesecake batter over the crust in the pan, smoothing the top with a spatula for an even layer. Sprinkle the remaining chopped Butterfinger pieces evenly on top to add a beautiful finish as well as extra crunch. Bake in your preheated oven for 35 to 40 minutes, or until the cheesecake is just set in the center but still slightly jiggly. This ensures a creamy and tender texture after chilling.
Step 5: Chill before slicing
Allow the bars to cool to room temperature right in the pan, then transfer to the refrigerator and chill for at least 3 hours, or preferably overnight. This chilling step is crucial to firm up the cheesecake for clean, perfect slices. When ready to serve, consider drizzling a little extra caramel sauce over each bar for an extra touch of sweetness and shine.
How to Serve Butterfinger Caramel Cheesecake Bars Recipe

Garnishes
Adding a little something extra on top of these bars can make the presentation shine even brighter. A delicate drizzle of caramel sauce or a sprinkle of crushed Butterfinger pieces enhances the already intense flavors and adds visual appeal. For a touch of elegance, whip up some fresh whipped cream and pipe it alongside each slice — the light fluffiness balances the rich cheesecake beautifully.
Side Dishes
While these bars stand out as star desserts on their own, pairing them with simple sides can complement the indulgence. Fresh berries like raspberries or strawberries add a refreshing tart contrast to the sweet, buttery flavors. A scoop of vanilla bean ice cream served alongside warm bars is another winning combo that elevates this dessert to celebration status.
Creative Ways to Present
For gatherings, consider serving the Butterfinger Caramel Cheesecake Bars Recipe on a beautiful platter with decorative garnishes like edible gold flakes or a dusting of powdered sugar for a festive look. You can also cut them into bite-sized squares to create an irresistible dessert buffet, allowing everyone to nibble and savor without feeling overwhelmed by richness.
Make Ahead and Storage
Storing Leftovers
These cheesecake bars keep wonderfully in the refrigerator for up to 5 days when stored in an airtight container. Keeping them chilled preserves the creamy texture and prevents the caramel from becoming overly sticky. When you want a sweet fix, simply grab a bar right from the fridge—no reheating needed!
Freezing
If you want to extend their shelf life or prepare ahead for a party, these bars freeze very well. Wrap individual portions tightly in plastic wrap and place them in a freezer-safe container or bag. They can be frozen for up to 2 months. When ready to enjoy, thaw overnight in the fridge for the best texture and flavor.
Reheating
Since these bars are best enjoyed chilled, reheating is generally not recommended as it affects texture. However, if you prefer a softer, slightly warm dessert, briefly microwave a single bar for 10-15 seconds. Just be careful not to overheat, which could melt the candy chunks and make the caramel too runny.
FAQs
Can I use store-bought caramel sauce for this recipe?
Absolutely! Store-bought caramel sauce works perfectly and saves time, but homemade caramel can elevate the flavor even more if you have it on hand.
What type of Butterfinger candy bars should I use?
Use the classic Butterfinger candy bars chopped into small pieces. Avoid using miniatures or other varieties that may alter texture or sweetness.
Can I substitute graham cracker crumbs with something else?
You can substitute crushed digestive biscuits or even Oreos for the crust if you want a different flavor, but graham crackers give the traditional buttery base that complements the caramel and cheesecake.
Is it necessary to chill the bars overnight?
While chilling for at least 3 hours is recommended, chilling overnight helps the bars set more firmly, making slicing cleaner and flavors more melded.
Can I make these bars gluten-free?
Yes! Use gluten-free graham cracker crumbs or gluten-free cookie crumbs for the crust, and ensure your caramel sauce and candy bars are also gluten-free certified.
Final Thoughts
This Butterfinger Caramel Cheesecake Bars Recipe is truly a dessert lover’s dream, blending creamy cheesecake, rich caramel, and crunchy Butterfinger candy into each heavenly square. It’s a fantastic way to impress family and friends or treat yourself on any day that calls for a little extra indulgence. Give it a try, and watch these bars quickly become your go-to dessert for every sweet occasion!
Print
Butterfinger Caramel Cheesecake Bars Recipe
- Prep Time: 20 minutes
- Cook Time: 40 minutes
- Total Time: 1 hour 20 minutes (including chilling)
- Yield: 16 bars
- Category: Dessert
- Method: Baking
- Cuisine: American
- Diet: Vegetarian
Description
Indulge in these rich and creamy Butterfinger Caramel Cheesecake Bars, featuring a buttery graham cracker crust, luscious caramel-infused cheesecake filling, and crunchy Butterfinger candy pieces both inside and on top. Perfectly baked and chilled to set, they offer a delightful combination of sweet, creamy, and crunchy textures in every bite.
Ingredients
Crust
- 1½ cups graham cracker crumbs
- 6 tablespoons unsalted butter, melted
Cheesecake Filling
- 16 oz cream cheese, softened
- ½ cup granulated sugar
- 2 large eggs
- 1 teaspoon vanilla extract
- ½ cup caramel sauce (plus more for drizzling)
- 1 cup chopped Butterfinger candy bars, divided
- Pinch of salt
Instructions
- Prepare the Baking Pan: Preheat your oven to 325°F (160°C). Line an 8×8-inch baking pan with parchment paper, making sure to leave an overhang on the sides for easy removal of the bars later.
- Make the Crust: In a medium bowl, combine graham cracker crumbs and melted butter. Stir until the mixture is fully moistened. Press this mixture firmly and evenly into the bottom of the prepared pan to create the crust layer.
- Mix the Cheesecake Batter: In a large mixing bowl, beat the softened cream cheese and granulated sugar together until smooth and creamy. Add the eggs one at a time, mixing well after each addition. Stir in the vanilla extract and a pinch of salt to enhance the flavor.
- Add Caramel and Butterfinger: Mix the caramel sauce into the cheesecake batter until fully incorporated. Gently fold in half of the chopped Butterfinger candy bars, reserving the rest for topping.
- Assemble: Pour the cheesecake batter over the prepared crust, smoothing the surface with a spatula. Sprinkle the remaining chopped Butterfinger pieces evenly over the top.
- Bake: Place the pan in the oven and bake for 35 to 40 minutes, or until the center is just set but not fully firm.
- Cool and Chill: Remove from the oven and allow the cheesecake bars to cool to room temperature. Then cover and refrigerate for at least 3 hours, or preferably overnight, to set completely.
- Serve: When ready to serve, use the parchment paper overhang to lift the bars from the pan. Drizzle additional caramel sauce on top if desired. For cleaner slices, wipe your knife between each cut.
Notes
- Chill the bars overnight for clean, firm slices.
- Wipe the knife clean between cuts to maintain neat edges.
- Both store-bought and homemade caramel sauce can be used with great results.
- Store leftovers covered in the refrigerator for up to 5 days.

