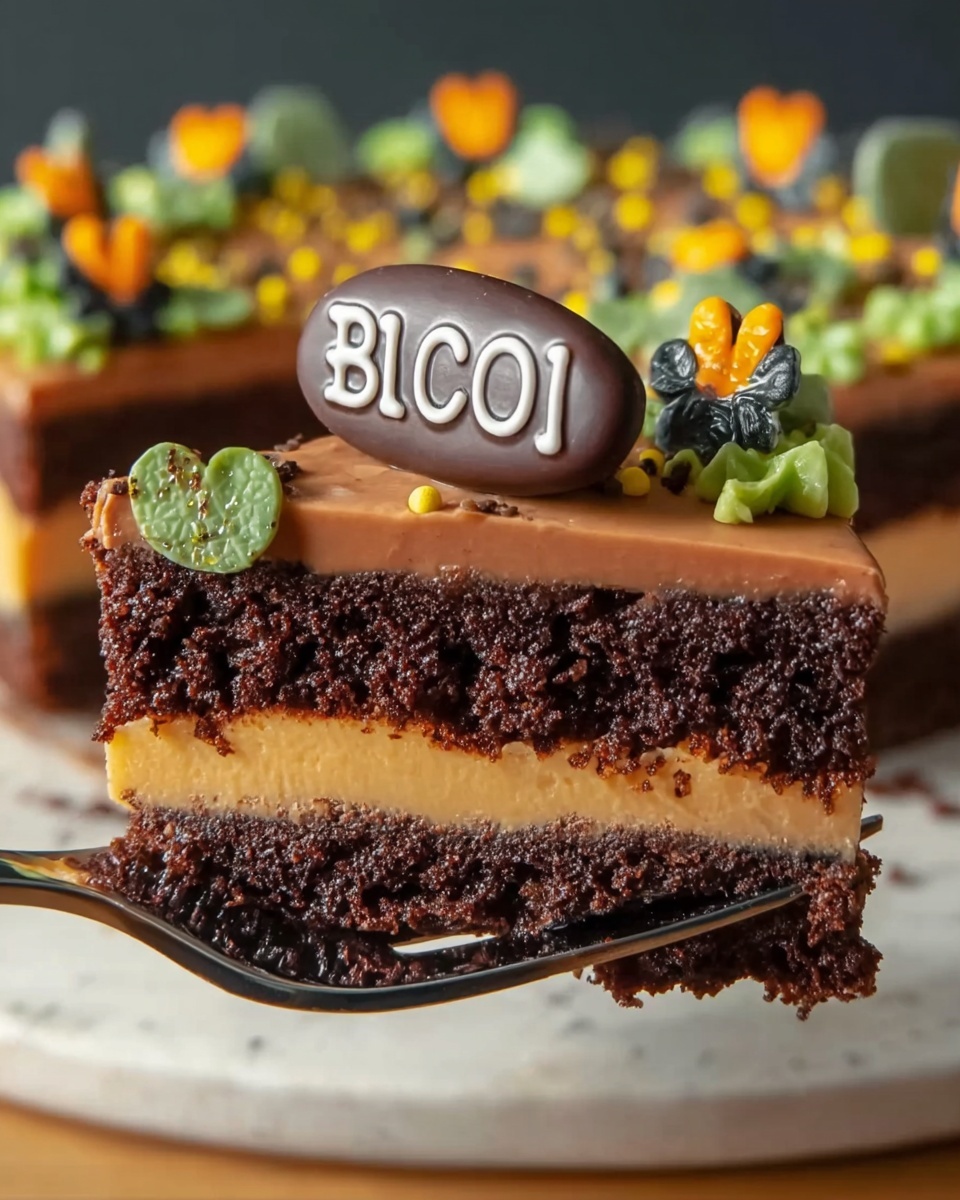
Get ready to delight your taste buds and wow your guests with the incredibly fun and delicious Brownie Dirt Pudding Cups with Halloween Candy Toppers Recipe. This playful dessert combines rich, fudgy brownies with creamy chocolate pudding, topped with crunchy “dirt” made from crushed cookies and festive Halloween candies that bring a spooky charm. It is perfect for parties or anytime you want a treat that’s both creative and irresistibly tasty. Each bite is a little adventure in flavor and texture that’s as fun to make as it is to eat!
Ingredients You’ll Need
The magic of Brownie Dirt Pudding Cups with Halloween Candy Toppers Recipe lies in its simple yet essential ingredients. Each one plays a crucial role in building layers of flavor, texture, and visual appeal that make this dessert irresistible.
- Brownie mix: Choose your favorite boxed mix or homemade brownies for a fudgy, chocolatey base.
- Instant chocolate pudding mix (3.9 oz): Adds creamy, rich chocolate flavor and a smooth texture.
- Cold milk (2 cups): Essential for setting the pudding to the perfect consistency.
- Sweetened condensed milk (14 oz can): Sweetens and enriches the pudding mixture, ensuring decadence in every bite.
- Whipped topping (8 oz, thawed): Lightens the pudding for a fluffy, airy finish.
- Chocolate sandwich cookies (15, crushed): Creates the “dirt” layer with a satisfying crunch and classic chocolate taste.
- Halloween-themed candies (gummy worms, candy pumpkins, etc.): Add a festive, playful twist that makes the dessert perfect for the season.
- Paper headstones (optional): For extra Halloween flair and presentation creativity.
How to Make Brownie Dirt Pudding Cups with Halloween Candy Toppers Recipe
Step 1: Prepare the Brownies
Start by baking your brownies following the instructions on your boxed mix or your homemade recipe. Once baked, allow them to cool completely—this is important so your pudding cups hold their structure well and don’t get soggy. The fudgy brownie base creates the perfect foundation for your dessert.
Step 2: Crumble or Cut the Brownies
After your brownies are cool, either cut them into small squares or crumble them roughly to add texture when layering. These brownie pieces will act like “soil” under the pudding, adding richness and chewiness.
Step 3: Whisk the Chocolate Pudding
In a large bowl, whisk together the instant chocolate pudding mix with 2 cups of cold milk until combined. Let it rest for 2 minutes to allow the pudding to thicken to that luxuriously creamy consistency that’s key to this dessert.
Step 4: Fold in Sweetened Condensed Milk and Whipped Topping
Next, add the sweetened condensed milk and thawed whipped topping to the pudding. Gently fold these in until everything is well mixed and smooth, giving you a rich yet fluffy pudding layer that perfectly complements the dense brownies.
Step 5: Assemble the Pudding Cups
Grab your individual serving cups or a large dish and start by layering the crumbled brownies at the bottom. This layered approach builds depth in flavor and texture, making every spoonful intriguing and satisfying.
Step 6: Add the Chocolate Pudding Layer
Spoon a generous amount of the creamy chocolate pudding mixture on top of the brownie layer. This luscious layer melds all the flavors together beautifully and creates that signature “dirt” pudding texture.
Step 7: Sprinkle the Crushed Cookies
Now it’s time for the fun “dirt” topping! Crushed chocolate sandwich cookies are perfect for mimicking real dirt, adding crunch and a hint of extra chocolatey goodness. Sprinkle evenly over the pudding layer.
Step 8: Decorate with Halloween Candy Toppers
For the final spooky touch, adorn the top of your pudding cups with gummy worms, candy pumpkins, and any other Halloween-themed candies you love. These toppers add whimsy and festive charm that guests both young and old will adore.
Step 9: Add Optional Paper Headstones
If you want to create a true Halloween graveyard vibe, print and cut out small paper headstones and attach them to toothpicks. Stick these into your pudding “soil” and watch your dessert transform into the centerpiece of your party.
Step 10: Ready to Serve
Serve the Brownie Dirt Pudding Cups with Halloween Candy Toppers Recipe right away with a cold glass of chocolate milk, or refrigerate them until your guests arrive. Either way, they’ll be a hit!
How to Serve Brownie Dirt Pudding Cups with Halloween Candy Toppers Recipe
Garnishes
Enhance presentation by adding extra gummy worms peeking out from the crushed cookie “dirt.” You can also dust a little edible glitter or colored sugar for a magical Halloween sparkle effect. Fresh mint leaves may seem unexpected, but they add a refreshing color contrast if you want to mix things up.
Side Dishes
These pudding cups are a dessert star on their own but serve perfectly with light sides like fresh fruit to balance the richness. For a party, consider pairing with pumpkin spice cookies or a warm apple cider to embrace the seasonal theme fully.
Creative Ways to Present
Try serving your pudding cups in mini flower pots or mason jars for a fun, rustic look. Placing them on a mirrored tray with cobweb decorations enhances the spooky vibe. For kids, clear plastic cups decorated with spooky stickers make the experience even more fun.
Make Ahead and Storage
Storing Leftovers
Leftover Brownie Dirt Pudding Cups with Halloween Candy Toppers Recipe keep well covered in the refrigerator for up to 3 days. Make sure to cover tightly with plastic wrap or transfer to an airtight container to retain freshness and prevent the cookies from getting soggy.
Freezing
This dessert doesn’t freeze well because of the whipped topping and pudding texture. The cookies also tend to become soggy upon thawing, so it is best to enjoy these cups fresh or refrigerated before serving.
Reheating
Since this is a chilled dessert, reheating is not recommended. Instead, just allow refrigerated cups to come to room temperature for 10-15 minutes if you prefer them less cold before serving.
FAQs
Can I use homemade brownies for this recipe?
Absolutely! Using homemade brownies adds a personal touch and often results in a richer flavor, but boxed mixes work perfectly well if you’re short on time.
What Halloween candies work best as toppers?
Gummy worms and candy pumpkins are classics because they look fun and add texture. You can also try candy eyeballs, mini chocolate bars, or licorice pieces — get creative!
Can I make this dessert dairy-free?
With some tweaks, yes! Use dairy-free pudding mix, coconut milk, and whipped coconut topping. The brownie base might also need adjustment depending on your recipe.
How long can I prepare the pudding cups in advance?
Making them a few hours ahead or the night before is great to enhance flavors, but avoid storing more than 3 days to keep the texture optimal.
Is there a way to make this recipe gluten-free?
Yes! Use gluten-free brownie mix and chocolate sandwich cookies made without gluten. There are many delicious options available that keep the dessert just as tasty.
Final Thoughts
There is something truly special about the Brownie Dirt Pudding Cups with Halloween Candy Toppers Recipe that brings joy, indulgence, and a splash of fun to your dessert table. It’s simple enough to whip up quickly, yet impressive enough to be the star of any Halloween gathering. Whether you’re making it for kids or adults, this recipe promises smiles and happy hearts with every bite. Give it a go and enjoy the magic of dessert done right!
Print
Brownie Dirt Pudding Cups with Halloween Candy Toppers Recipe
- Prep Time: 20 minutes
- Cook Time: 30 minutes (for baking brownies, may vary depending on recipe)
- Total Time: 50 minutes
- Yield: 8 to 10 individual cups
- Category: Dessert
- Method: Baking
- Cuisine: American
Description
A fun and festive Brownie Dirt Pudding recipe perfect for Halloween parties. Layers of fudgy brownies, creamy chocolate pudding mixed with sweetened condensed milk and whipped topping, topped with crushed chocolate cookies to mimic dirt, and decorated with gummy worms and Halloween candies for a spooky treat.
Ingredients
Brownie Layer
- 1 box of brownie mix (or your favorite homemade brownie recipe)
Pudding Layer
- 1 package (3.9 oz) instant chocolate pudding mix
- 2 cups cold milk
- 1 can (14 oz) sweetened condensed milk
- 1 container (8 oz) whipped topping, thawed
Topping
- 15 chocolate sandwich cookies, crushed (like Oreos)
- Gummy worms, candy pumpkins, or other Halloween-themed candies
- Paper headstones (optional)
Instructions
- Prepare the Brownies: Follow the instructions on the boxed brownie mix or your homemade brownie recipe. Bake according to the directions and allow the brownies to cool completely.
- Cut or Crumble Brownies: Once cooled, cut the brownies into small squares or crumble them into pieces.
- Make the Pudding Layer: In a large mixing bowl, whisk together the instant chocolate pudding mix and cold milk until well combined. Let it sit for 2 minutes to thicken.
- Add Condensed Milk and Whipped Topping: Add the sweetened condensed milk and whipped topping to the pudding mixture. Gently fold until smooth and creamy.
- Assemble the Cups: In individual cups or a large serving dish, layer the crumbled brownies as the base.
- Add Pudding Layer: Spoon the chocolate pudding mixture over the brownie layer.
- Top with Crushed Cookies: Sprinkle crushed chocolate sandwich cookies on top to resemble dirt.
- Decorate: Add gummy worms, candy pumpkins, or other Halloween-themed candies for a spooky touch.
- Add Paper Headstones (Optional): Print and cut out paper headstones, attach them to toothpicks, and place them in the “graveyard.”
- Serve: Serve immediately with a cold glass of chocolate milk, or refrigerate the cups until ready to serve.
Notes
- For best results, allow the brownies to cool completely before crumbling or cutting.
- You can use homemade brownies or any boxed brownie mix according to your preference.
- Make sure the pudding has time to thicken for a creamy layer.
- The dessert can be refrigerated for up to 2 days, but is best served fresh.
- Use Halloween-themed candies to enhance the festive presentation.
- This dessert is not suitable for gluten-free diets unless gluten-free brownies and cookies are used.
