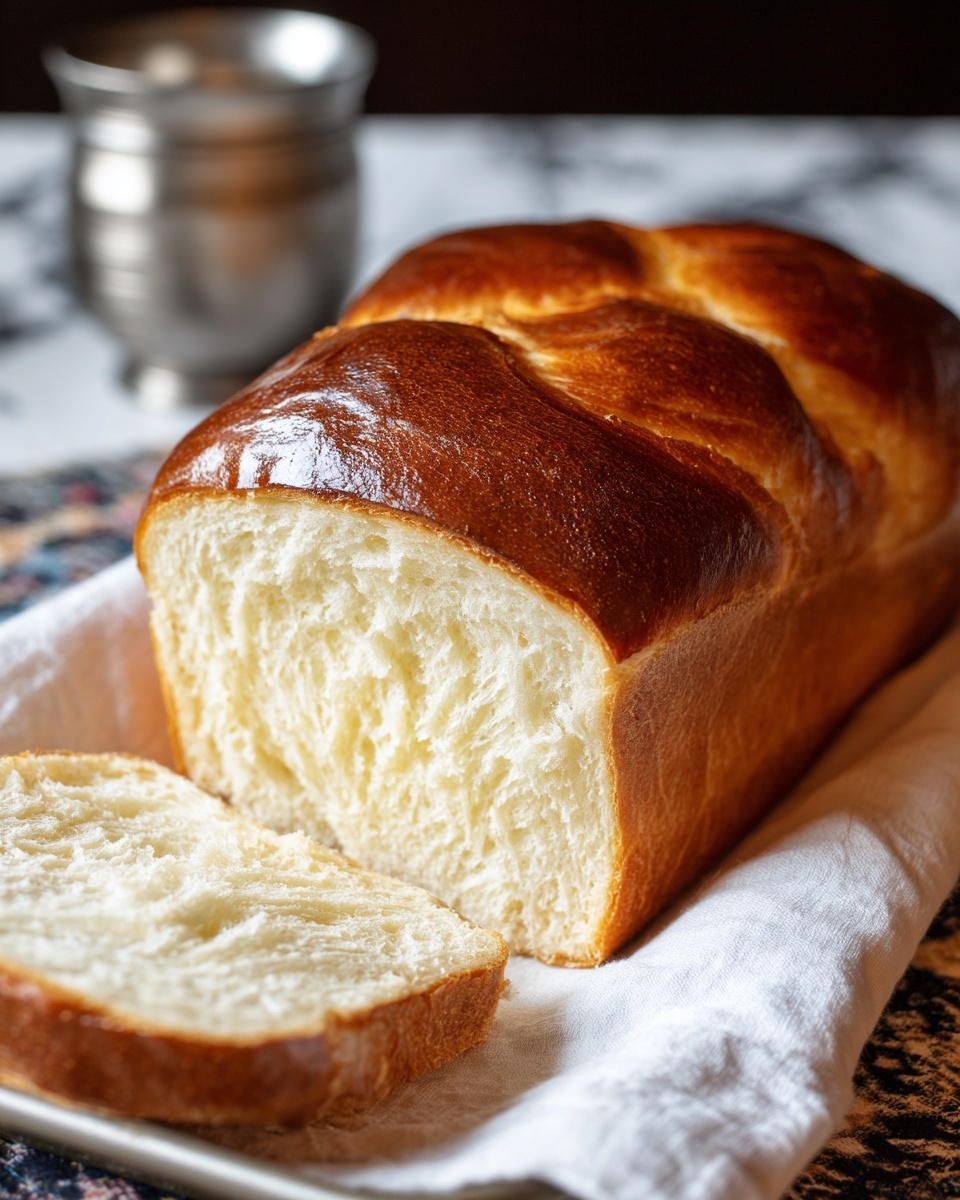
If you have ever dreamed of baking the perfect loaf that fills your home with the comforting aroma of fresh bread, you are in for a treat. This Amish White Bread Recipe captures the essence of simple, wholesome ingredients transformed into a soft, tender loaf with a golden crust. It’s a classic recipe that has stood the test of time, perfect for sandwiches, toast, or just enjoying plain with a pat of butter. The magic lies in its delicate balance of sweetness, softness, and that irresistibly smooth crumb you won’t forget.
Ingredients You’ll Need
The beauty of the Amish White Bread Recipe is in its simplicity. Each ingredient plays a vital role, combining to create that soft texture, subtle sweetness, and beautiful crust that makes this bread so irresistible. Ready to see how just a handful of pantry staples can make magic? Here’s what you’ll need:
- 1 cup warm water (110°F/45°C): The perfect temperature to activate the yeast without killing those important little bubbles that make the bread rise.
- 1/3 cup white sugar: Adds just the right touch of sweetness and helps feed the yeast for a beautiful rise.
- 2 1/4 teaspoons active dry yeast (1 packet): The key to that fluffy, airy texture we all love in fresh bread.
- 1/4 cup vegetable oil: This keeps your bread soft and moist, adding tenderness to every bite.
- 1 1/2 teaspoons salt: Enhances the natural flavors and balances the sweetness for a well-rounded loaf.
- 3 cups all-purpose flour: The foundation of the bread, providing structure and giving that classic bread crumb.
How to Make Amish White Bread Recipe
Step 1: Activate the Yeast
Start by dissolving the sugar into warm water. Make sure the water is not too hot because you want those active dry yeast bubbles happy and ready to work. Sprinkle the yeast over the mixture and wait about 5 to 10 minutes as it froths up with excitement. This frothy sign means your yeast is alive and ready to make that dough rise beautifully.
Step 2: Combine Ingredients to Form Dough
Next, stir in the vegetable oil and salt, blending them seamlessly into the yeast mixture. Gradually add the flour, one cup at a time, mixing gently until a soft dough starts to form. This slow mixing helps avoid lumps and gets you that perfect bread texture, not too sticky, not too dry.
Step 3: Knead Until Smooth and Elastic
Turn the dough out onto a lightly floured surface to begin kneading. This step, lasting about 6 to 8 minutes, is where the magic begins—the gluten develops, giving the bread its characteristic chewy yet tender bite. Stop kneading once the dough feels smooth and elastic, and slightly springs back when poked.
Step 4: First Rise in a Warm Place
Lightly grease a large bowl and place your dough inside, turning it over so it’s coated in a thin layer of oil. Cover the bowl to keep the moisture in and let the dough rest in a warm spot for about an hour. You’ll know it’s ready when the dough has doubled in size, fluffy and spongy.
Step 5: Shape and Second Rise
Give your risen dough a gentle punch to release excess air, then shape it into a loaf that fits your 9×5-inch greased loaf pan. Cover it once again and let it rise for another 30 minutes. This second rise helps create that light, airy texture and gives your loaf a wonderful oven spring.
Step 6: Bake to Golden Perfection
Preheat your oven to 350°F (175°C). Place your dough-filled pan inside and bake for 30 to 35 minutes. When your bread has turned a warm golden brown and sounds hollow when tapped on the bottom, you’re in bread heaven. Keep an eye on it so it doesn’t brown too quickly or stay pale.
Step 7: Cool and Enjoy
Allow the loaf to cool for about 5 minutes in the pan before transferring it to a wire rack. This cooling step prevents sogginess and lets the crumb set perfectly. Before slicing, wait until the bread is completely cool; it will be easier to cut and the flavors will have fully developed.
How to Serve Amish White Bread Recipe
Garnishes
This Amish White Bread Recipe shines beautifully on its own, but you can elevate your experience with simple garnishes. A slathering of homemade butter or a brush of garlic-infused olive oil elevates the flavor effortlessly. Sprinkle a touch of fresh herbs on the butter for a fragrant twist that makes the bread feel extra special for guests or family alike.
Side Dishes
This bread is incredibly versatile and pairs wonderfully with a variety of dishes. Try it alongside a hearty bowl of soup—like tomato basil or chicken noodle—or use it to soak up rich stews and gravies. It also transforms sandwiches, whether a classic ham and cheese or a loaded veggie sub, into something memorable and comforting.
Creative Ways to Present
For a little fun, slice the bread thick and toast it as a base for avocado toast topped with everything from feta to a runny egg. Or use it to make homemade bread pudding or French toast for a cozy brunch. To impress at your next gathering, slice the bread and serve it with an assortment of artisan cheeses and jams for a delightful bread board.
Make Ahead and Storage
Storing Leftovers
If you have any bread left after your initial feast, simply wrap the loaf tightly in plastic wrap or place it in a bread box. Stored at room temperature, it will stay fresh and soft for up to 3 days, making it perfect for everyday use without losing its charm.
Freezing
The Amish White Bread Recipe also freezes beautifully. Slice the bread beforehand and place the slices in a freezer-safe bag to grab and toast on busy mornings. Wrapped tightly, bread can last up to 3 months in the freezer without sacrificing quality.
Reheating
To bring back that fresh-baked warmth and softness, pop your slices into the toaster or warm a whole loaf in the oven wrapped in foil at 300°F (150°C) for 10-15 minutes. This quick reheating makes your bread taste almost as good as the moment it came out of the oven.
FAQs
Can I use whole wheat flour instead of all-purpose flour?
Absolutely! You can substitute up to half the all-purpose flour with whole wheat for a nuttier flavor and denser texture. Just be aware the bread might not rise quite as much, but it will still be delicious.
What if my dough doesn’t rise?
Make sure your water is warm but not too hot, and that your yeast is fresh. If the yeast doesn’t foam during the activation step, it’s best to start over with new yeast. Also, keep your dough in a warm, draft-free place to encourage rising.
Can I make this bread vegan?
This Amish White Bread Recipe is already vegan since it contains no dairy or eggs. Just double-check your sugar and yeast if you want to be sure they meet your vegan standards.
How do I know when the bread is done baking?
Besides the golden brown top, tap the bottom of the loaf—the sound should be hollow. This indicates that the loaf is baked through and will have a perfect crumb inside.
Can I double the recipe?
Yes! Simply double all ingredients and use a larger bowl and pan or bake in two pans. Keep an eye on rising times as larger batches sometimes take a bit longer.
Final Thoughts
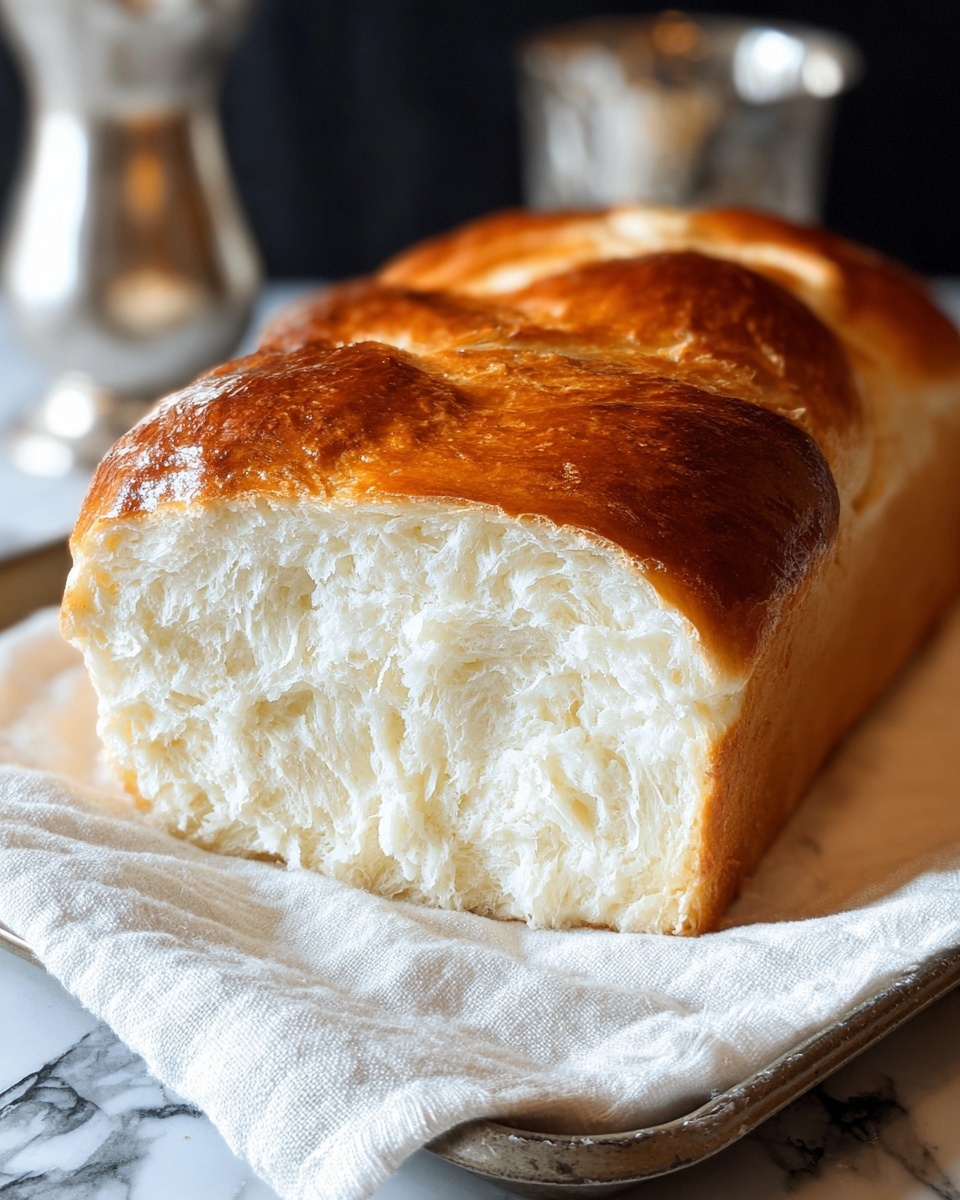
Baking this Amish White Bread Recipe is truly a joy that fills your home with warmth and comfort. It’s a wonderful way to connect with simple, wholesome cooking traditions and enjoy bread the way it’s meant to be—soft, flavorful, and satisfying. I can’t wait for you to try it out and make it a staple in your kitchen because nothing beats the smell and taste of fresh homemade bread.
Print
Amish White Bread Recipe
- Prep Time: 10 minutes
- Cook Time: 30 minutes
- Total Time: 1 hour 40 minutes
- Yield: 12 slices (1 loaf)
- Category: Bread
- Method: Baking
- Cuisine: American
Description
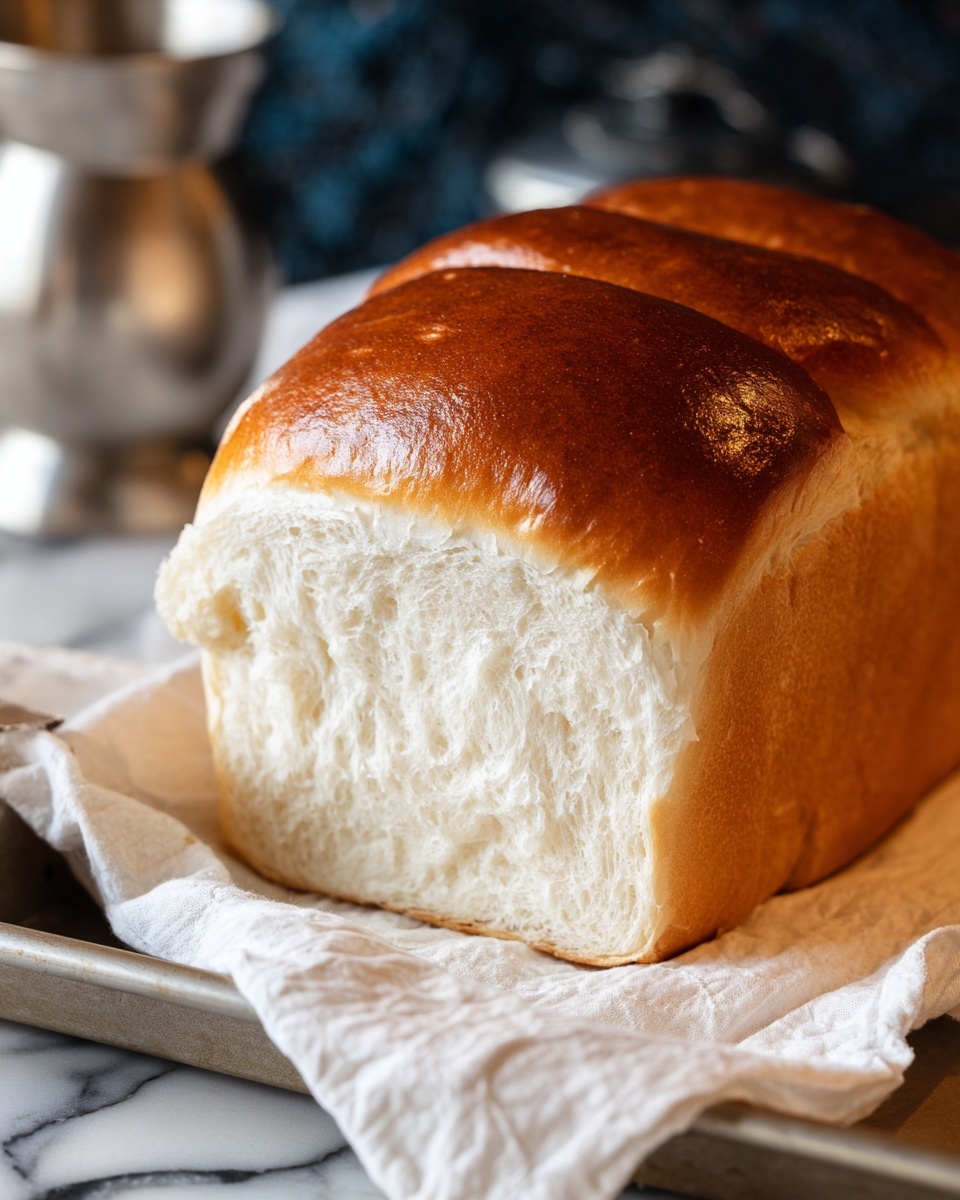
This classic Amish White Bread recipe yields a soft, slightly sweet loaf perfect for sandwiches or toast. Made from simple ingredients and baked to a golden brown, the bread features a light, fluffy crumb and a tender crust, ideal for everyday baking.
Ingredients
Wet Ingredients
- 1 cup warm water (110°F/45°C)
- 1/3 cup white sugar
- 1/4 cup vegetable oil
Dry Ingredients
- 2 1/4 teaspoons (1 packet) active dry yeast
- 1 1/2 teaspoons salt
- 3 cups all-purpose flour
Instructions
- Activate Yeast: Dissolve the sugar in warm water in a large bowl. Sprinkle the active dry yeast over the top and let it sit for 5 to 10 minutes until the mixture becomes frothy, indicating the yeast is active.
- Mix Dough: Stir in the vegetable oil and salt into the yeast mixture. Gradually add the flour, one cup at a time, stirring continuously until a soft dough forms.
- Knead Dough: Transfer the dough to a lightly floured surface and knead for 6 to 8 minutes until it becomes smooth and elastic, developing gluten structure.
- First Rise: Place the kneaded dough in a greased bowl, turning it to coat all sides. Cover the bowl with a clean towel and let the dough rise in a warm place for 1 hour, or until it has doubled in size.
- Shape Loaf: Punch down the risen dough to release air. Shape it into a loaf and place it into a greased 9×5-inch loaf pan. Let it rise again for 30 minutes, or until the dough rises slightly above the pan edges.
- Bake Bread: Preheat the oven to 350°F (175°C). Bake the loaf for 30 to 35 minutes until the crust is golden brown and the bread sounds hollow when tapped, signaling it is fully baked.
- Cool Bread: Allow the bread to cool in the pan for 5 minutes, then transfer it to a wire rack and cool completely before slicing.
Notes
- Ensure the water temperature is warm, around 110°F (45°C), to properly activate the yeast without killing it.
- Kneading develops gluten which is essential for bread structure and texture.
- Letting the dough rise twice helps to create a lighter, fluffier bread.
- Testing the bread by tapping it for a hollow sound ensures it is baked through.
- Store bread in an airtight container to maintain freshness.


