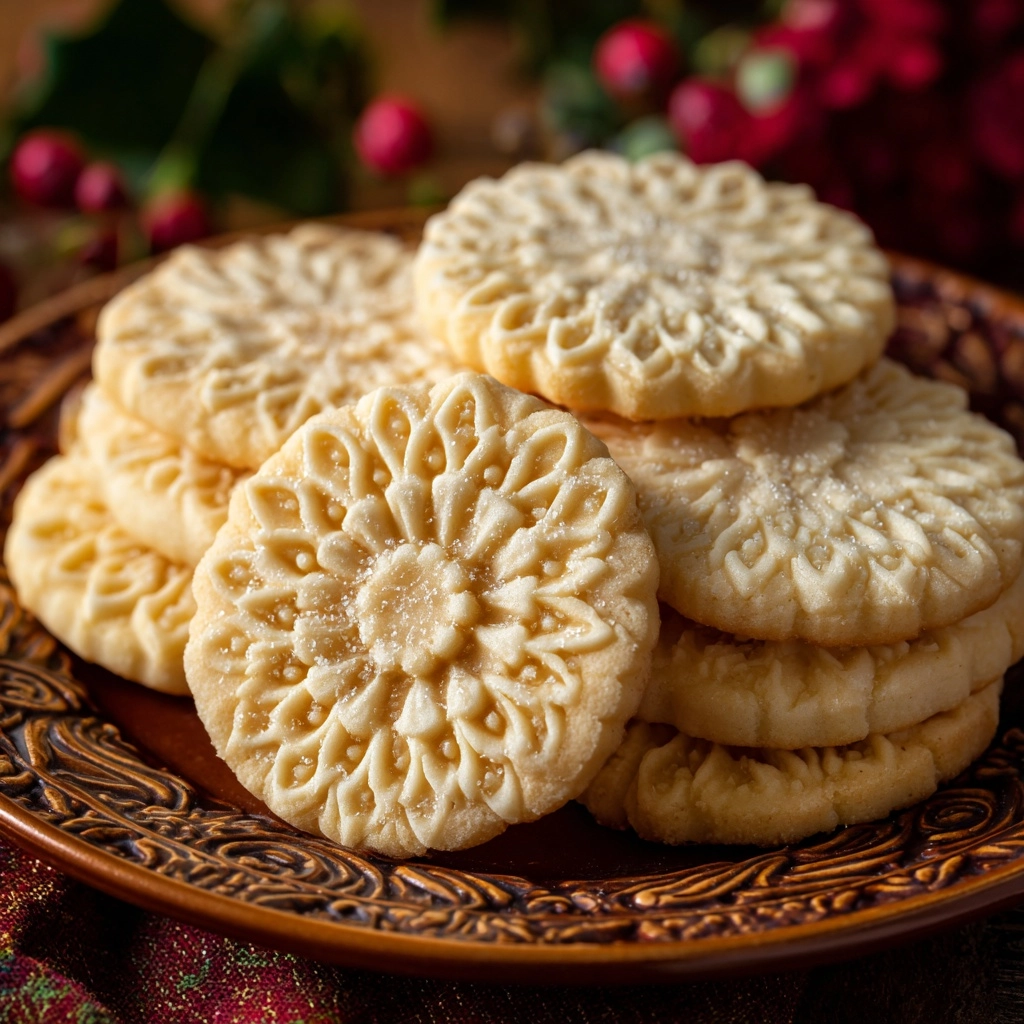
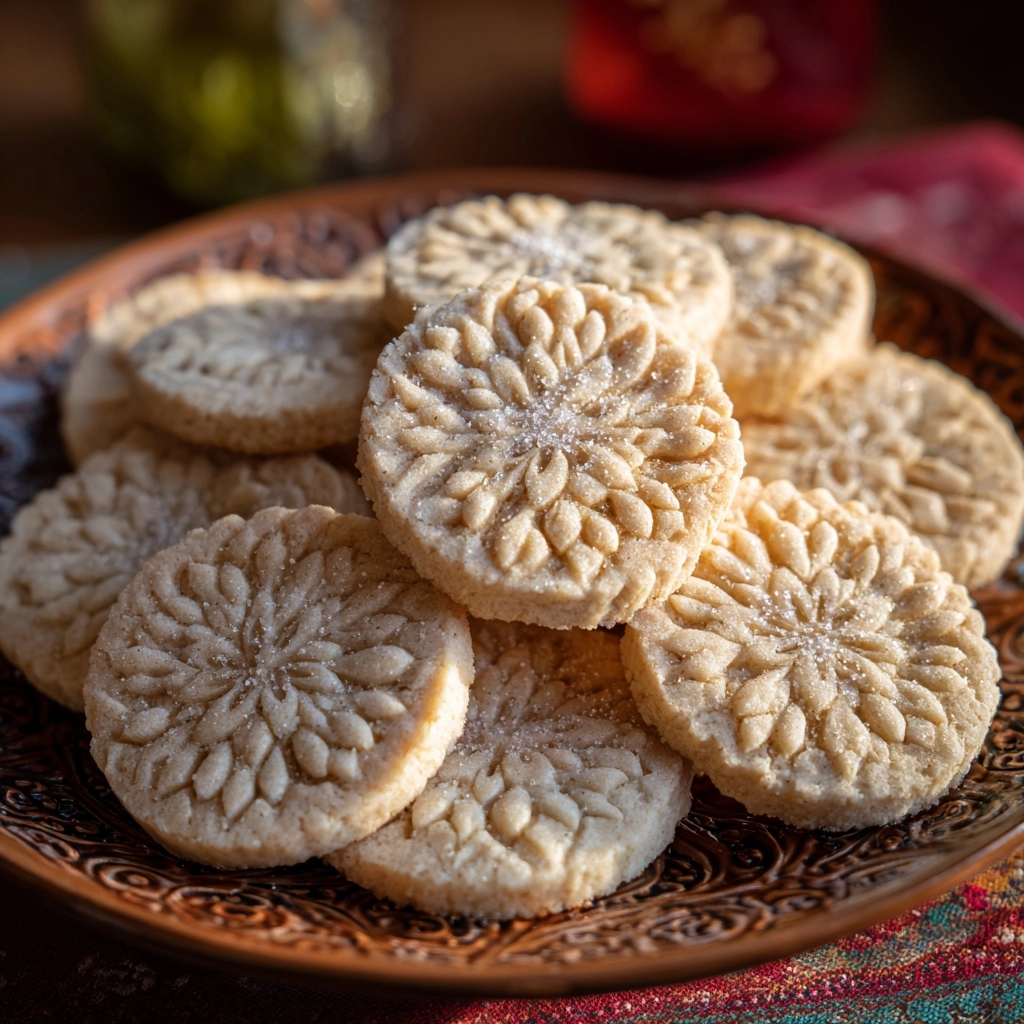
If you’ve ever strolled past an Italian bakery window, eyes wide at the display of delicate, golden cookies dipped in chocolate and tucked with jewel-toned jam, you already know the irresistible charm of Italian Butter Cookies. These little bites are a buttery dream—crisp yet tender, with a melt-in-your-mouth richness and just the right hint of vanilla and almond. Whether you’re gearing up for the holidays, needing an elegant addition to a dessert table, or simply craving a classic treat with a cup of coffee, Italian Butter Cookies bring a touch of sweetness and nostalgia to any moment.
Ingredients You’ll Need
Making Italian Butter Cookies is all about getting the basics just right—each ingredient plays a starring role in building the cookies’ rich, tender crumb and that classic bakery-style flavor. Gather these staples from your pantry, and you’re halfway to delight!
- Unsalted butter (1 cup, softened): The heart of these cookies—using good quality, softened butter provides exceptional texture and authentic flavor.
- Granulated sugar (2/3 cup): Lends just enough sweetness while helping the cookies stay crisp at the edges.
- Large egg (1): Adds structure and moisture, ensuring the cookies hold their lovely piped shape.
- Vanilla extract (1 tsp): Brings a warm, sweet aroma that defines the classic profile of Italian Butter Cookies.
- Almond extract (1/2 tsp, optional): For those who love a subtle nutty note, almond extract makes these cookies extra special.
- All-purpose flour (2 1/4 cups): The backbone of the dough, creating that perfect tender bite.
- Salt (1/4 tsp): Just a pinch rounds out the flavors and enhances the buttery richness.
- Chocolate or jam (for filling/dipping, optional): For elegance and variety, dip cooled cookies in melted chocolate or sandwich with sweet jam.
- Sprinkles or chopped nuts (for garnish, optional): Jazz up each cookie with a bit of color and crunch before the chocolate sets.
How to Make Italian Butter Cookies
Step 1: Prep the Baking Sheets and Oven
Begin by preheating your oven to 350°F (175°C) and lining two baking sheets with parchment paper. This step ensures your cookies bake evenly and release effortlessly—no sticking, no fuss, just perfectly crisp golden bottoms every time.
Step 2: Cream the Butter and Sugar
In a large mixing bowl, combine the softened unsalted butter and granulated sugar. Beat with an electric mixer on medium-high until the mixture is airy, pale, and fluffy—this aeration is what gives Italian Butter Cookies their delicate, tender crumb. Take a moment to savor the sweet aroma!
Step 3: Incorporate the Egg and Extracts
Add the egg, vanilla extract, and almond extract (if using) to the creamed butter-sugar mixture. Beat on low until fully blended, making sure you scrape down the sides of the bowl so every bit of that buttery mixture benefits from the aromatic extracts and rich egg.
Step 4: Add the Dry Ingredients
Gradually sift in the all-purpose flour and salt. Mix on low speed until a soft, cohesive dough forms—don’t overwork it, just enough that no streaks of flour remain. If the dough feels stiff, let it rest for a couple of minutes or stir in a teaspoon or two of milk to soften.
Step 5: Pipe the Cookies
Spoon the dough into a piping bag fitted with a large star tip. Pipe your favorite shapes—rosettes, lines, or rings—onto the prepared baking sheets, leaving about an inch in between each one. This is your chance to channel your inner Italian baker, so have fun with the shapes!
Step 6: Bake to Perfection
Slide trays into the oven and bake the cookies for 10–12 minutes, or until the edges are just turning a gentle gold. The aroma wafting through your kitchen is pure magic. Let the cookies cool on the tray for 5 minutes, then transfer to a wire rack to finish cooling.
Step 7: Dip, Sandwich, and Decorate
Once cooled, dip one end of each cookie in melted chocolate or sandwich a pair with raspberry or apricot jam. While the chocolate is still soft, sprinkle with nonpareils or chopped nuts for that signature bakery finish. Each cookie is a little masterpiece!
How to Serve Italian Butter Cookies

Garnishes
The beauty of Italian Butter Cookies shines with simple, cheerful garnishes. Dip each cookie in dark, milk, or white chocolate, then shower the tops with rainbow sprinkles, crushed pistachios, toasted almonds, or coconut flakes before the chocolate sets. Or, tuck a dollop of bright jam between two cookies for a burst of both color and flavor—these finishing touches turn each bite into an edible jewel box.
Side Dishes
These cookies are the perfect match for cozying up with a steamy cappuccino or espresso. They also pair nicely with fresh fruit, a scoop of Italian gelato, or even a glass of Vin Santo for an elegant after-dinner treat. Try serving them alongside other Italian classics like amaretti or biscotti for a full dessert platter that’s sure to wow your guests.
Creative Ways to Present
Turn Italian Butter Cookies into thoughtful gifts by boxing up a colorful variety, tied up with ribbon and a handwritten note. For special occasions, arrange them on a tiered cake stand alongside fresh berries and edible flowers. At the holidays, place them in cellophane bags for party favors, or make a dessert grazing board featuring these cookies as the stars, surrounded by nuts and chocolates.
Make Ahead and Storage
Storing Leftovers
Keep Italian Butter Cookies tasting fresh by storing them in an airtight container at room temperature. They’ll stay delightfully crisp and buttery for up to a week—perfect for snacking, gifting, or sneaking with your afternoon coffee!
Freezing
These cookies freeze beautifully. Arrange cooled, undecorated cookies between layers of parchment in a freezer-safe container. They’ll keep for up to three months—just thaw and dip or sandwich with chocolate and jam before serving for that just-baked magic.
Reheating
If you want to restore a just-baked touch, pop your room-temperature cookies in a 300°F (150°C) oven for a few minutes. This refreshes their crisp edges and warms the buttery aroma, making them taste like they were just pulled from the oven.
FAQs
Can I make Italian Butter Cookies without a piping bag?
Absolutely! If you don’t have a piping bag, simply use a large zip-top bag with a corner snipped off, or roll the dough into small balls and flatten them gently with a fork or your palm. The cookies will still be delicious, even if the shapes are simpler.
Why did my dough turn out too stiff to pipe?
This often happens if the butter was a bit too cold, or if the flour was packed tightly. Let your dough rest at room temperature for a bit, or mix in a teaspoon or two of milk to soften. It should pipe easily but still hold its festive shape.
Can I flavor the dough with citrus zest or spices?
Definitely! Add a teaspoon of fresh lemon or orange zest for a bright twist, or a pinch of cinnamon for cozy depth. These customizations bring a personal touch to traditional Italian Butter Cookies without compromising their classic charm.
Is it okay to use salted butter?
If salted butter is all you have on hand, simply reduce or omit the added salt in the recipe. The result will be subtly saltier, but still delicious—just right for balancing the sweetness of the cookies and any chocolate dip.
How do I prevent the cookies from spreading too much?
Ensure your butter is just softened, not melted, and try chilling the piped cookies on the tray for 10–15 minutes before baking. This helps them keep their beautiful piped shape and texture throughout baking.
Final Thoughts
There’s something truly magical about baking a batch of Italian Butter Cookies from scratch—every step is a treat, from piping to decorating to finally savoring that first buttery, crumbly bite. I hope you’ll give these cookies a try and share them with friends and family; they’re sure to become a beloved tradition in your own kitchen!
Print
Italian Butter Cookies Recipe
- Prep Time: 20 minutes
- Cook Time: 12 minutes
- Total Time: 32 minutes
- Yield: 30 cookies
- Category: Dessert
- Method: Baking
- Cuisine: Italian
- Diet: Vegetarian
Description
Indulge in the delightful flavors of these Italian butter cookies. With a buttery and tender texture, these piped cookies are perfect for any occasion, especially during the holidays. Enjoy them plain or jazz them up with chocolate, jam, or colorful sprinkles!
Ingredients
Dough:
- 1 cup unsalted butter, softened
- 2/3 cup granulated sugar
- 1 large egg
- 1 teaspoon vanilla extract
- 1/2 teaspoon almond extract (optional)
- 2 1/4 cups all-purpose flour
- 1/4 teaspoon salt
Optional:
- Chocolate or jam for filling/dipping
- Sprinkles or chopped nuts for garnish
Instructions
- Preheat the oven: to 350°F (175°C) and line two baking sheets with parchment paper.
- Cream butter and sugar: In a large bowl, cream softened butter and sugar until light and fluffy.
- Add egg and extracts: Beat in the egg, vanilla extract, and almond extract if using.
- Combine dry ingredients: Gradually add the flour and salt, mixing until a soft dough forms.
- Prepare piping bag: Transfer dough to a piping bag fitted with a large star tip.
- Pipe cookies: Pipe desired shapes onto baking sheets, spacing them apart.
- Bake: Bake for 10–12 minutes until edges are lightly golden.
- Cool and decorate: Cool on pan, then dip in chocolate, sandwich with jam, and decorate with sprinkles or nuts.
Notes
- If the dough is too firm to pipe, let it sit at room temperature briefly or mix in 1–2 teaspoons of milk.
- Store cookies in an airtight container at room temperature for up to 1 week.
Nutrition
- Serving Size: 1 cookie
- Calories: 110
- Sugar: 5g
- Sodium: 35mg
- Fat: 7g
- Saturated Fat: 4.5g
- Unsaturated Fat: 2g
- Trans Fat: 0g
- Carbohydrates: 10g
- Fiber: 0g
- Protein: 1g
- Cholesterol: 20mg
